 |
 |
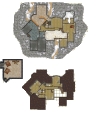
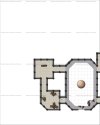
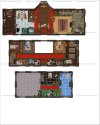
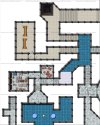
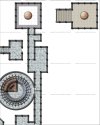
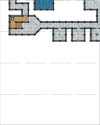
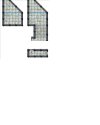
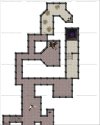
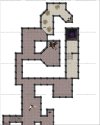
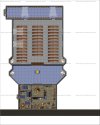
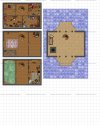
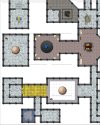
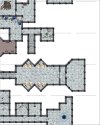
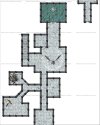
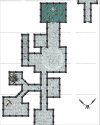
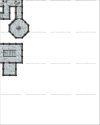
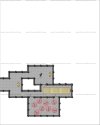
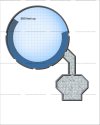
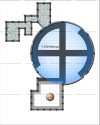
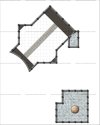
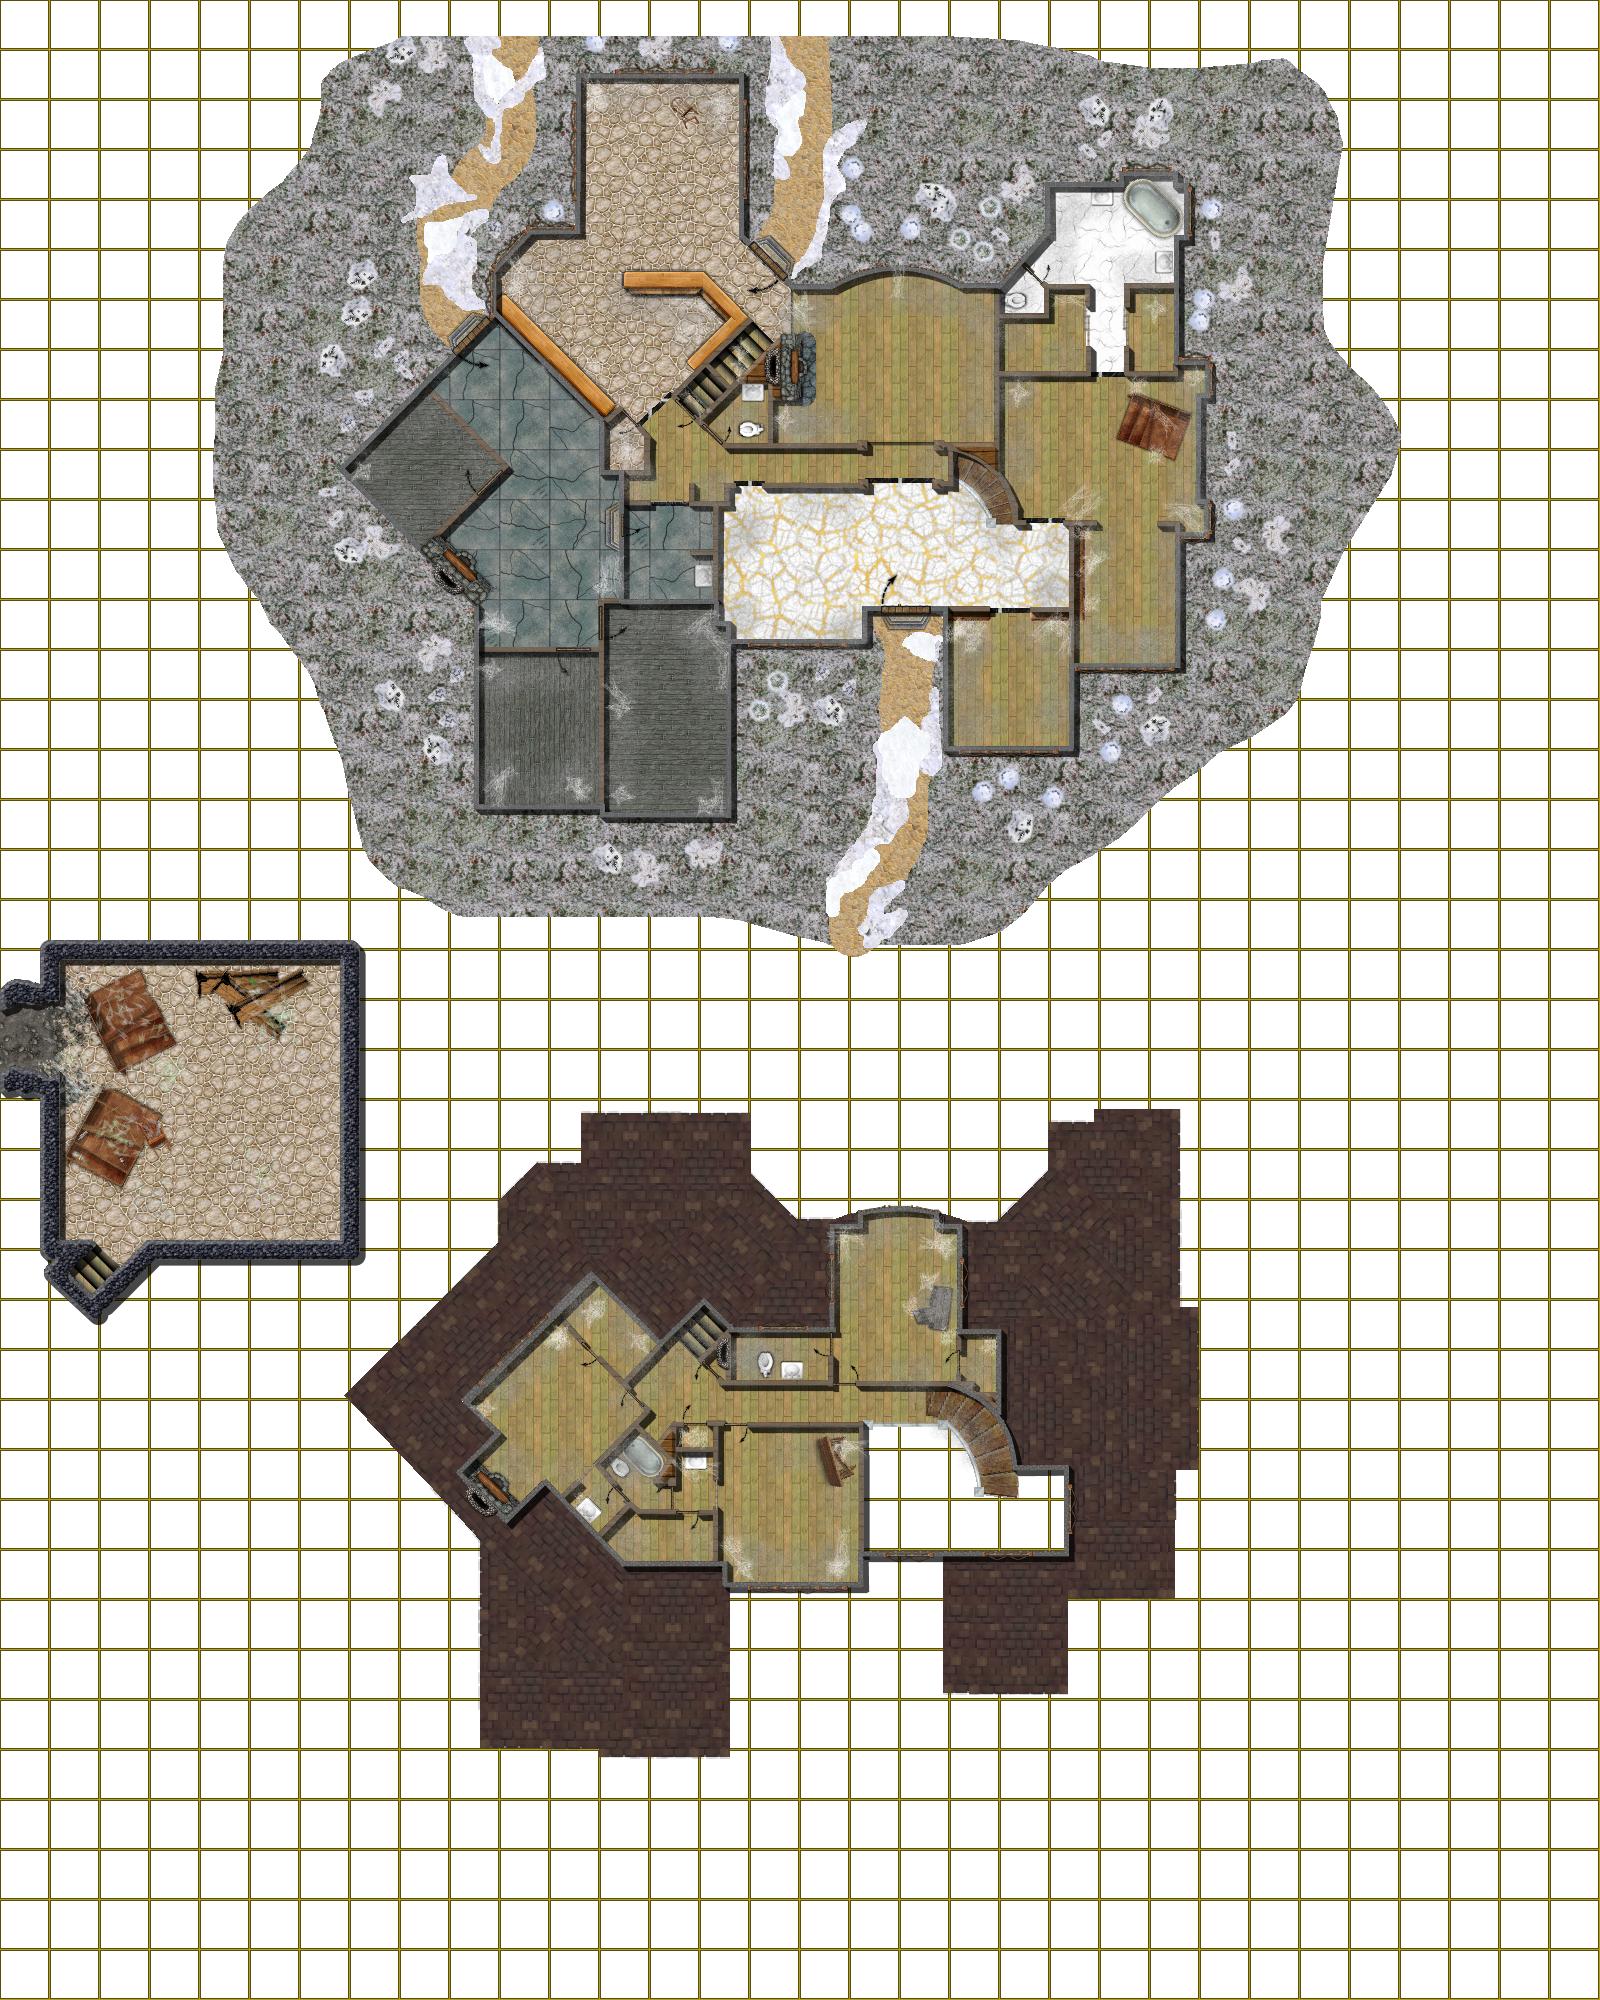
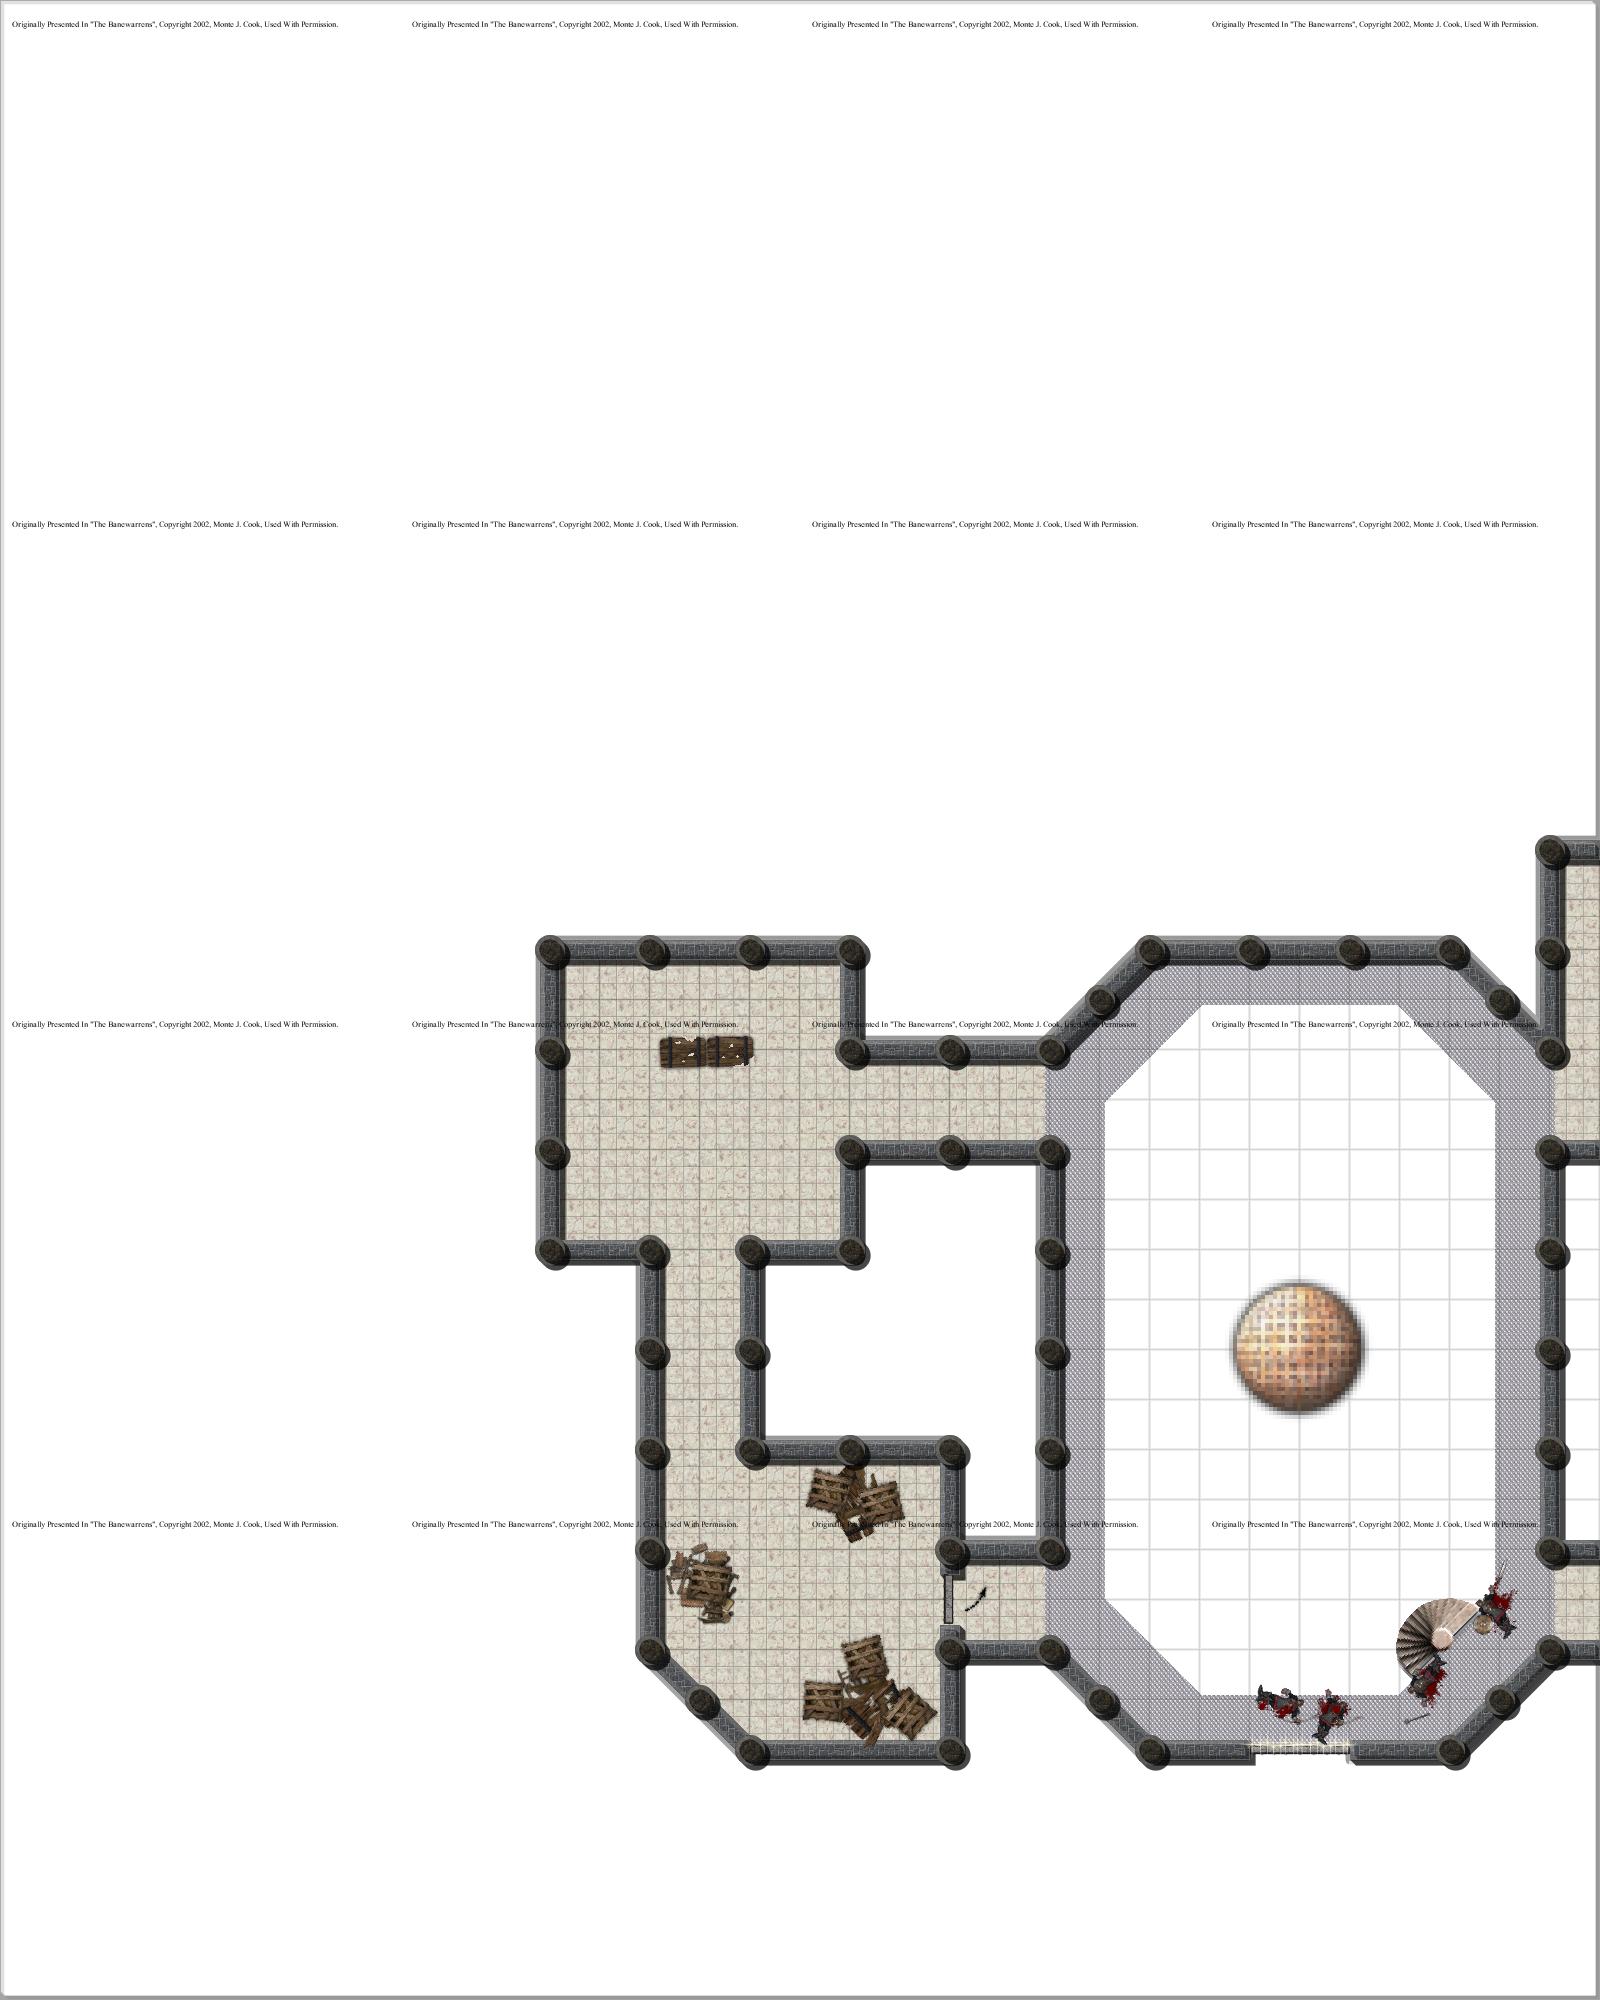
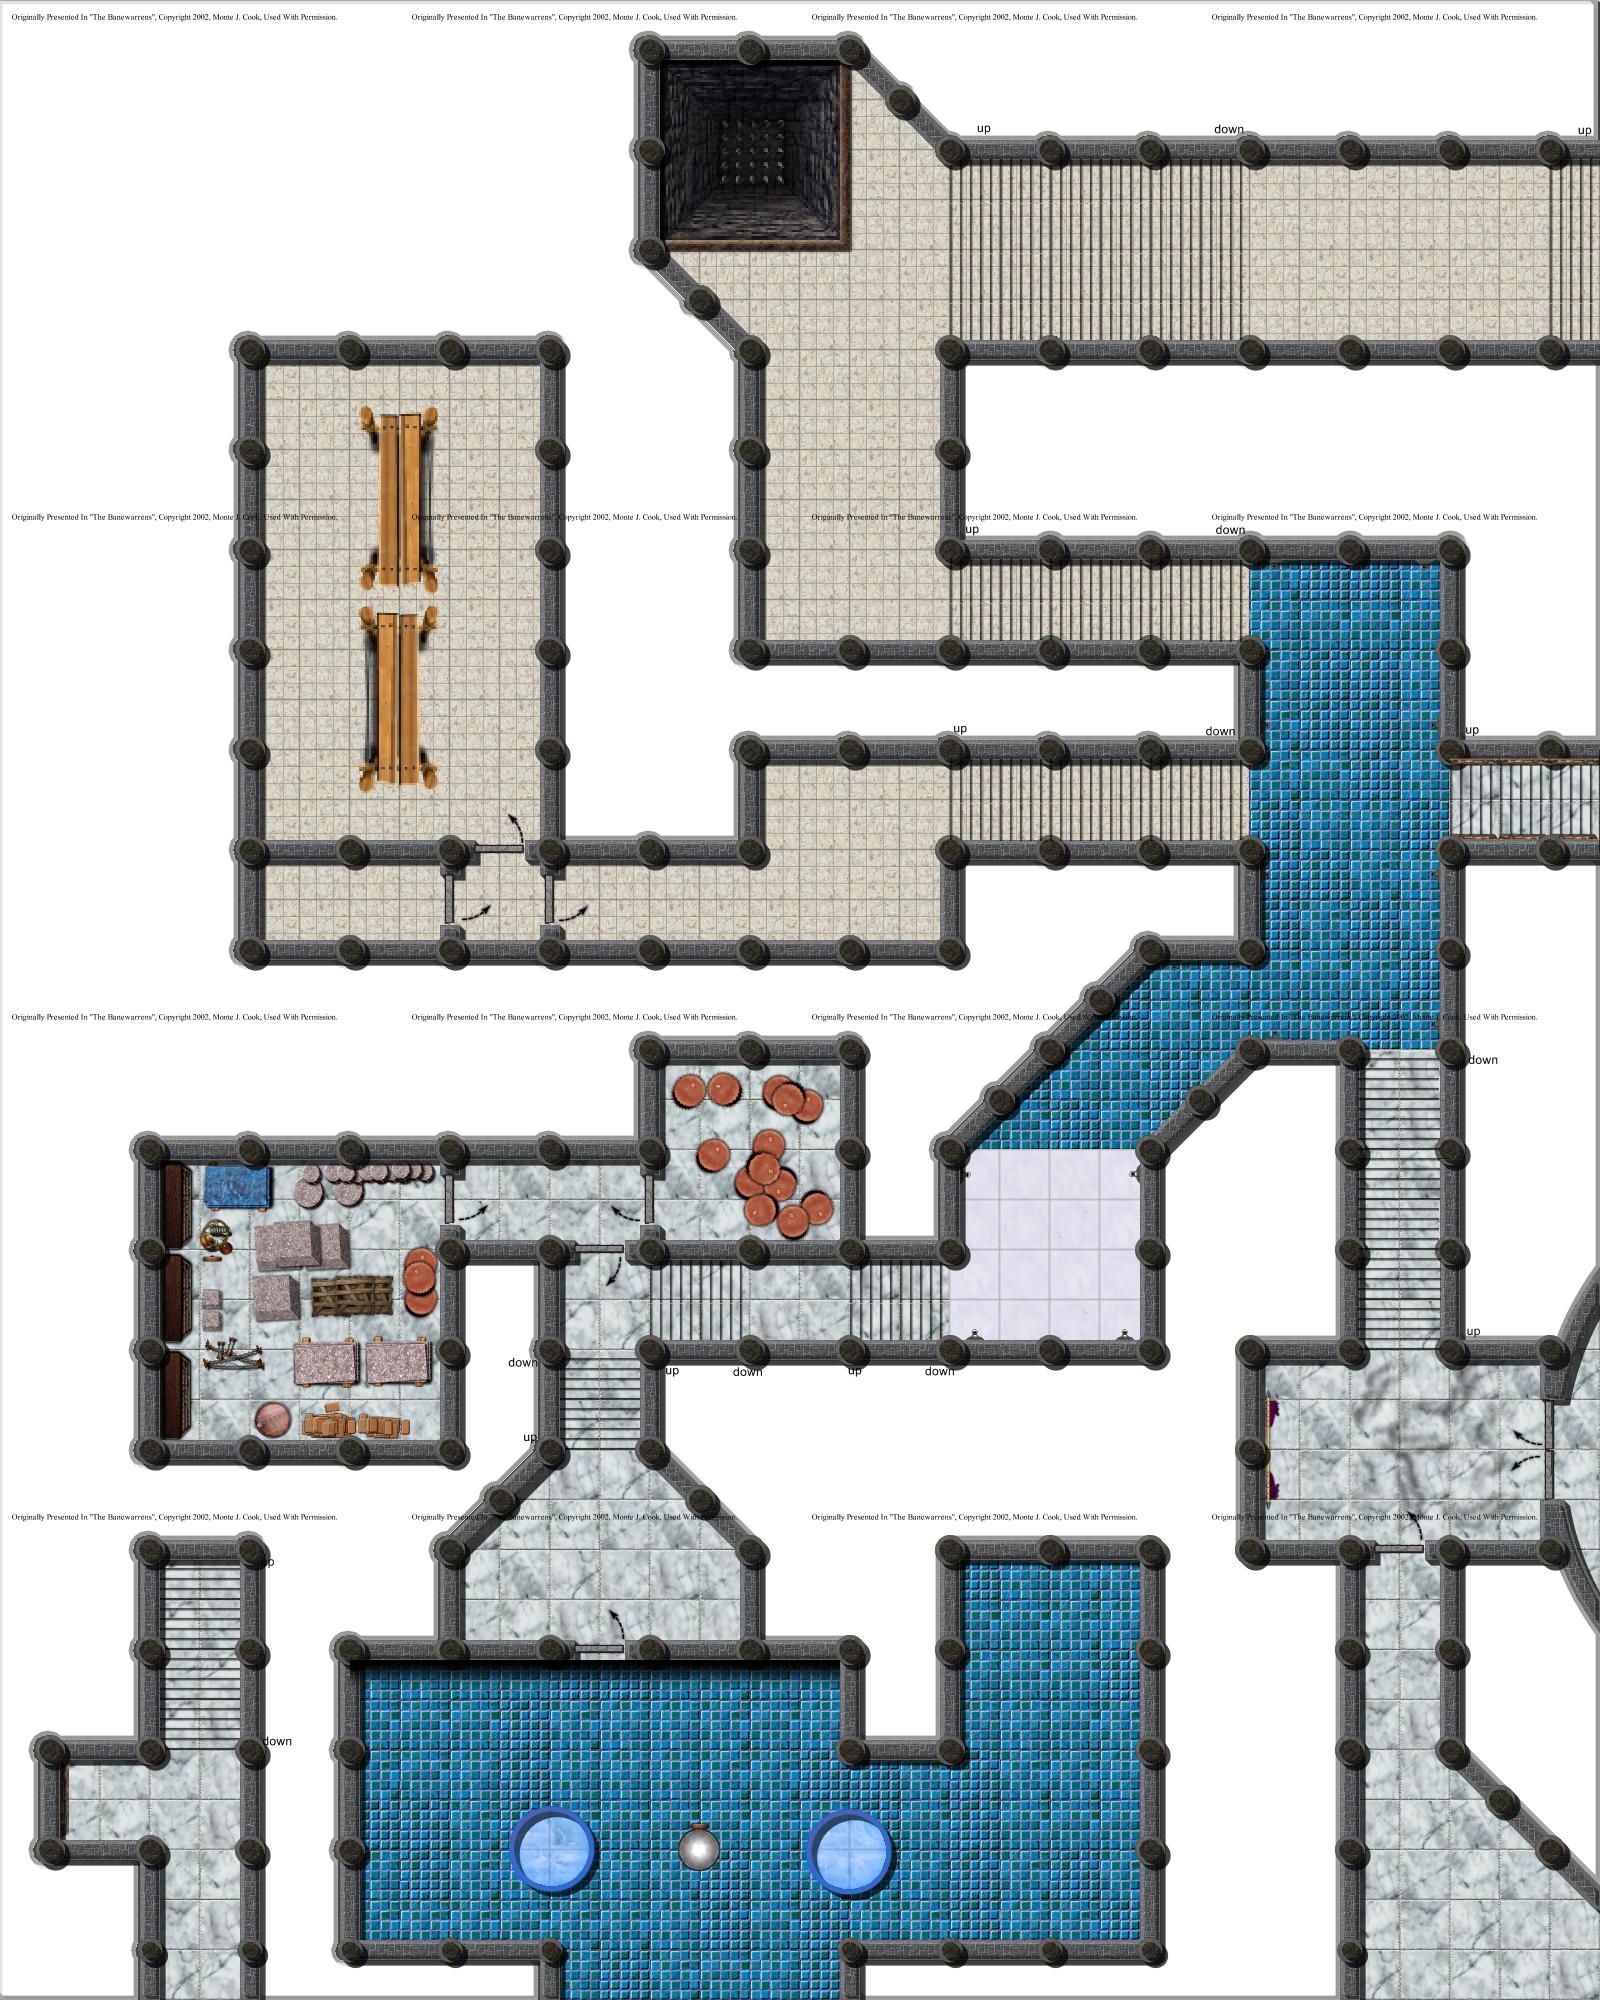
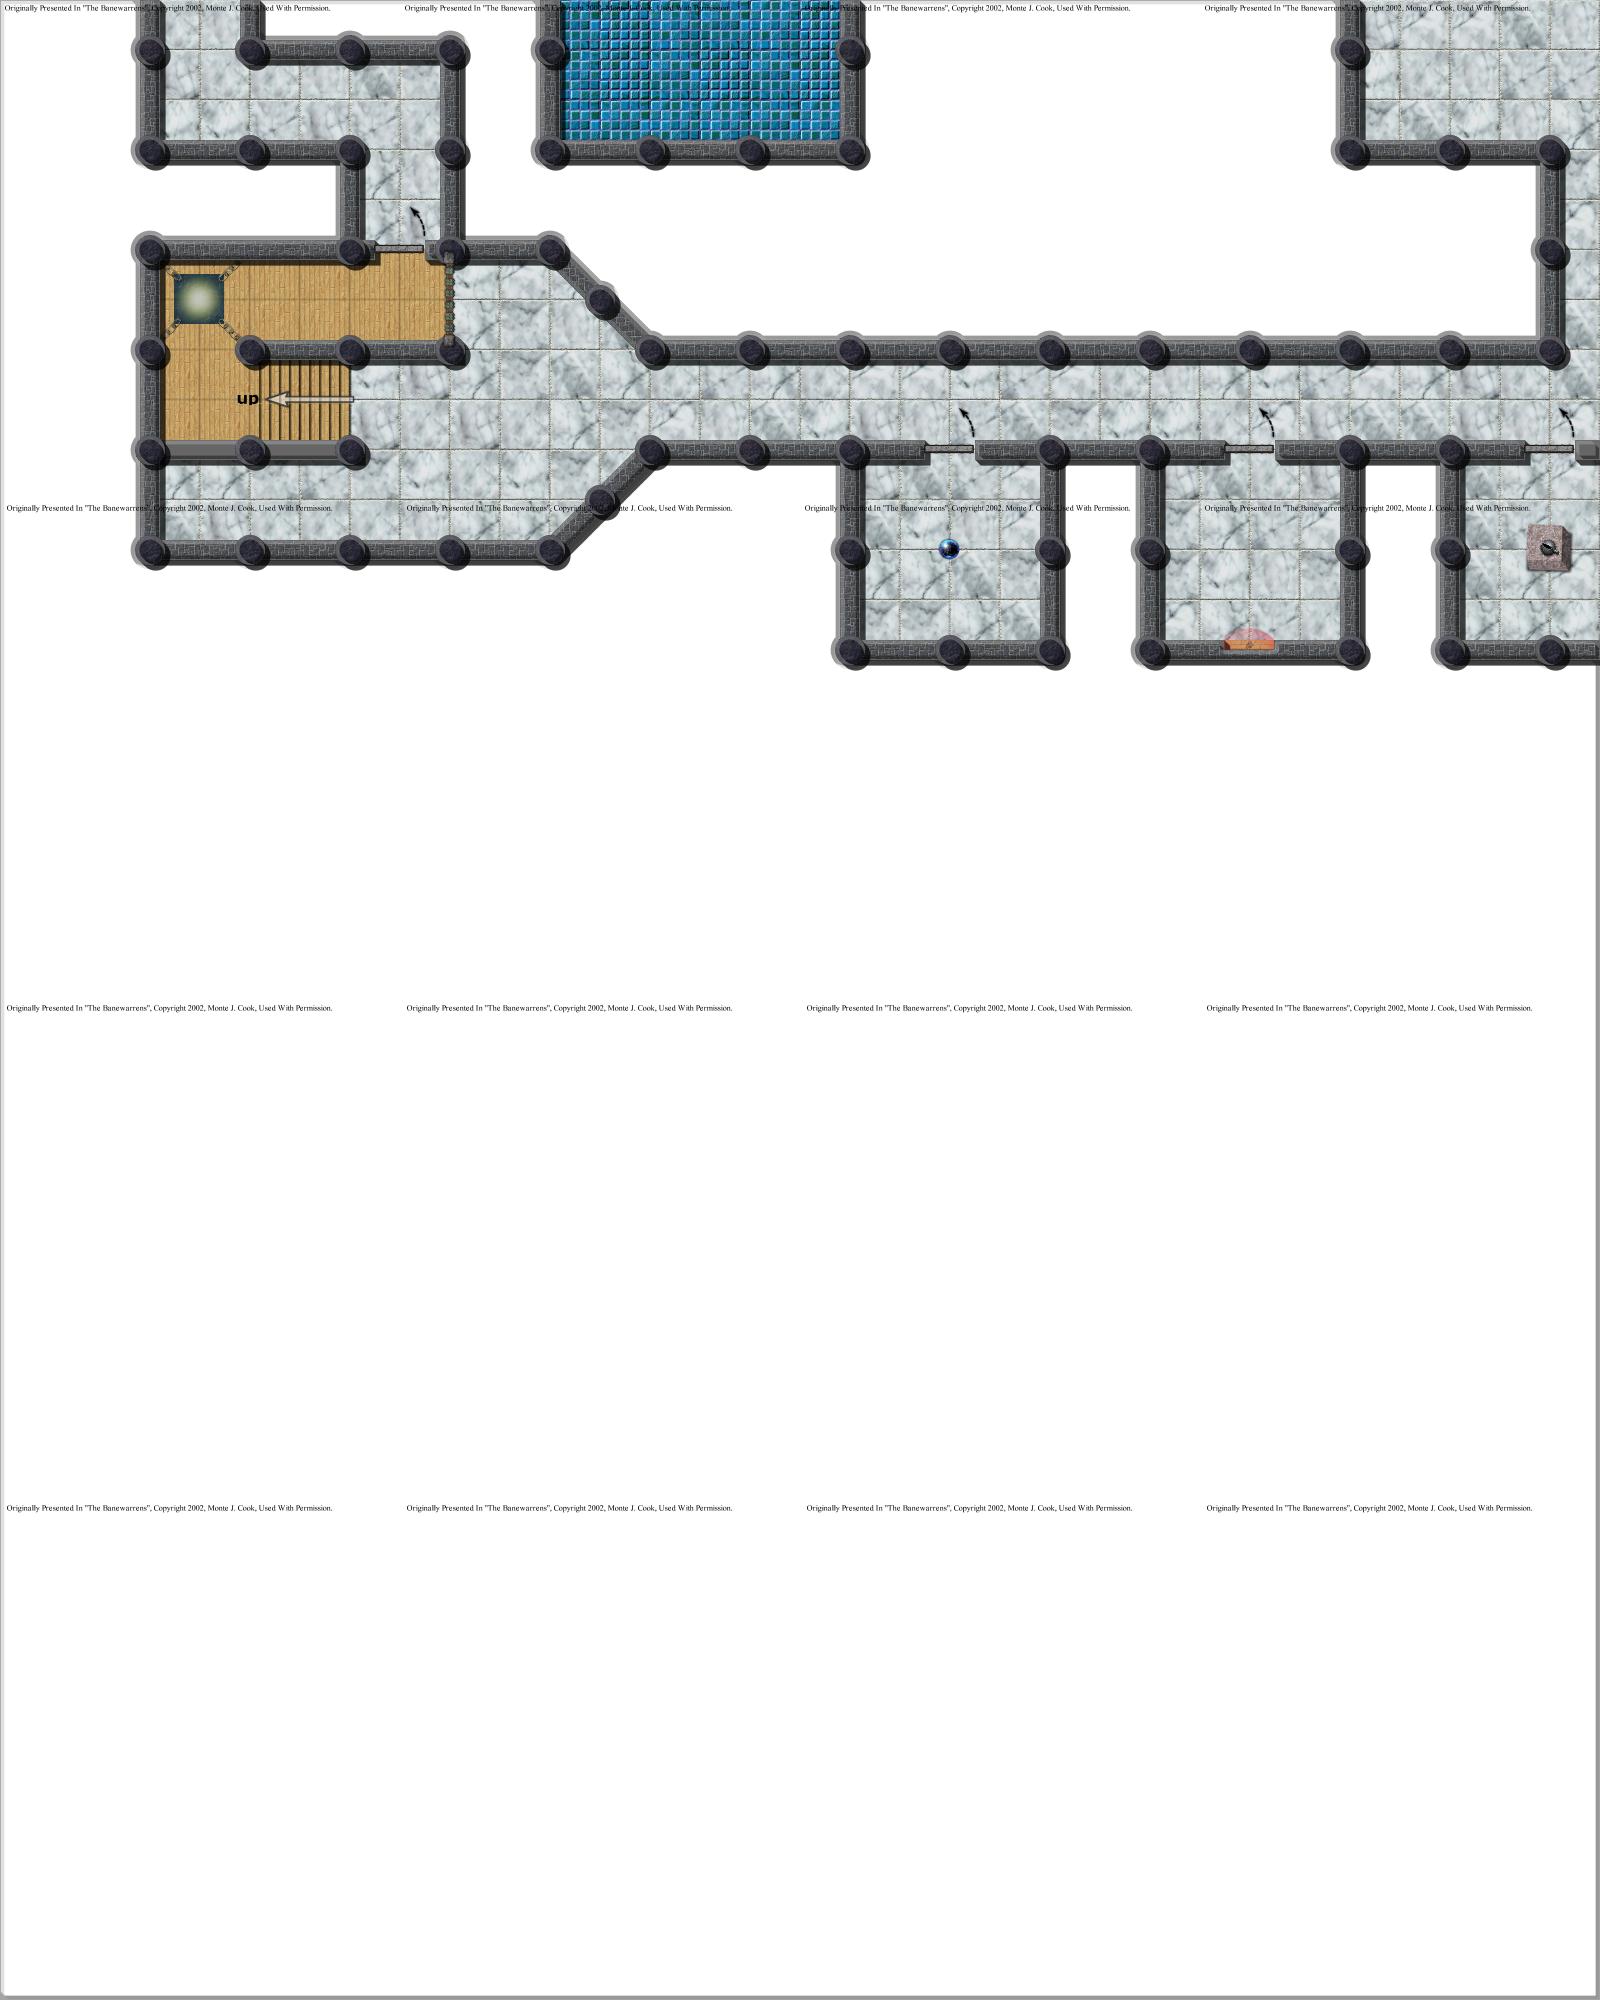
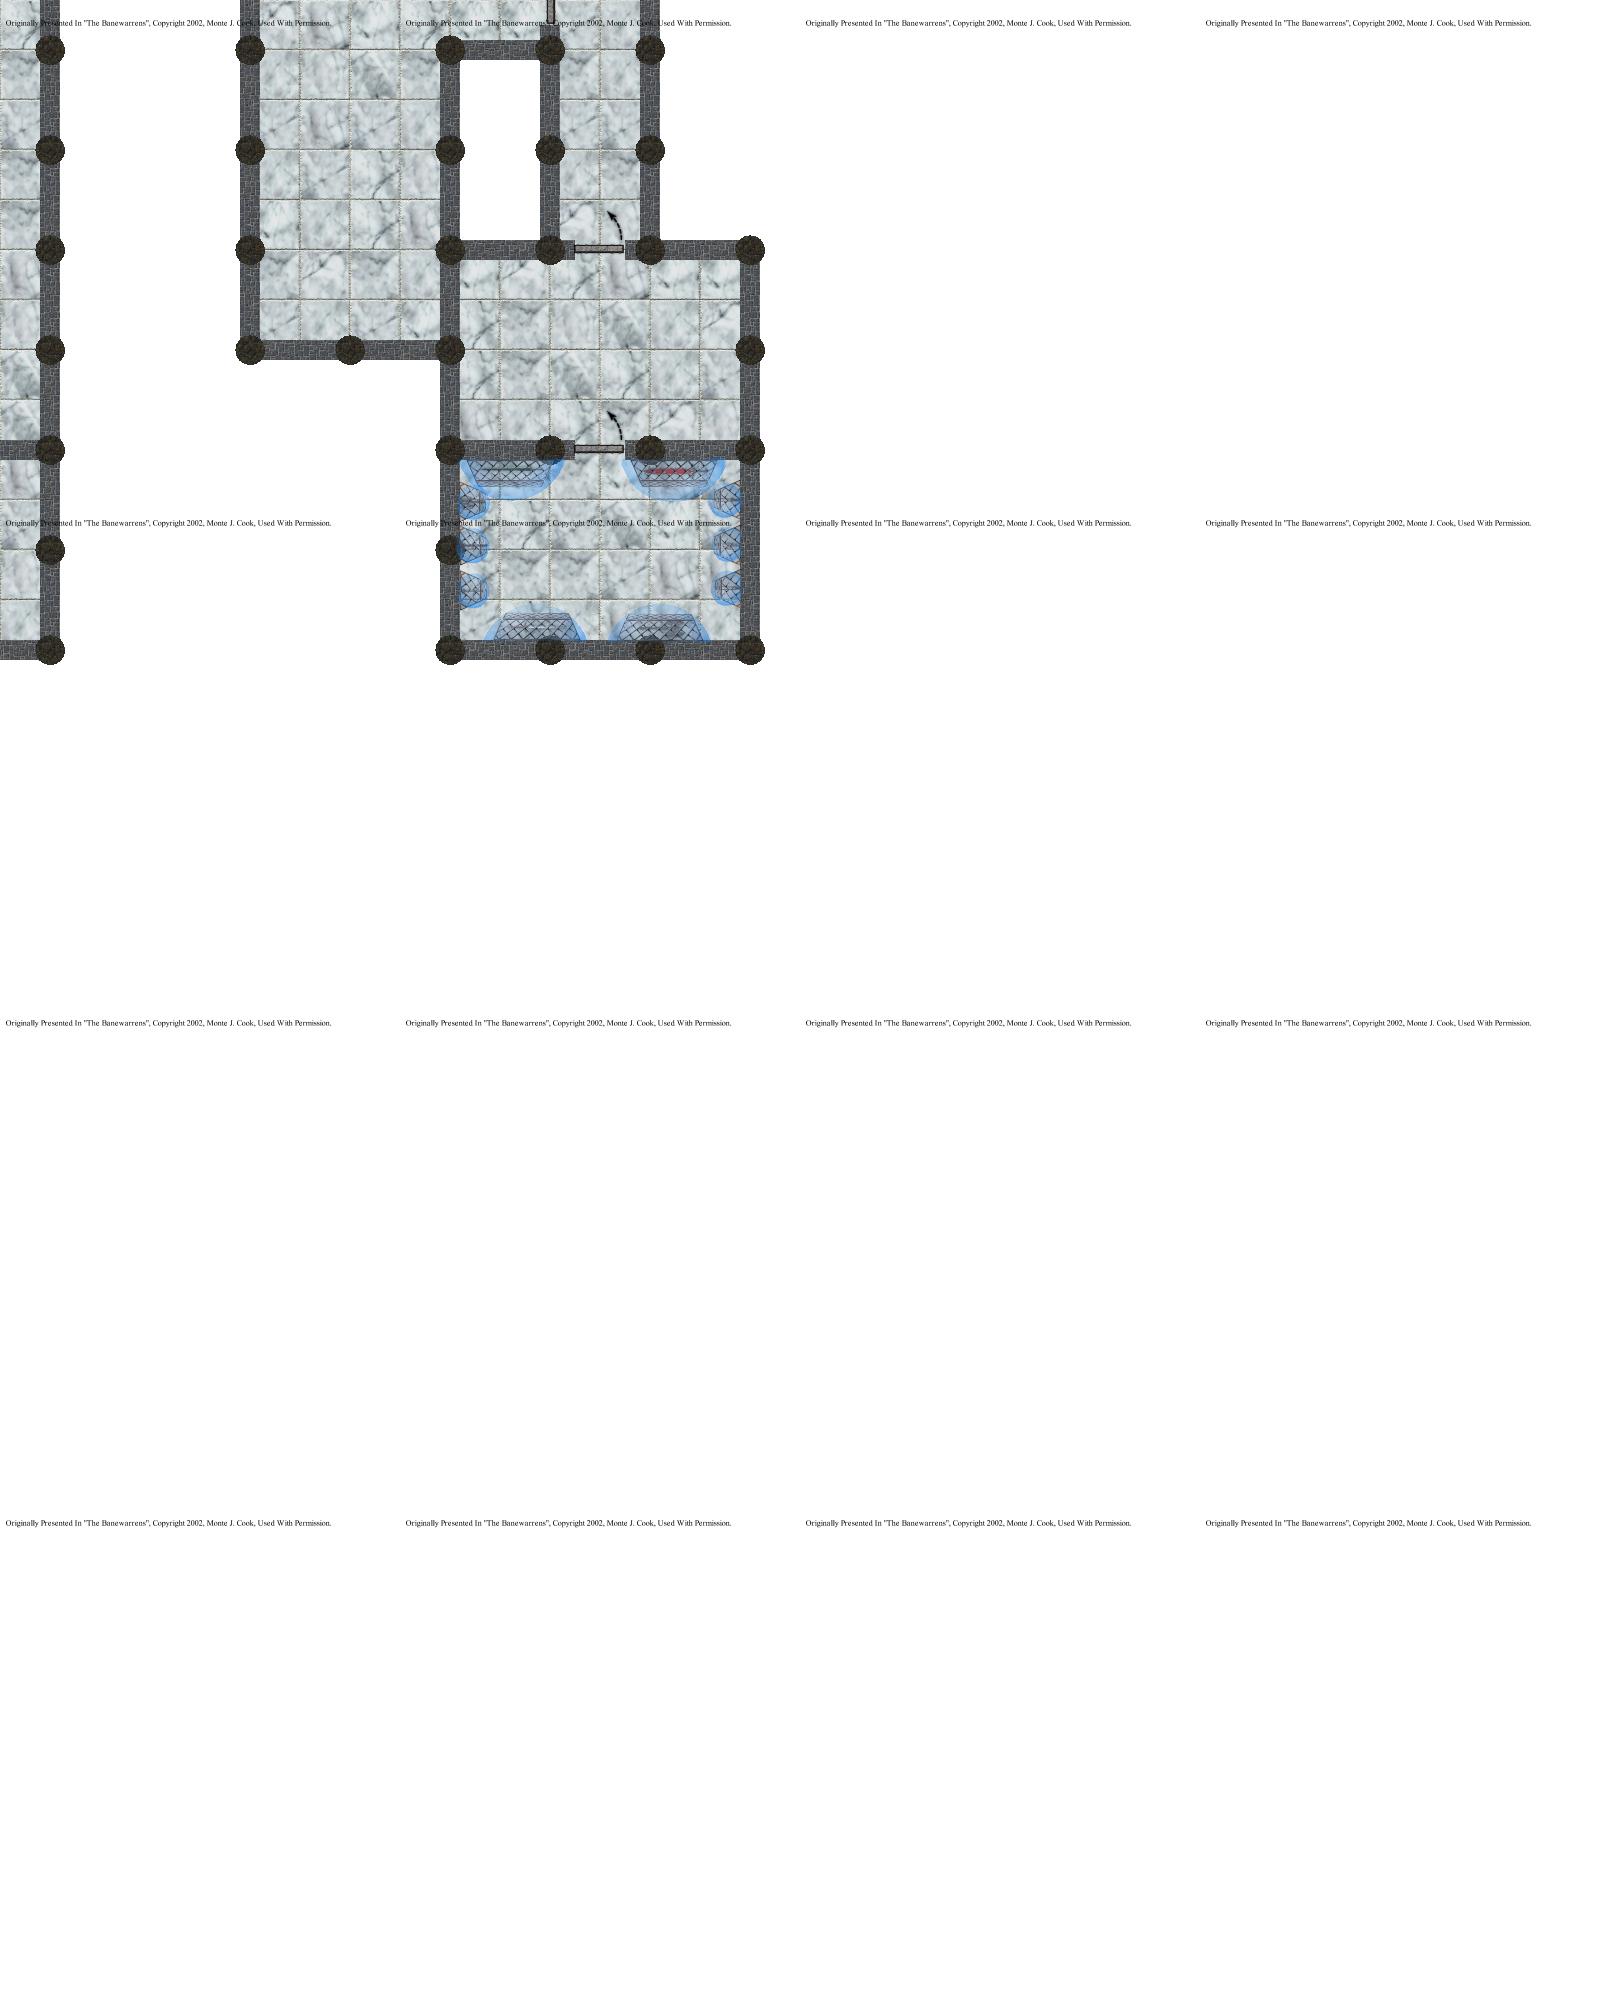
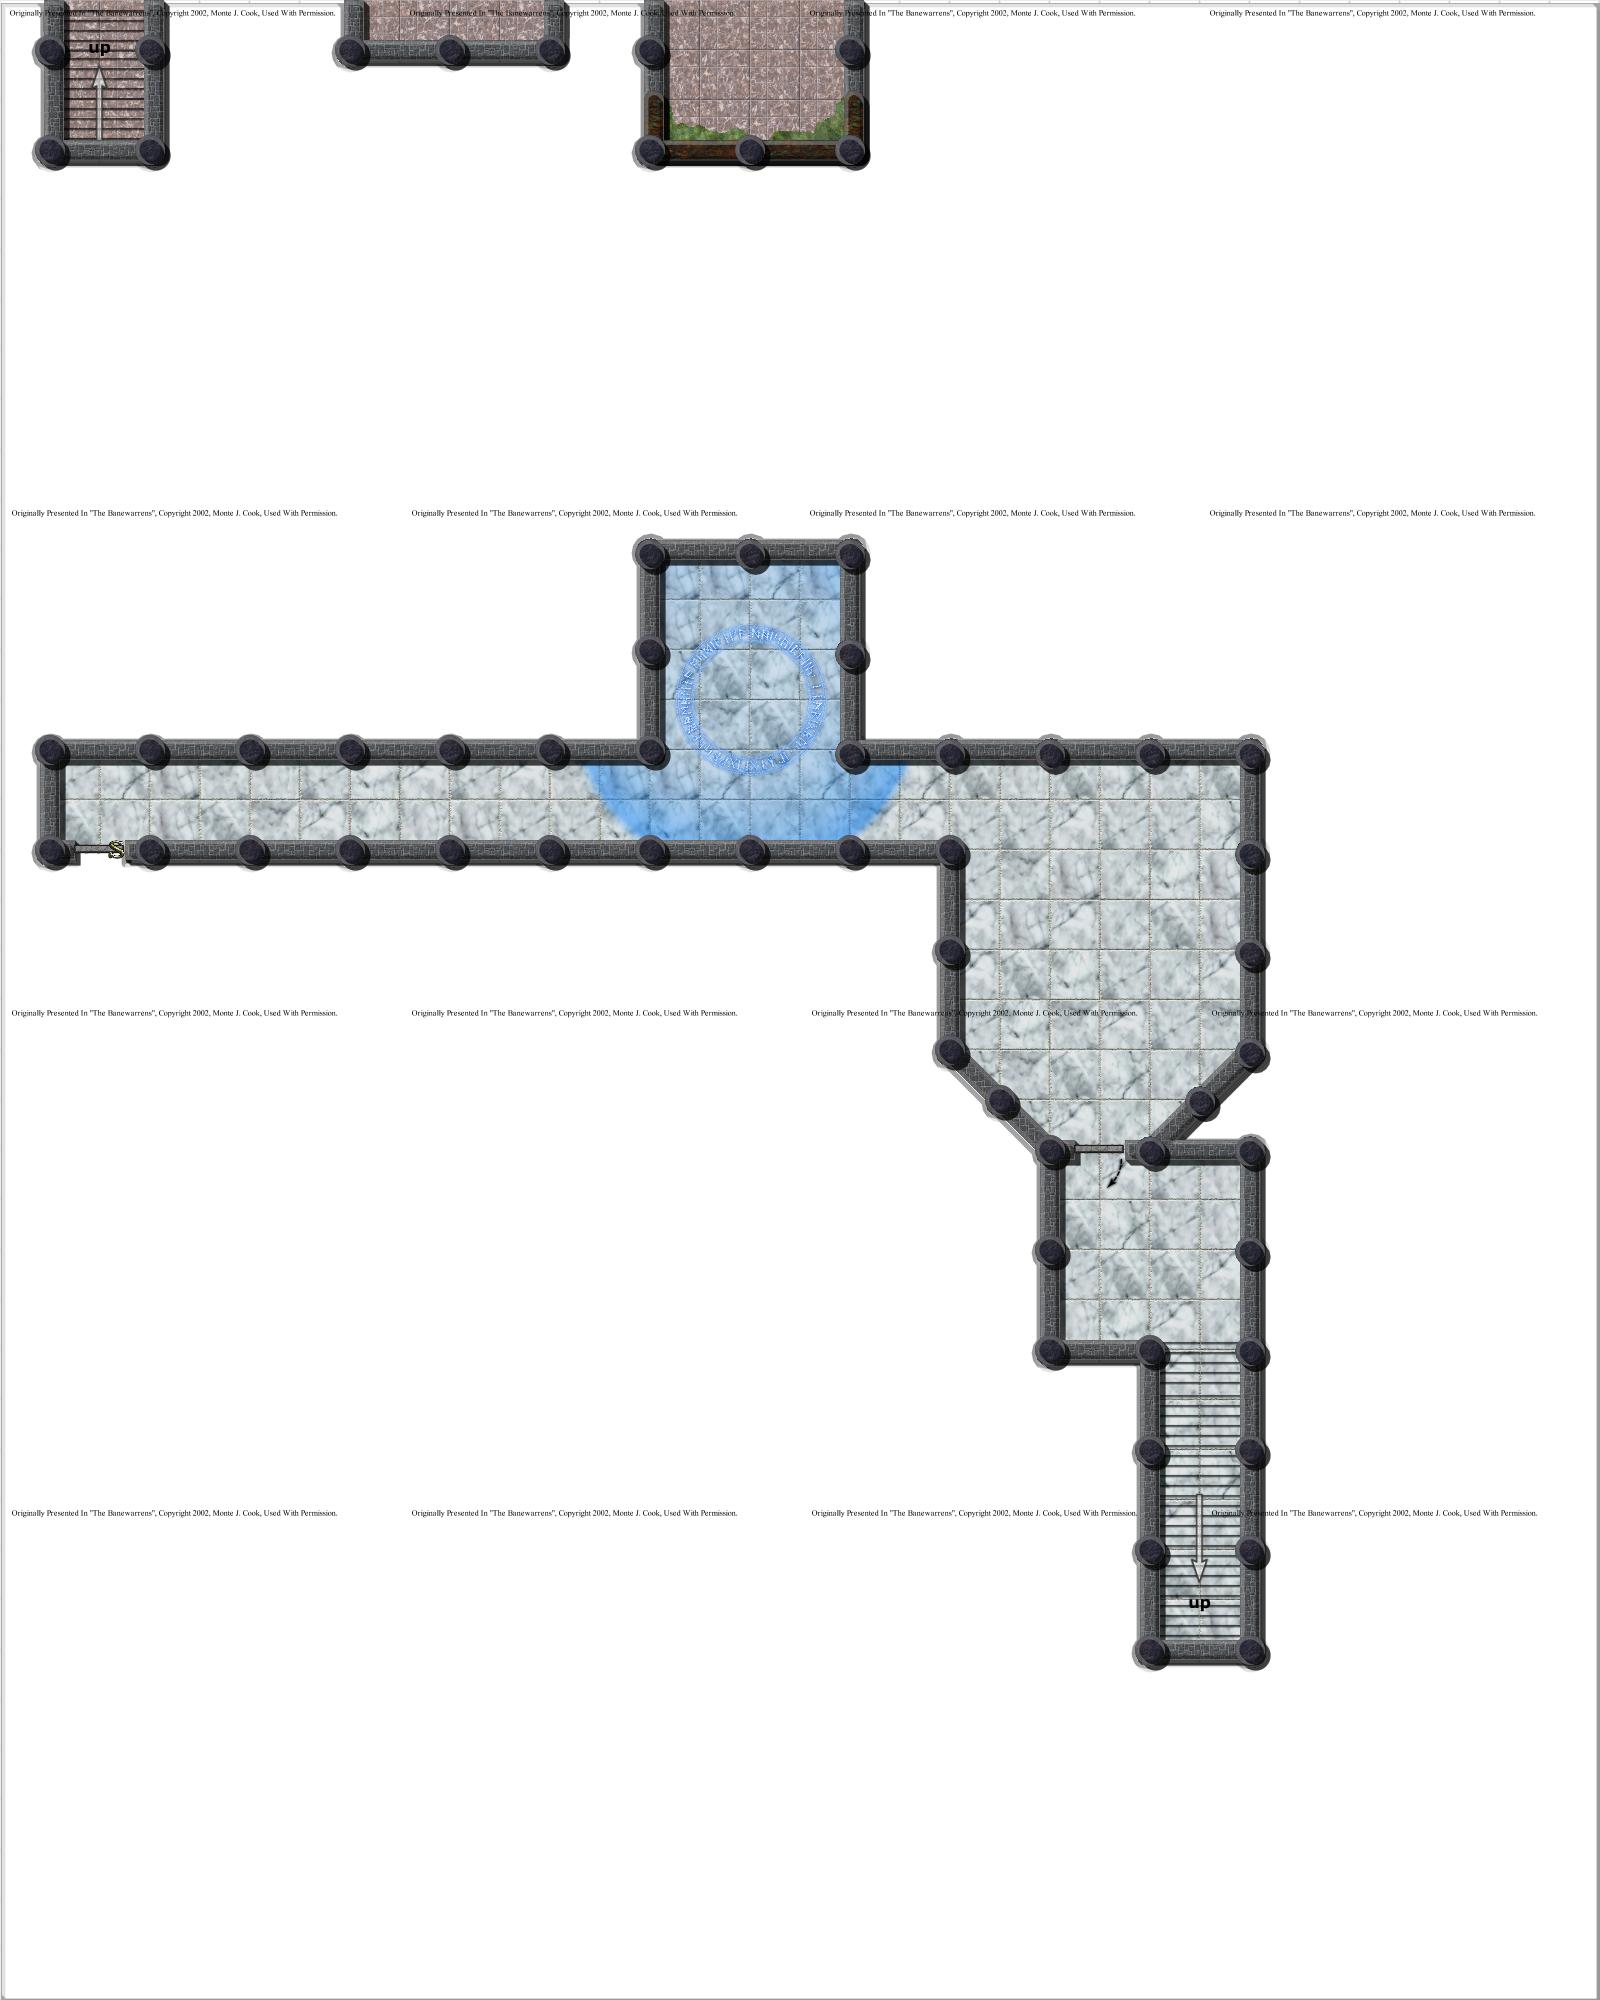
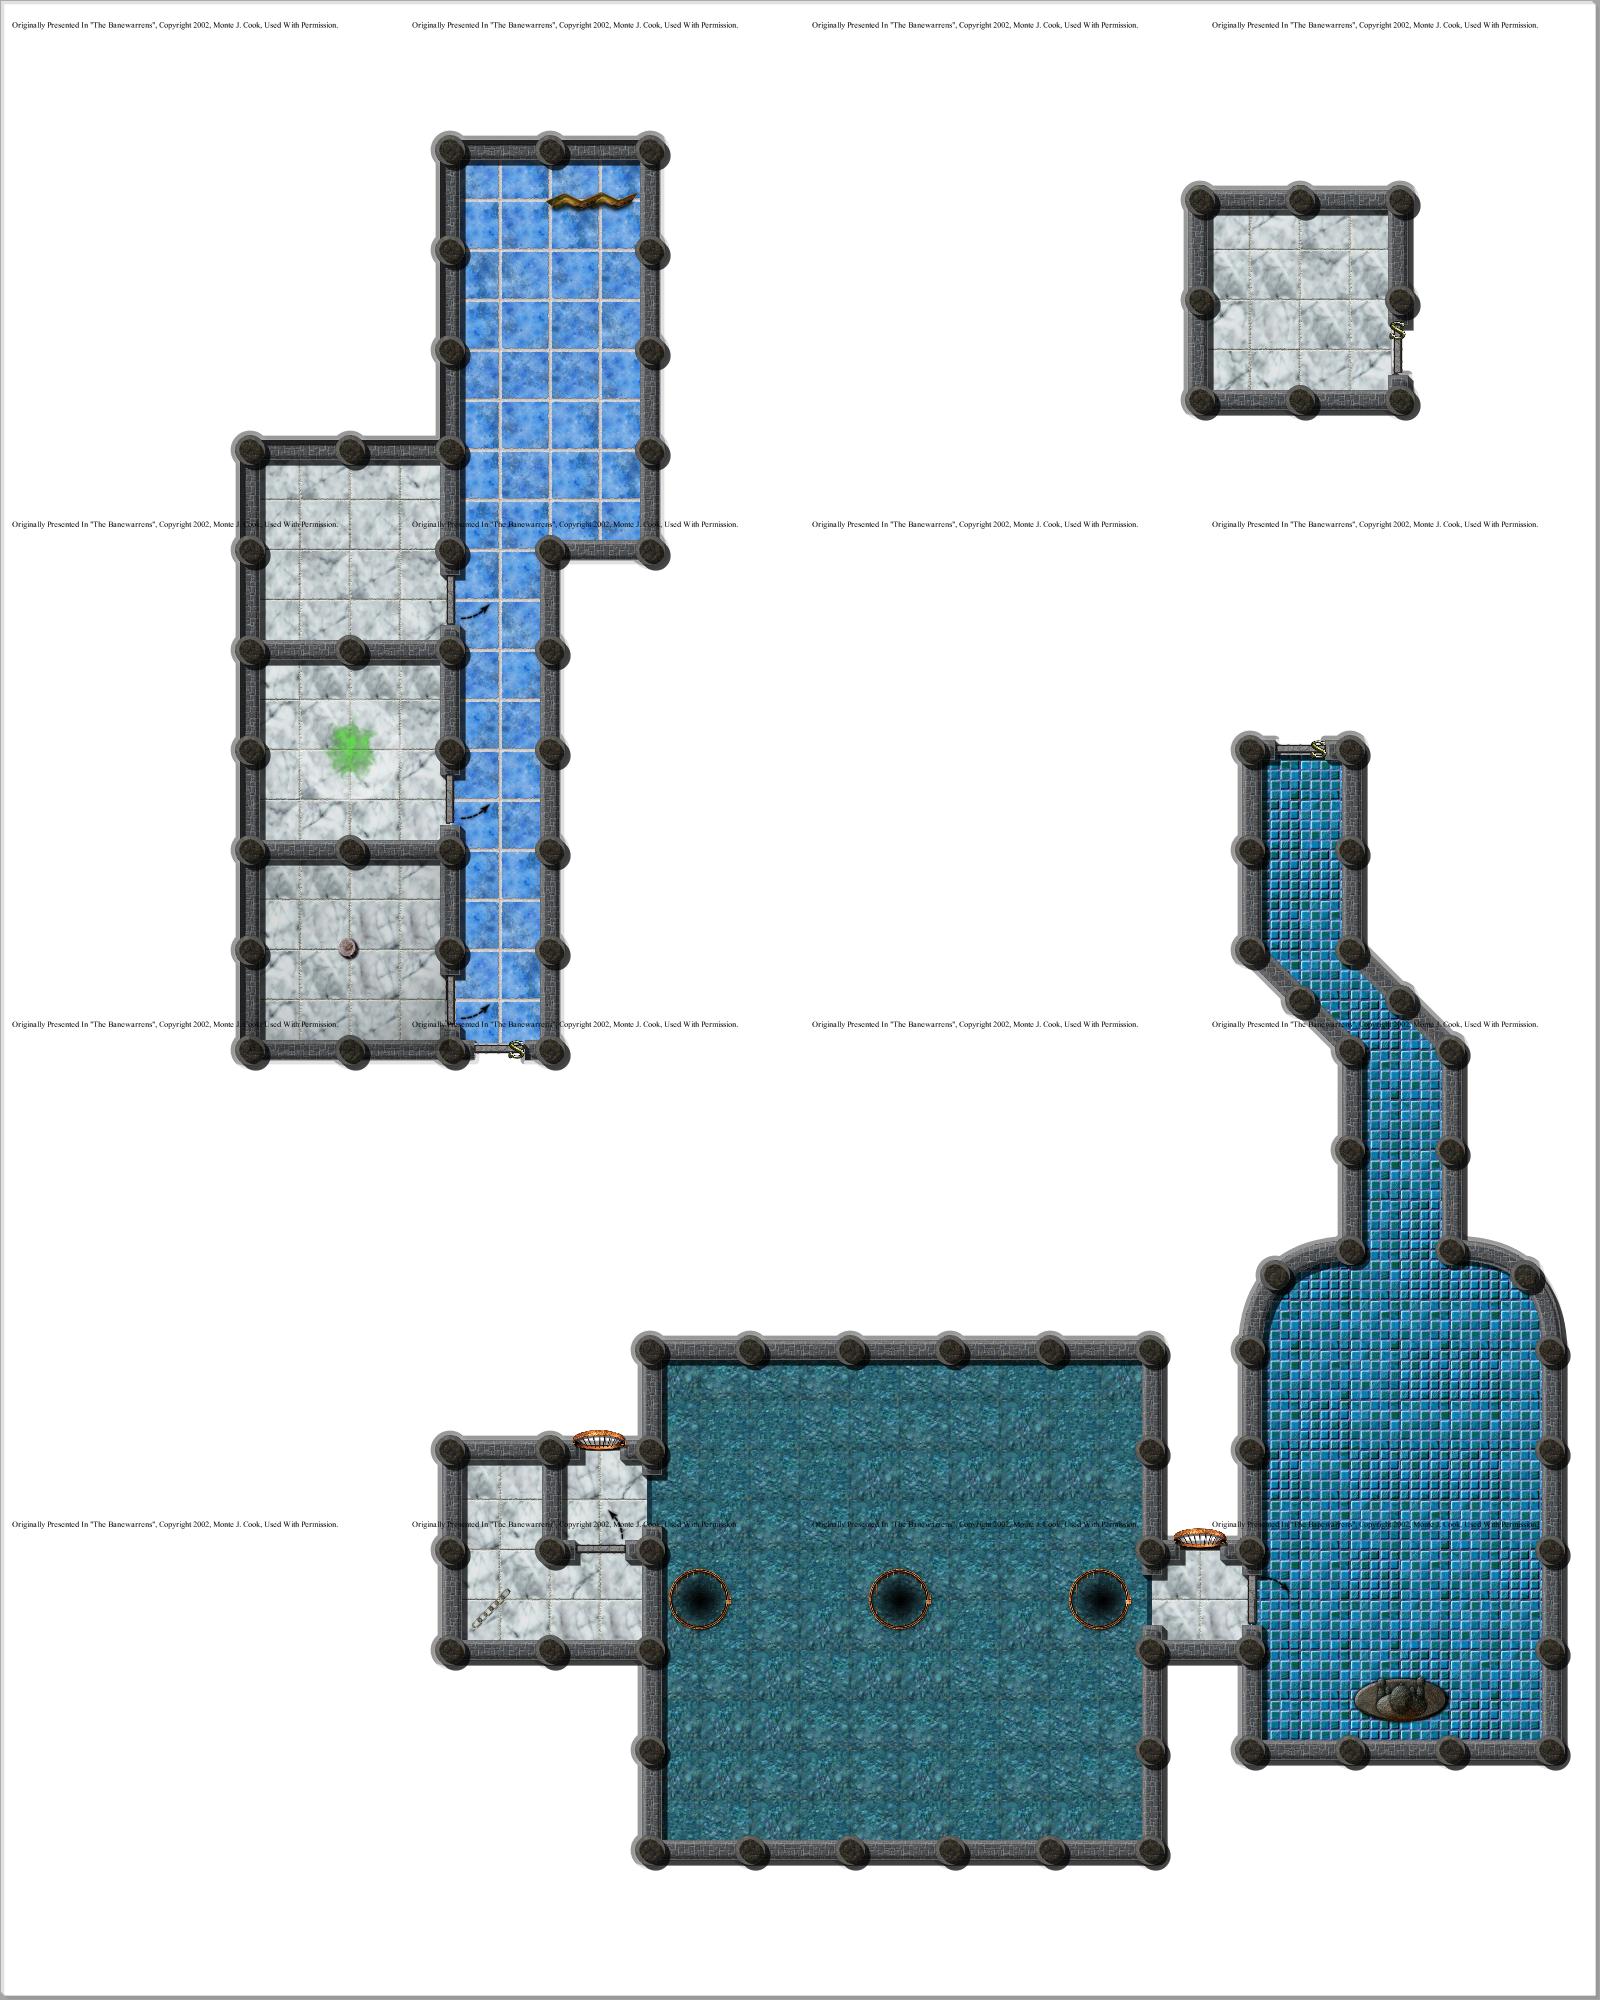
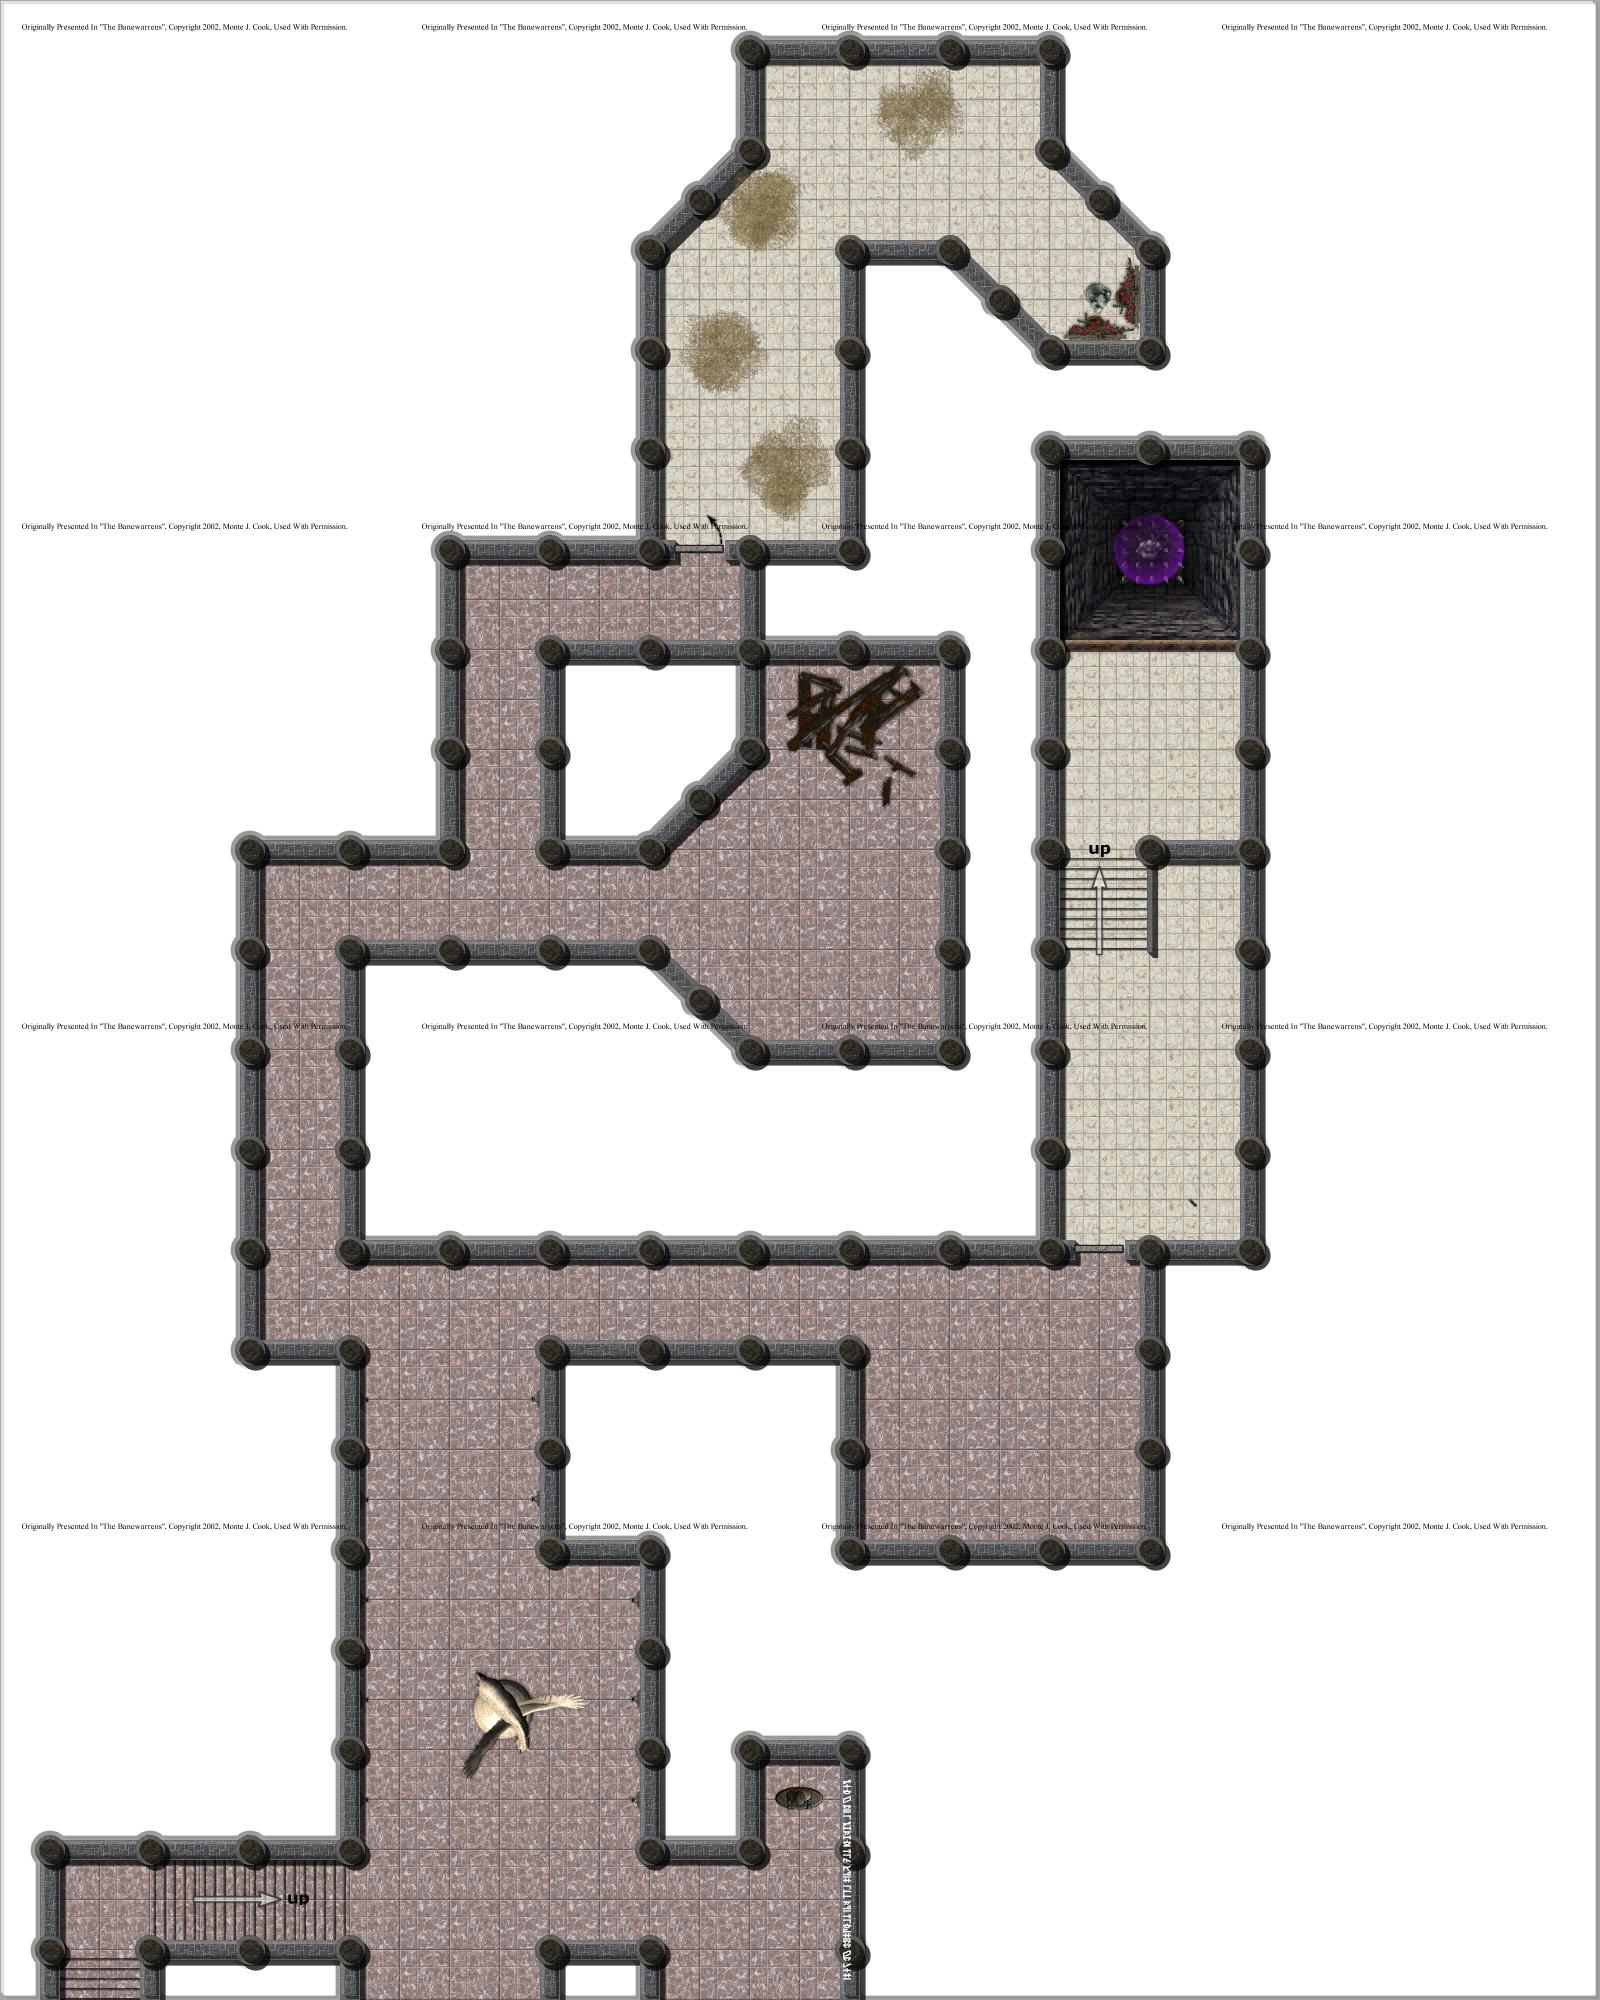
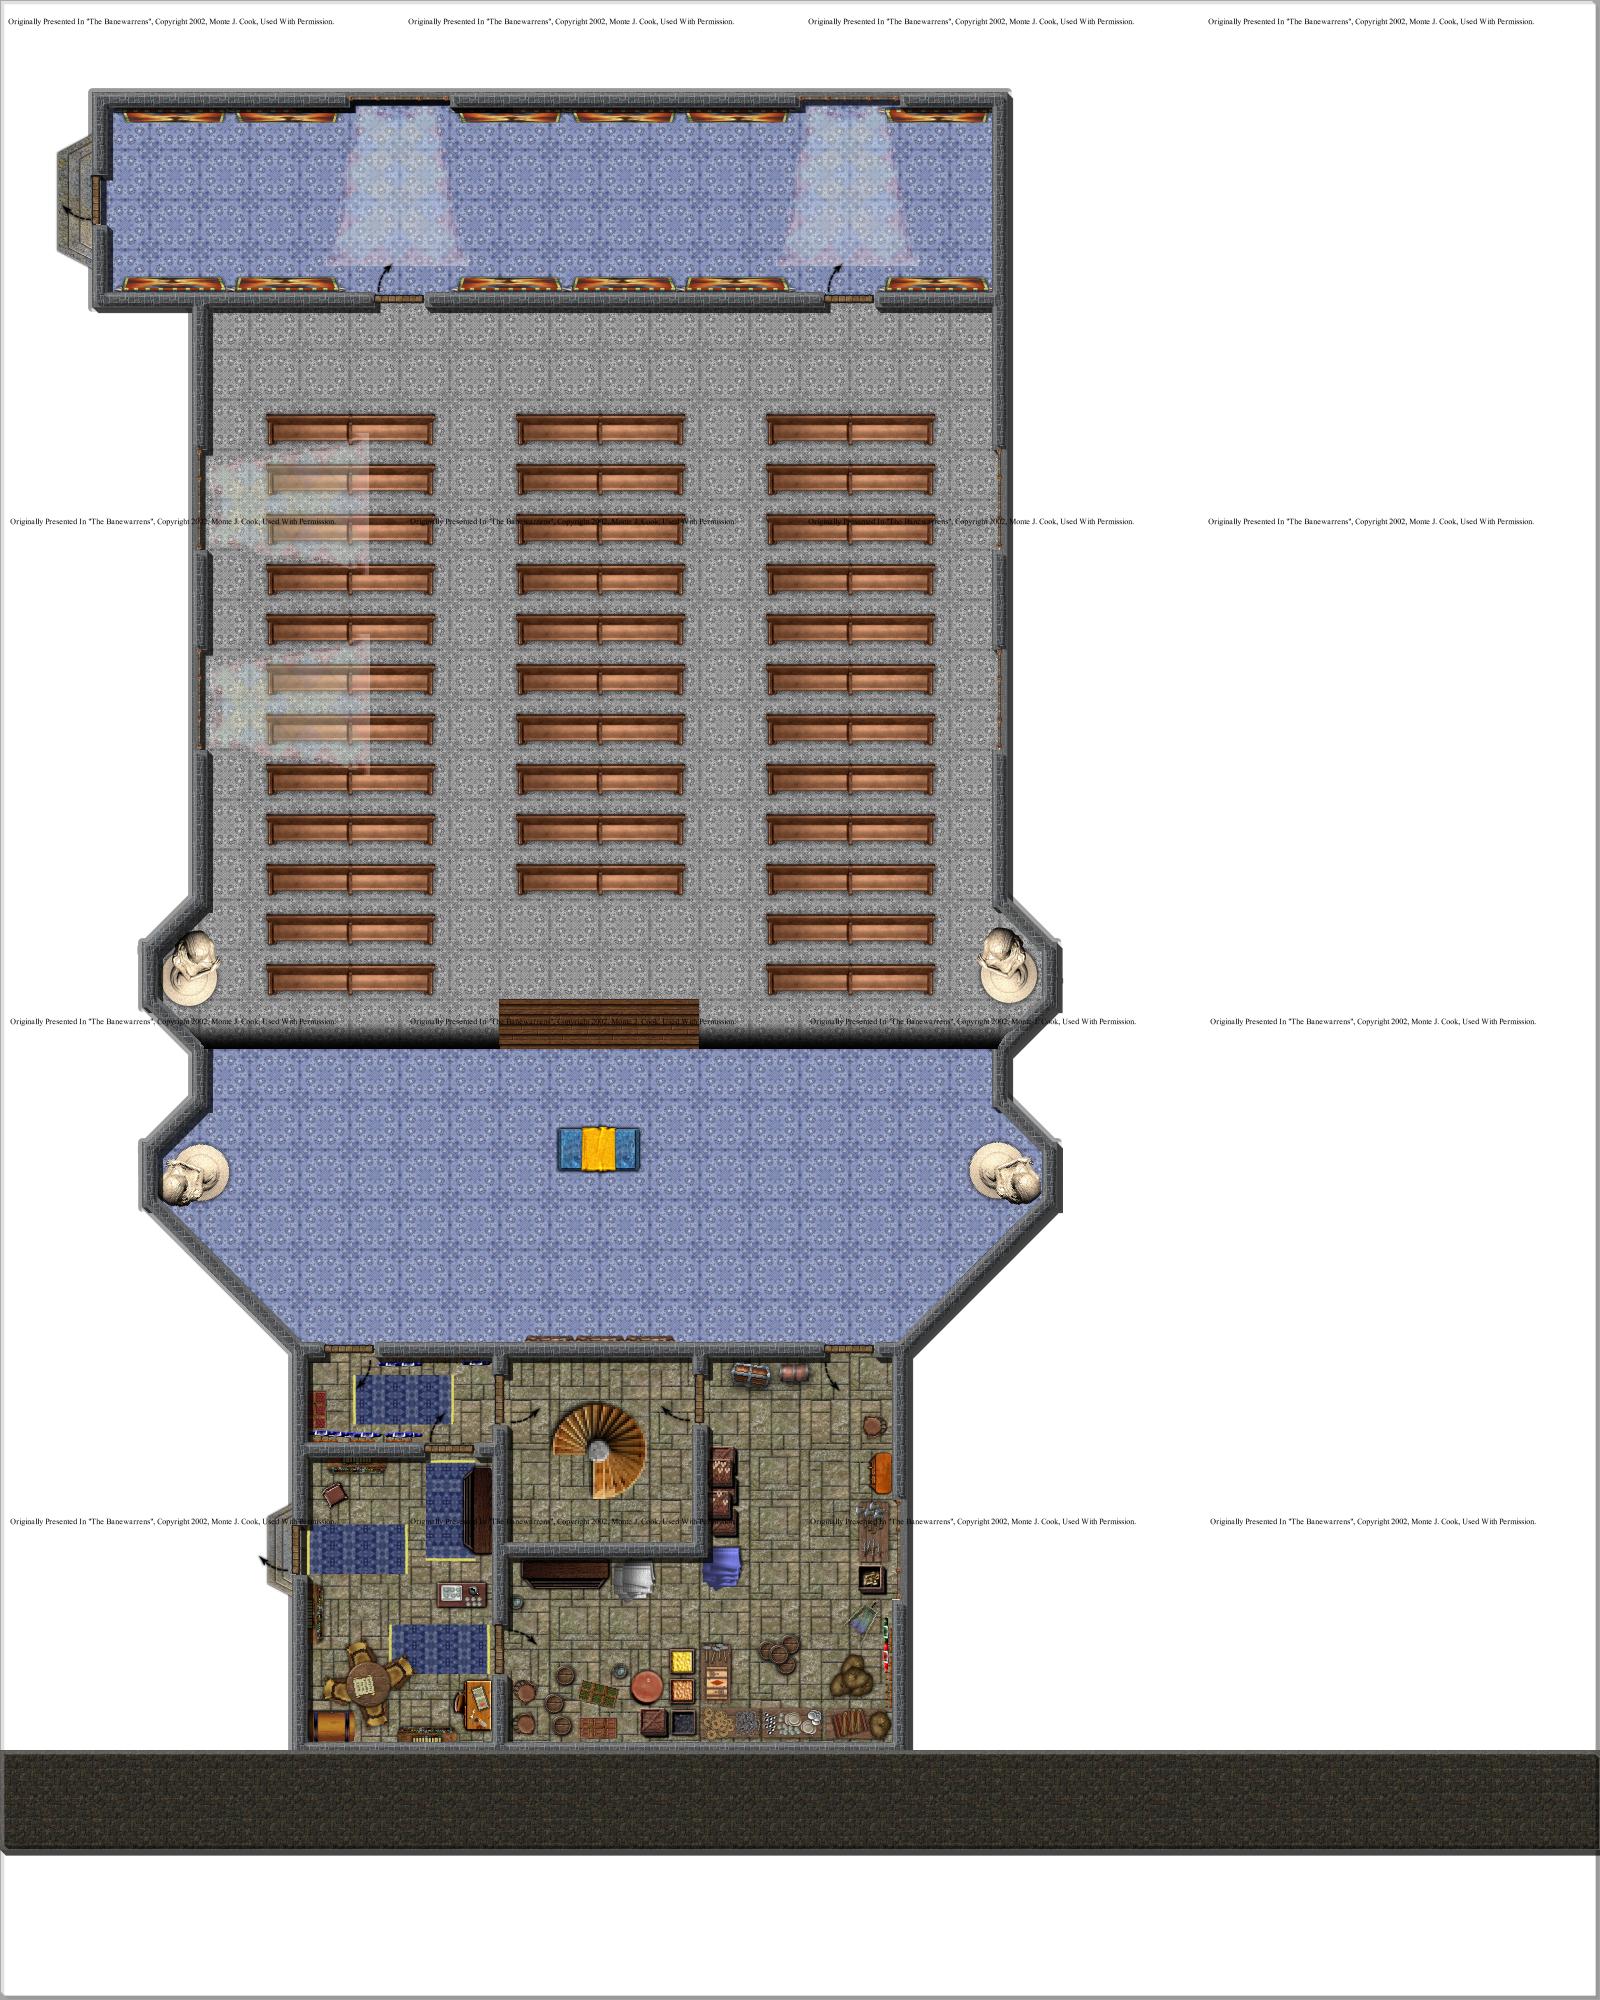
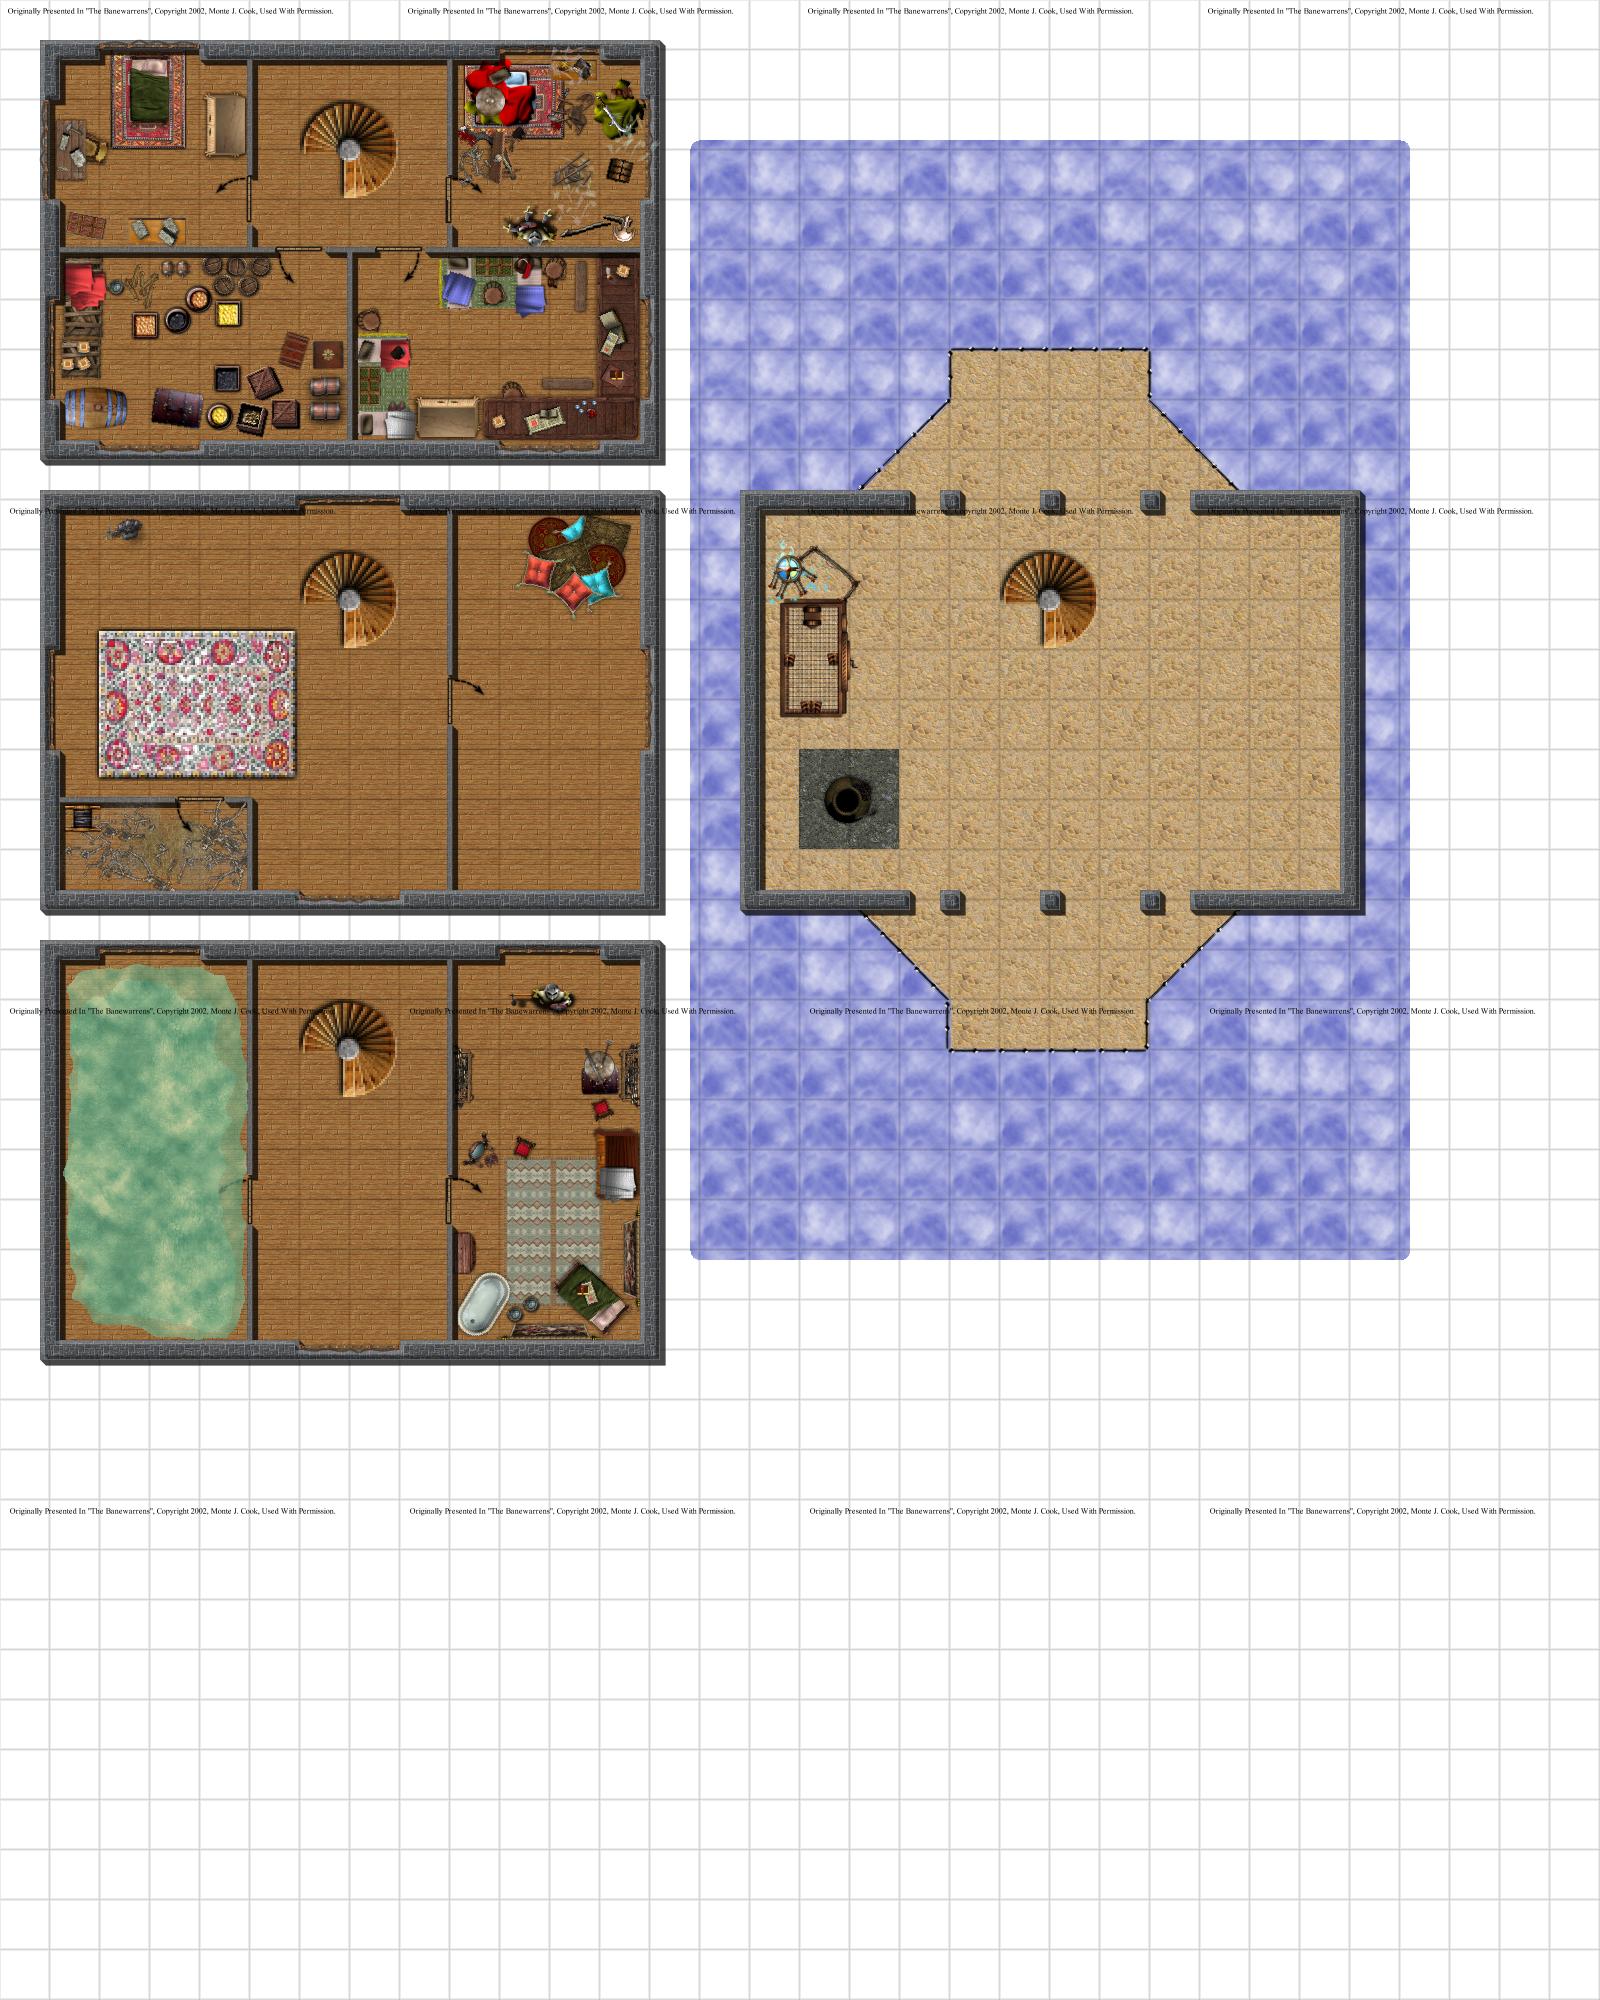
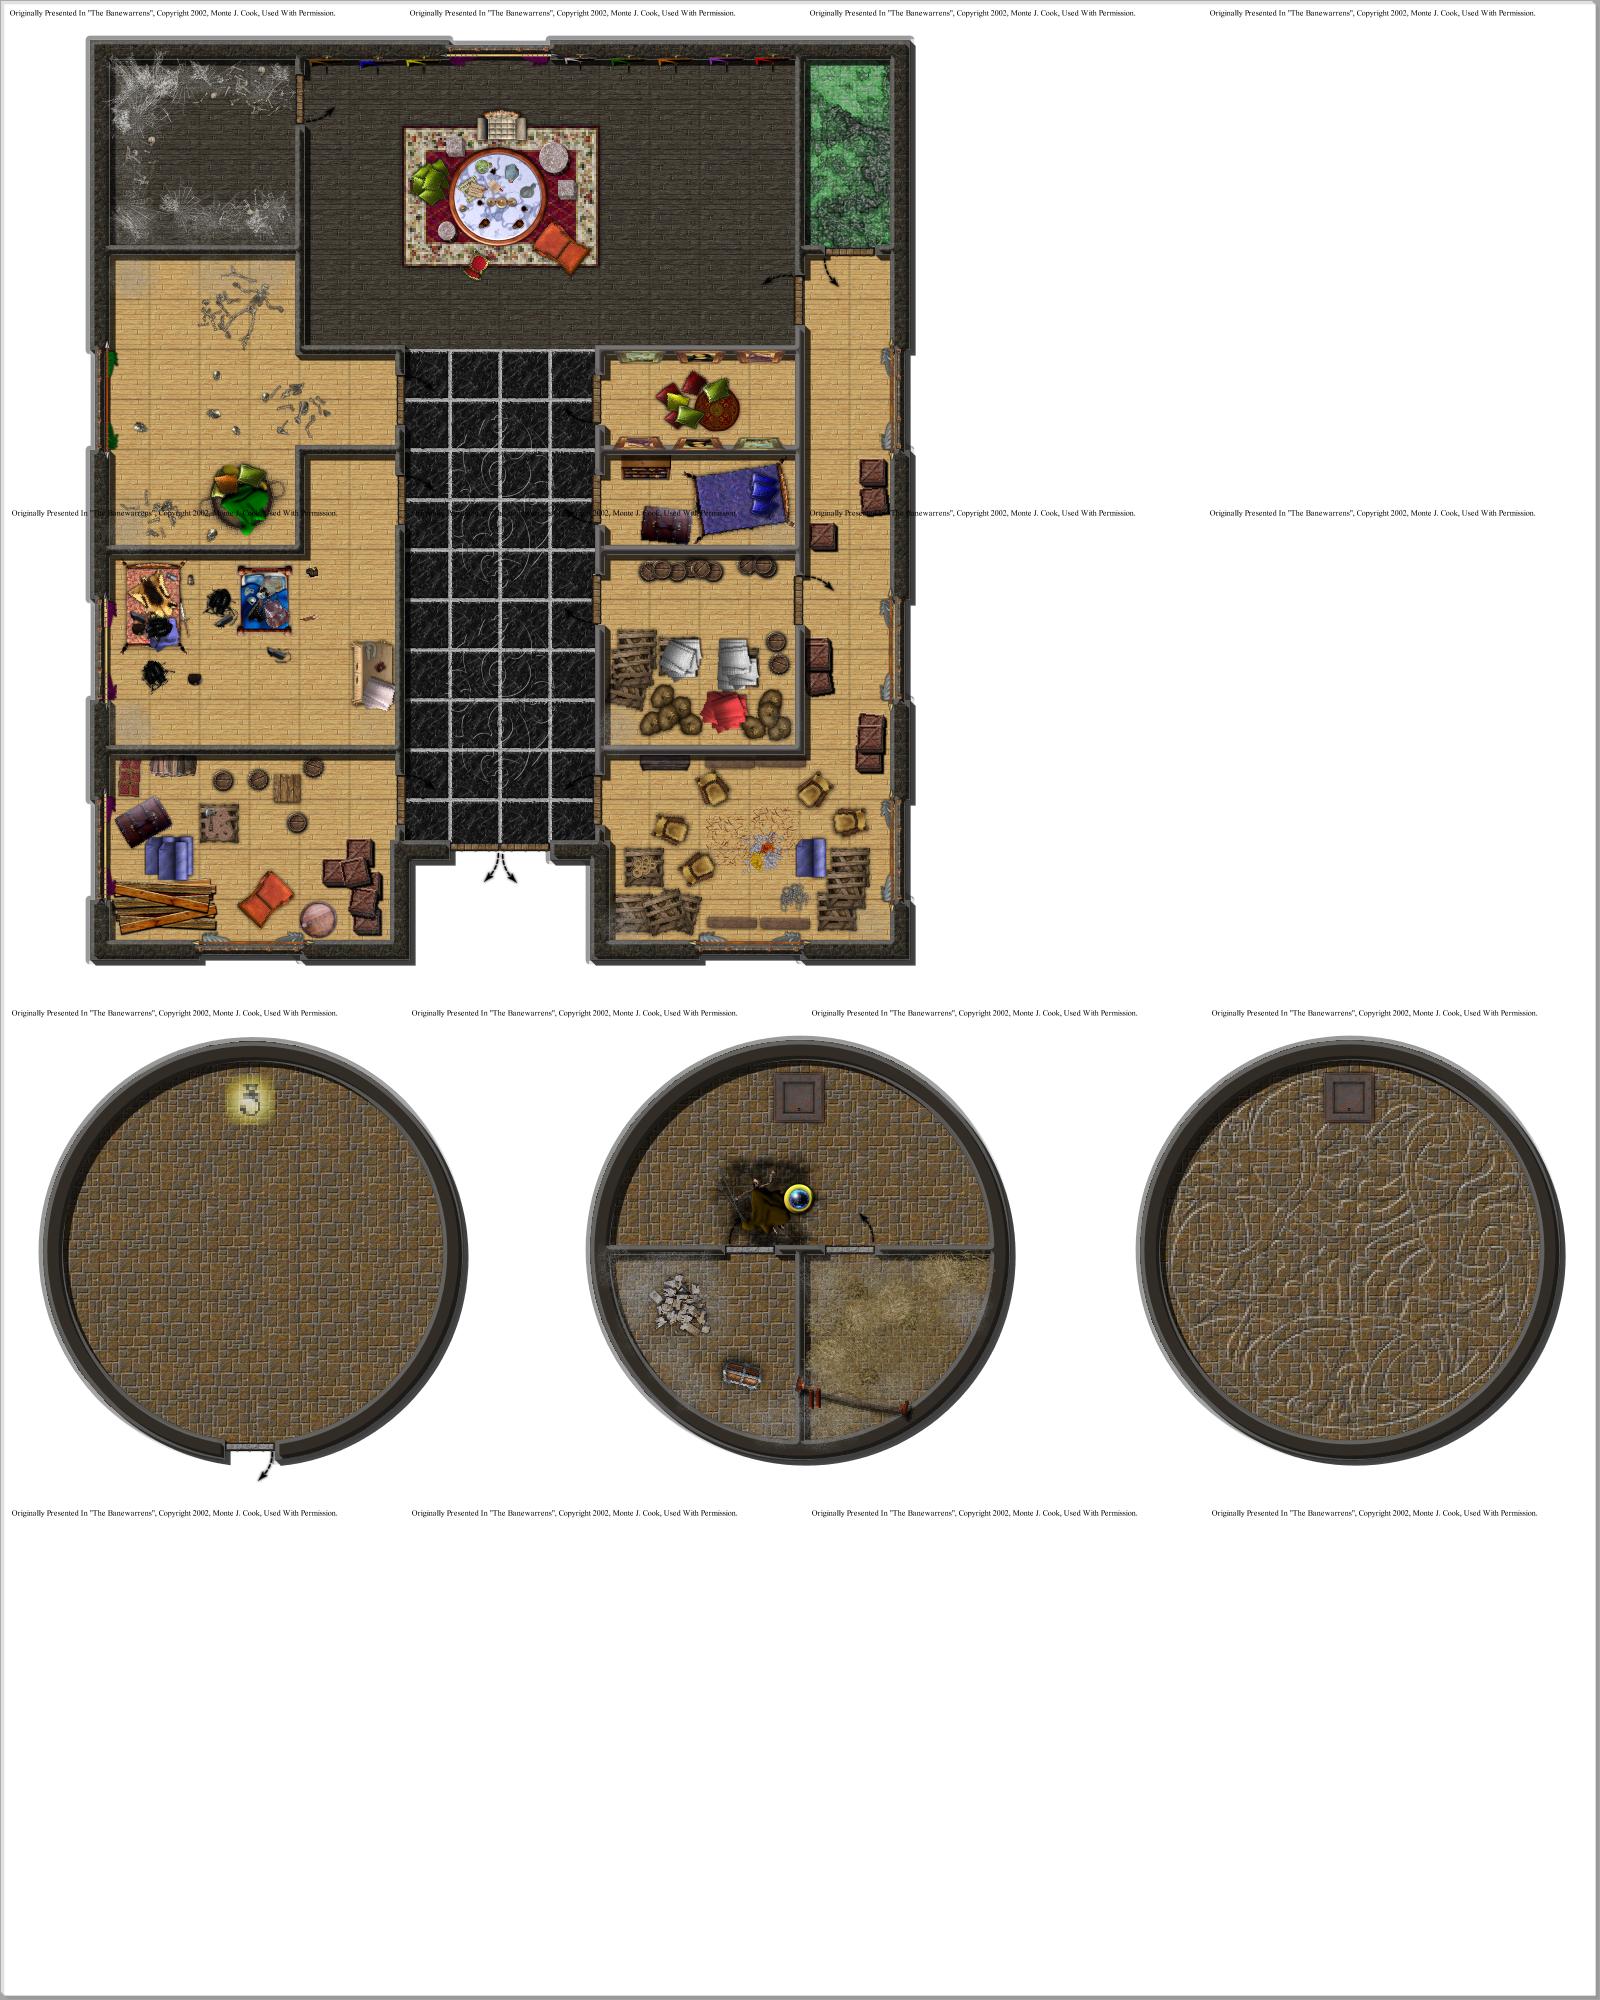
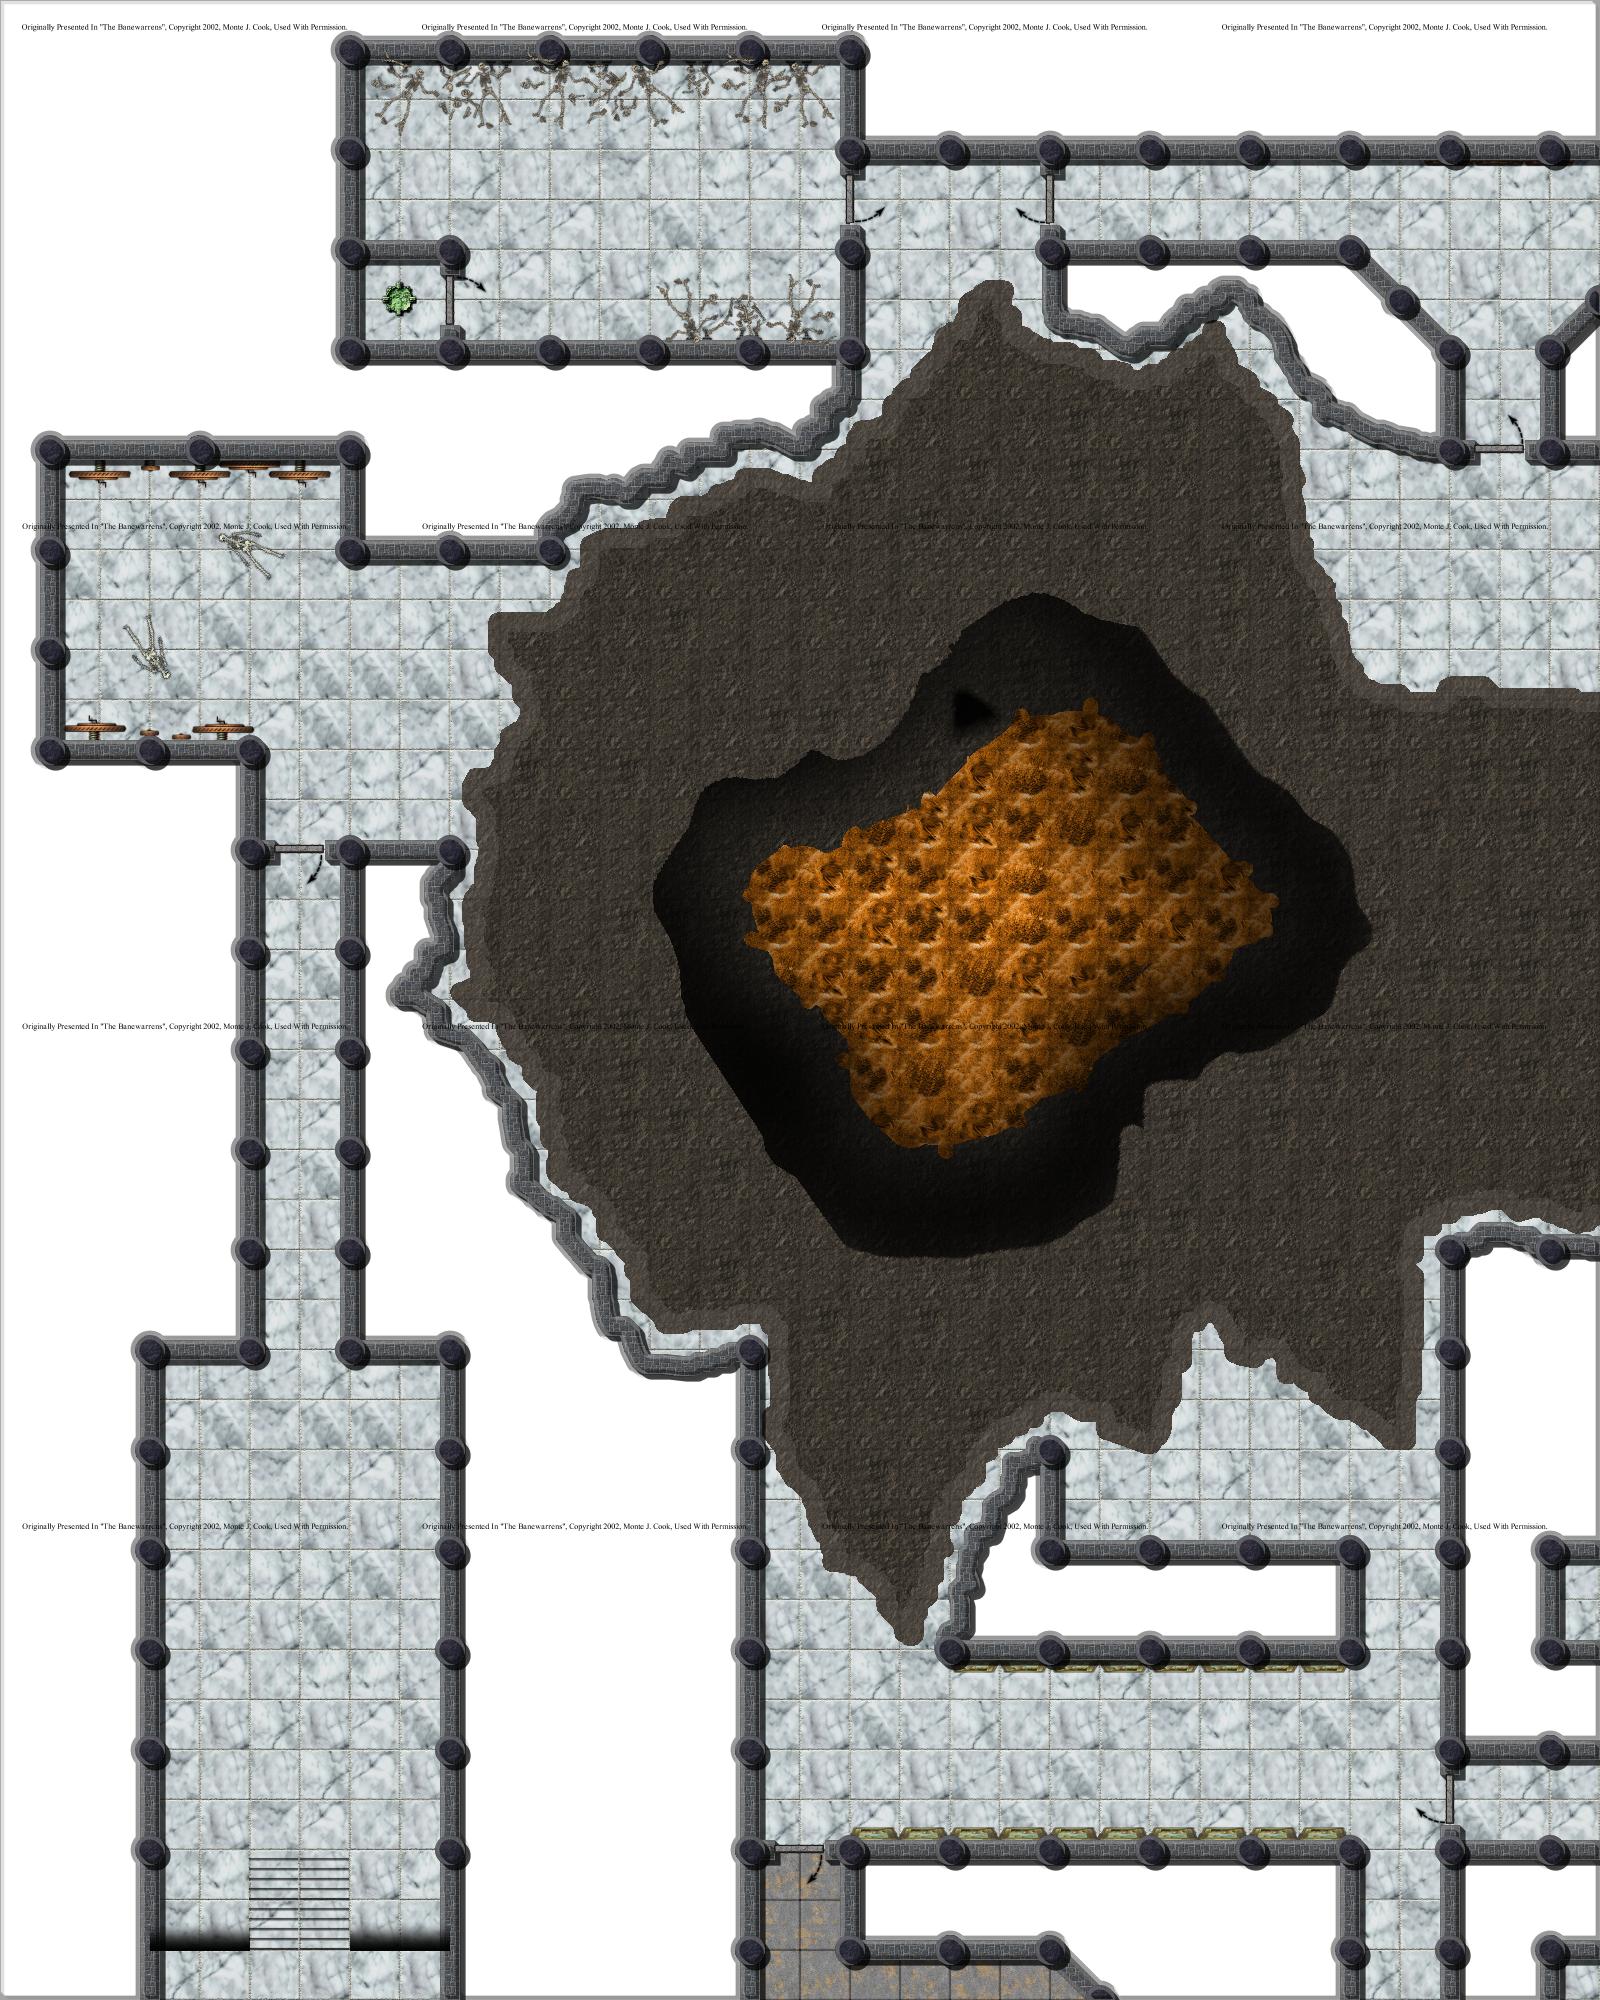
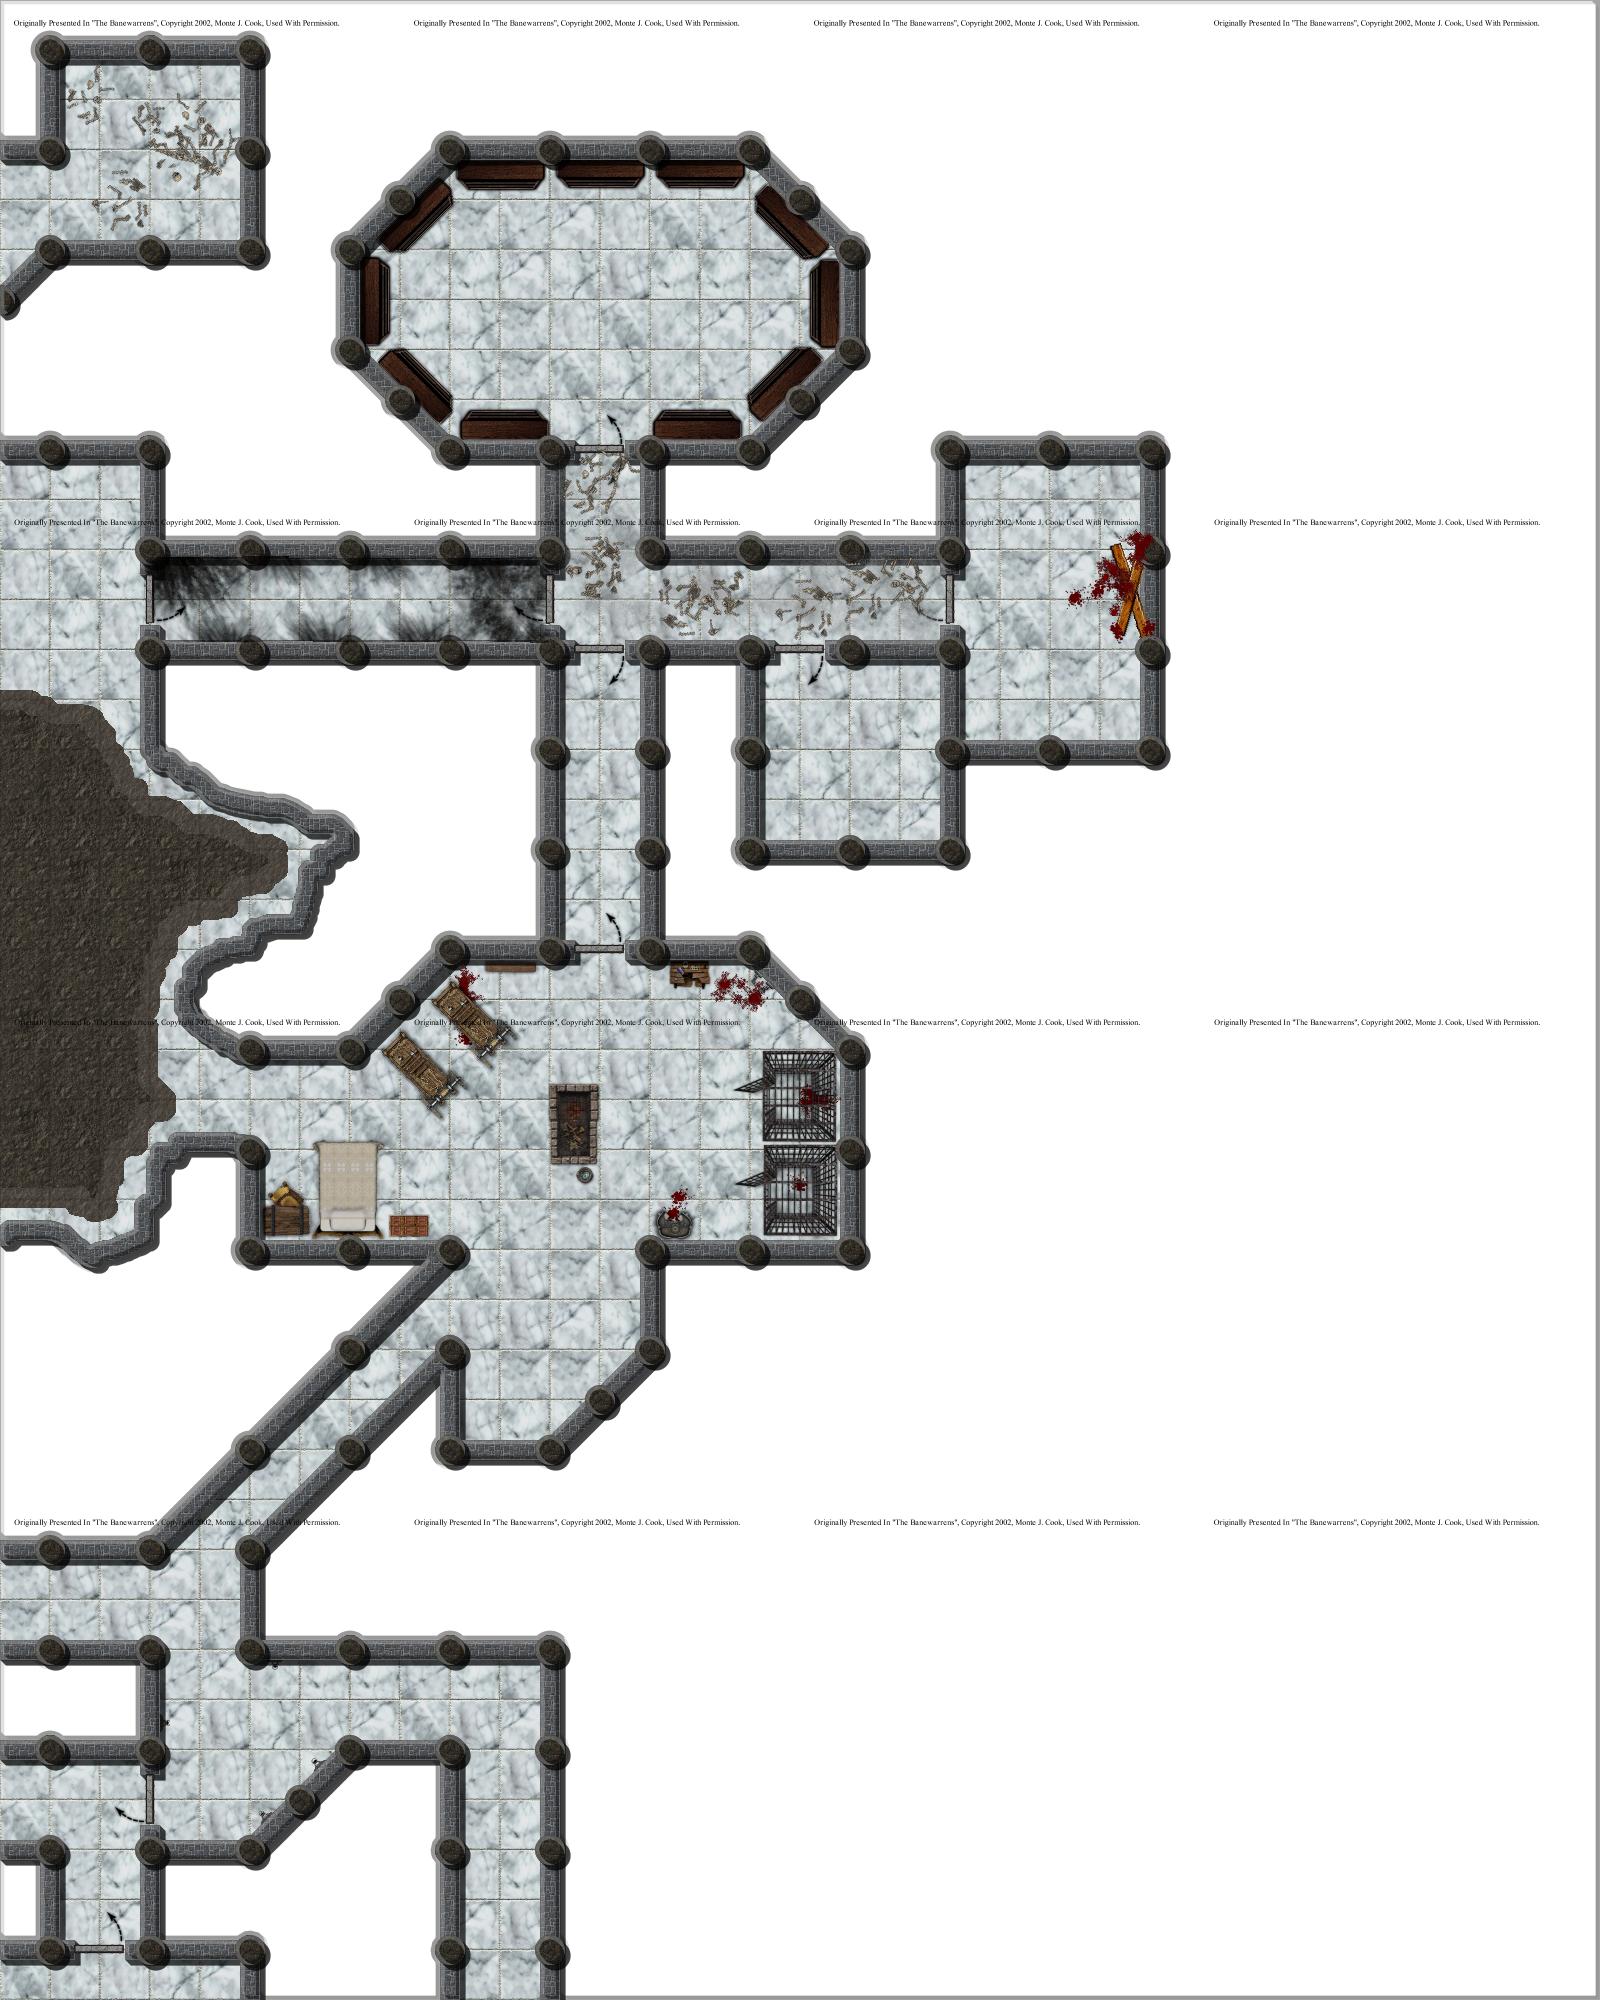
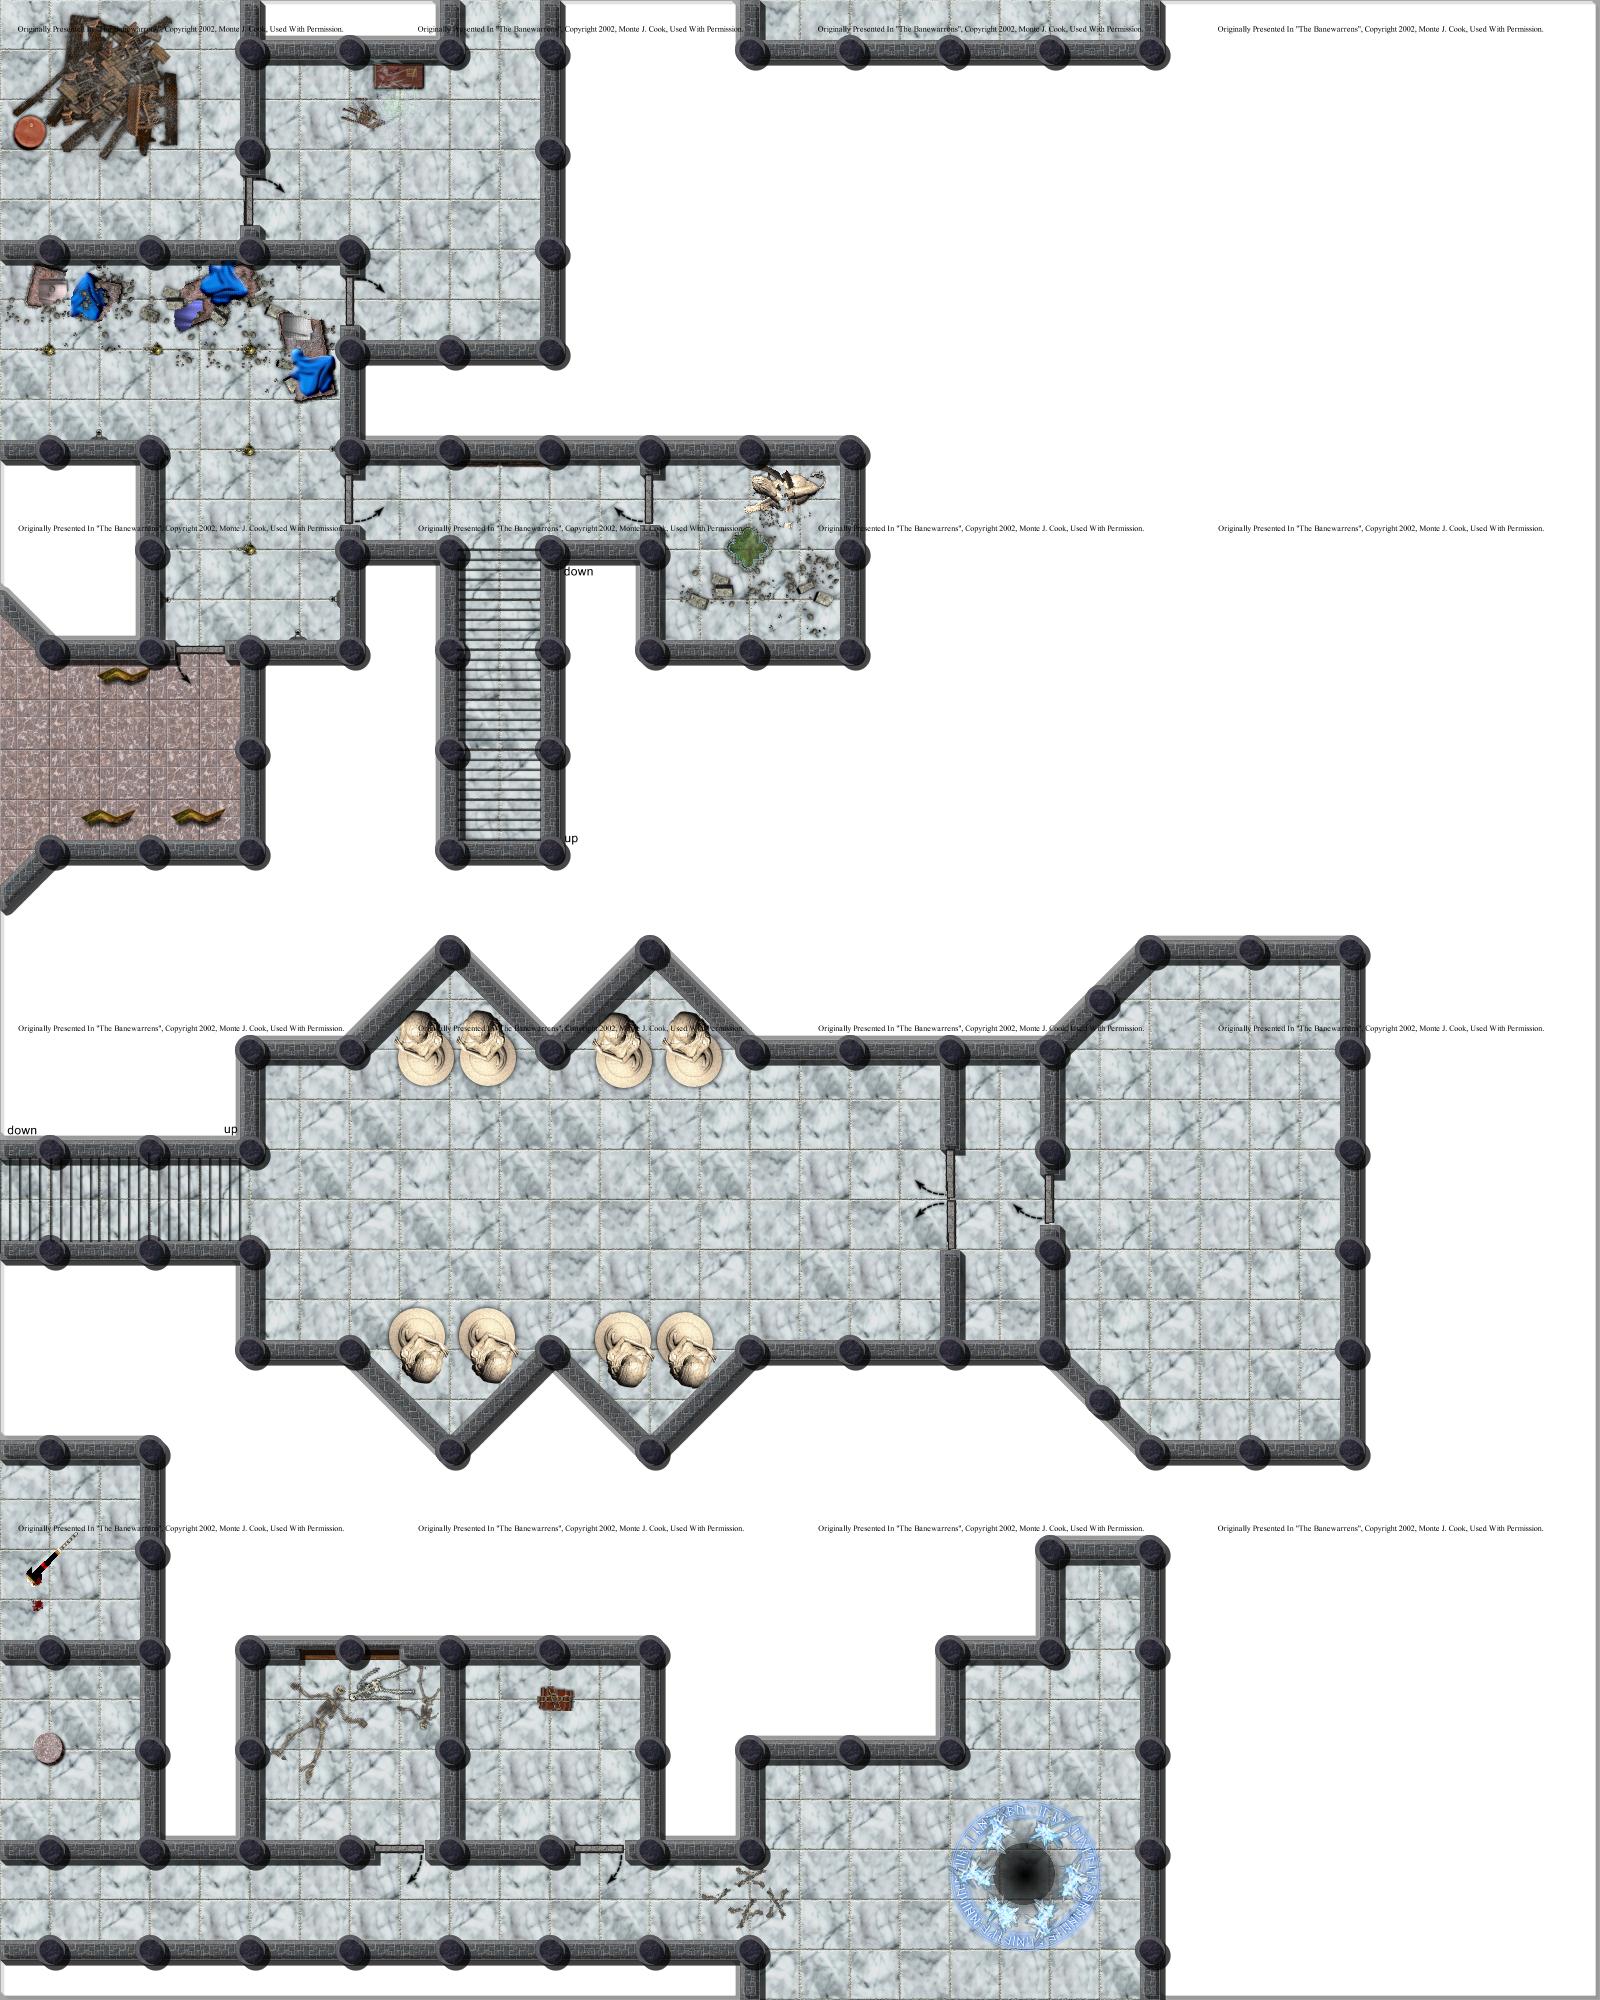
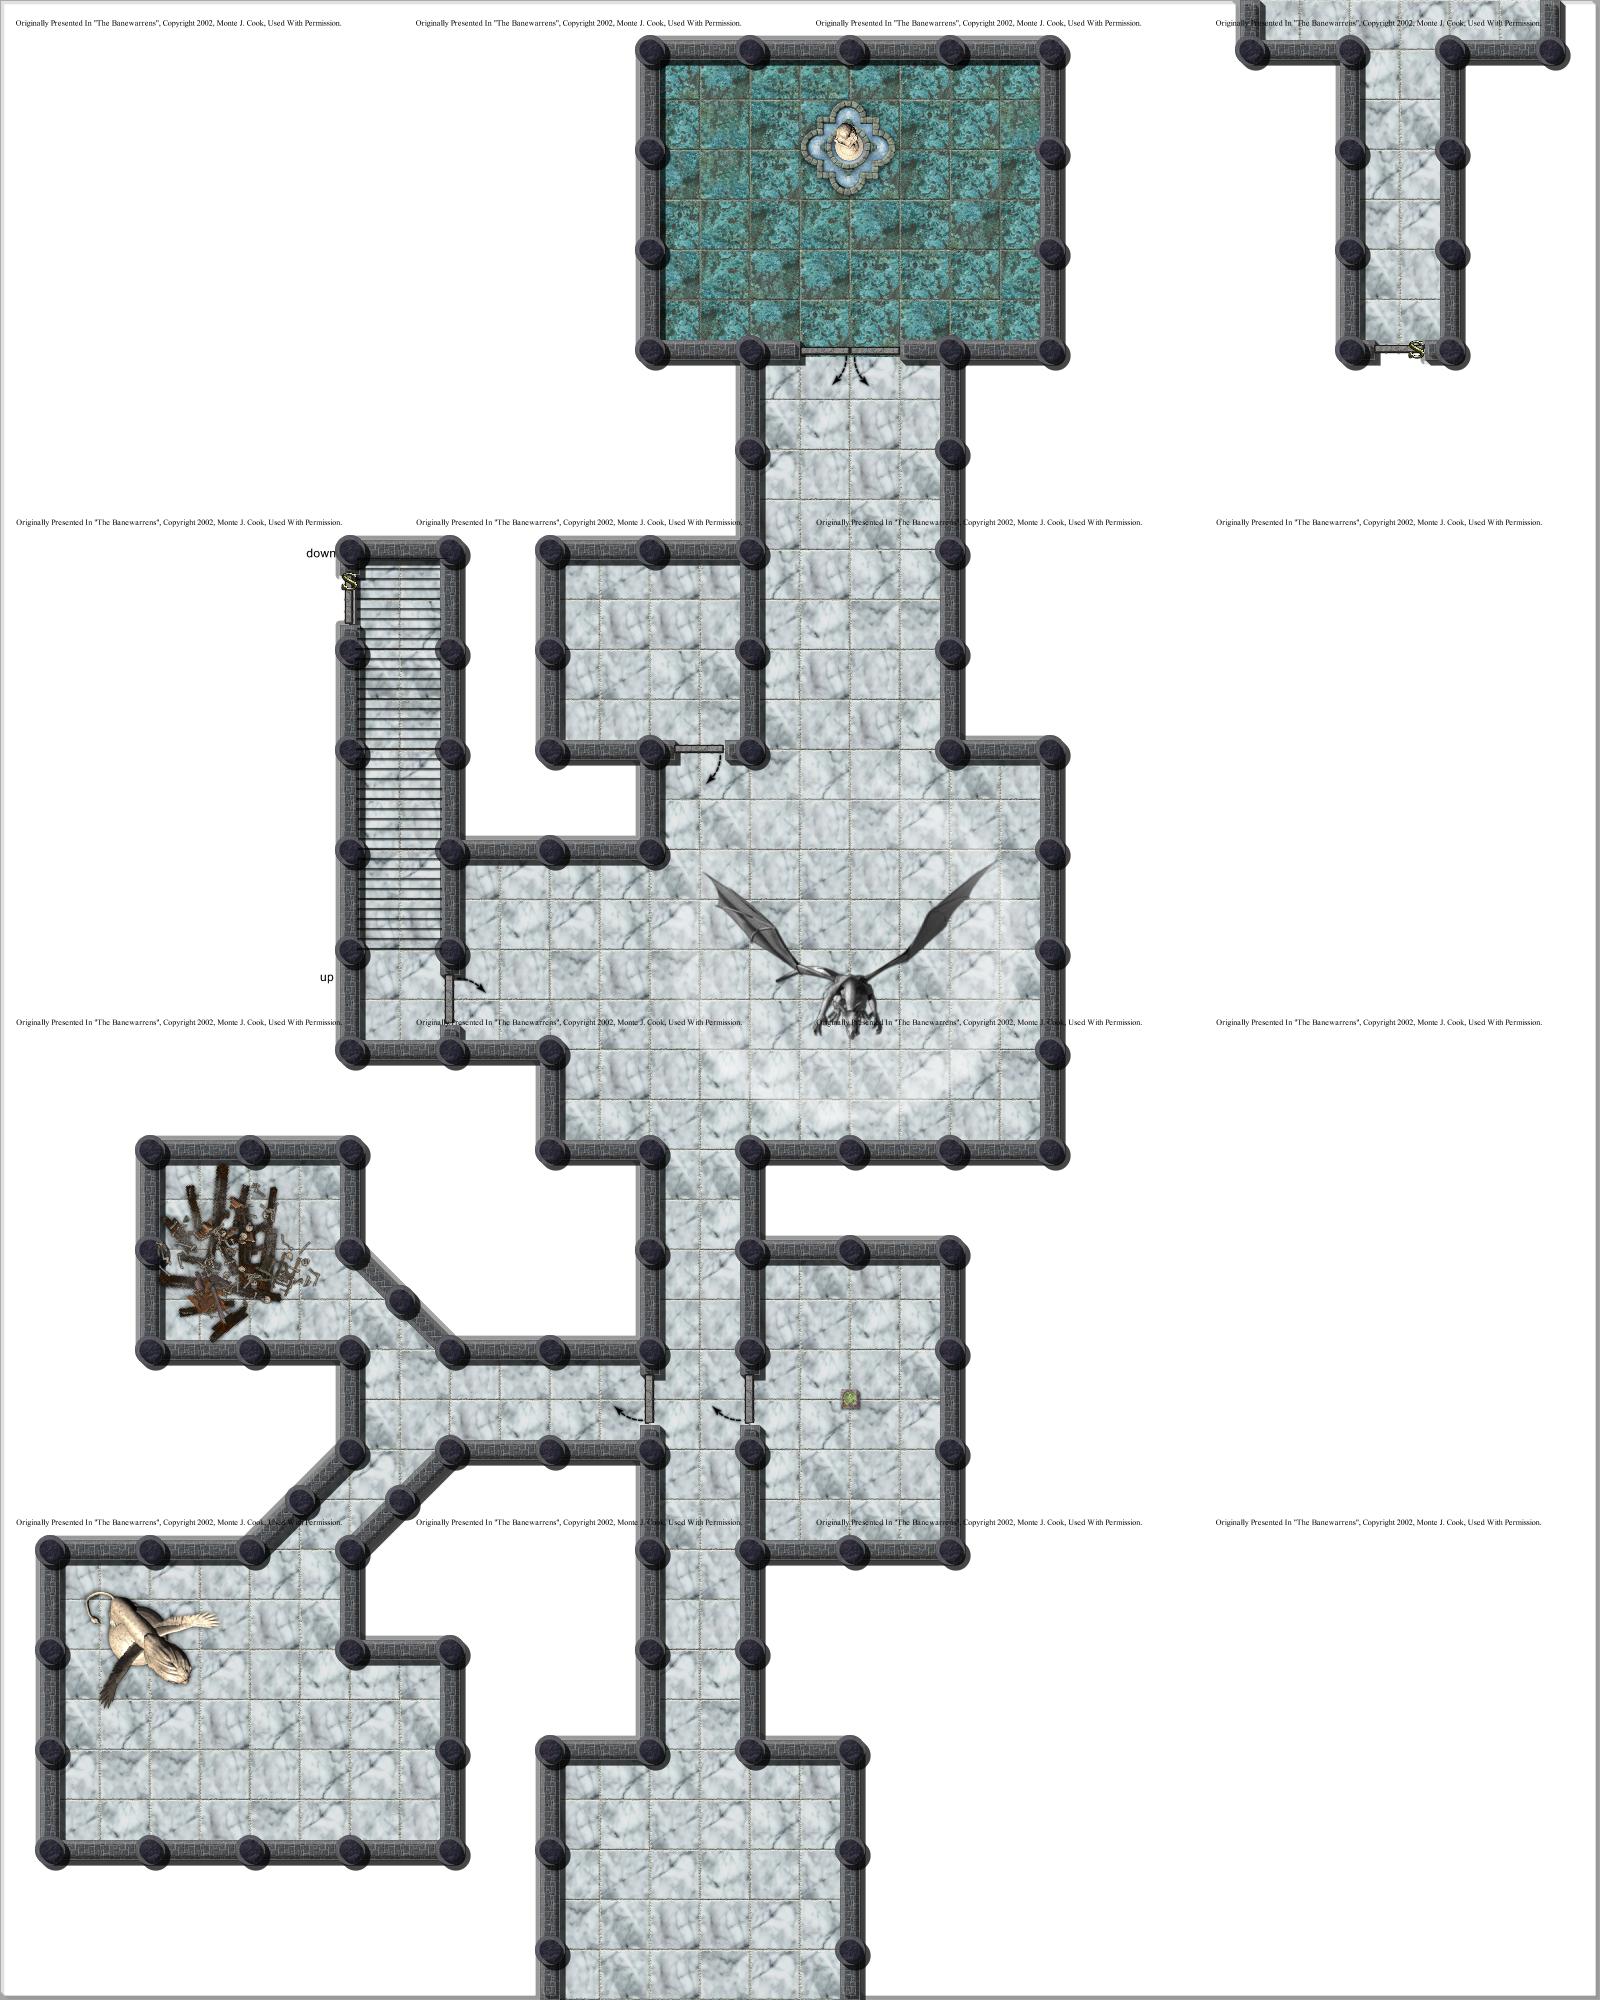
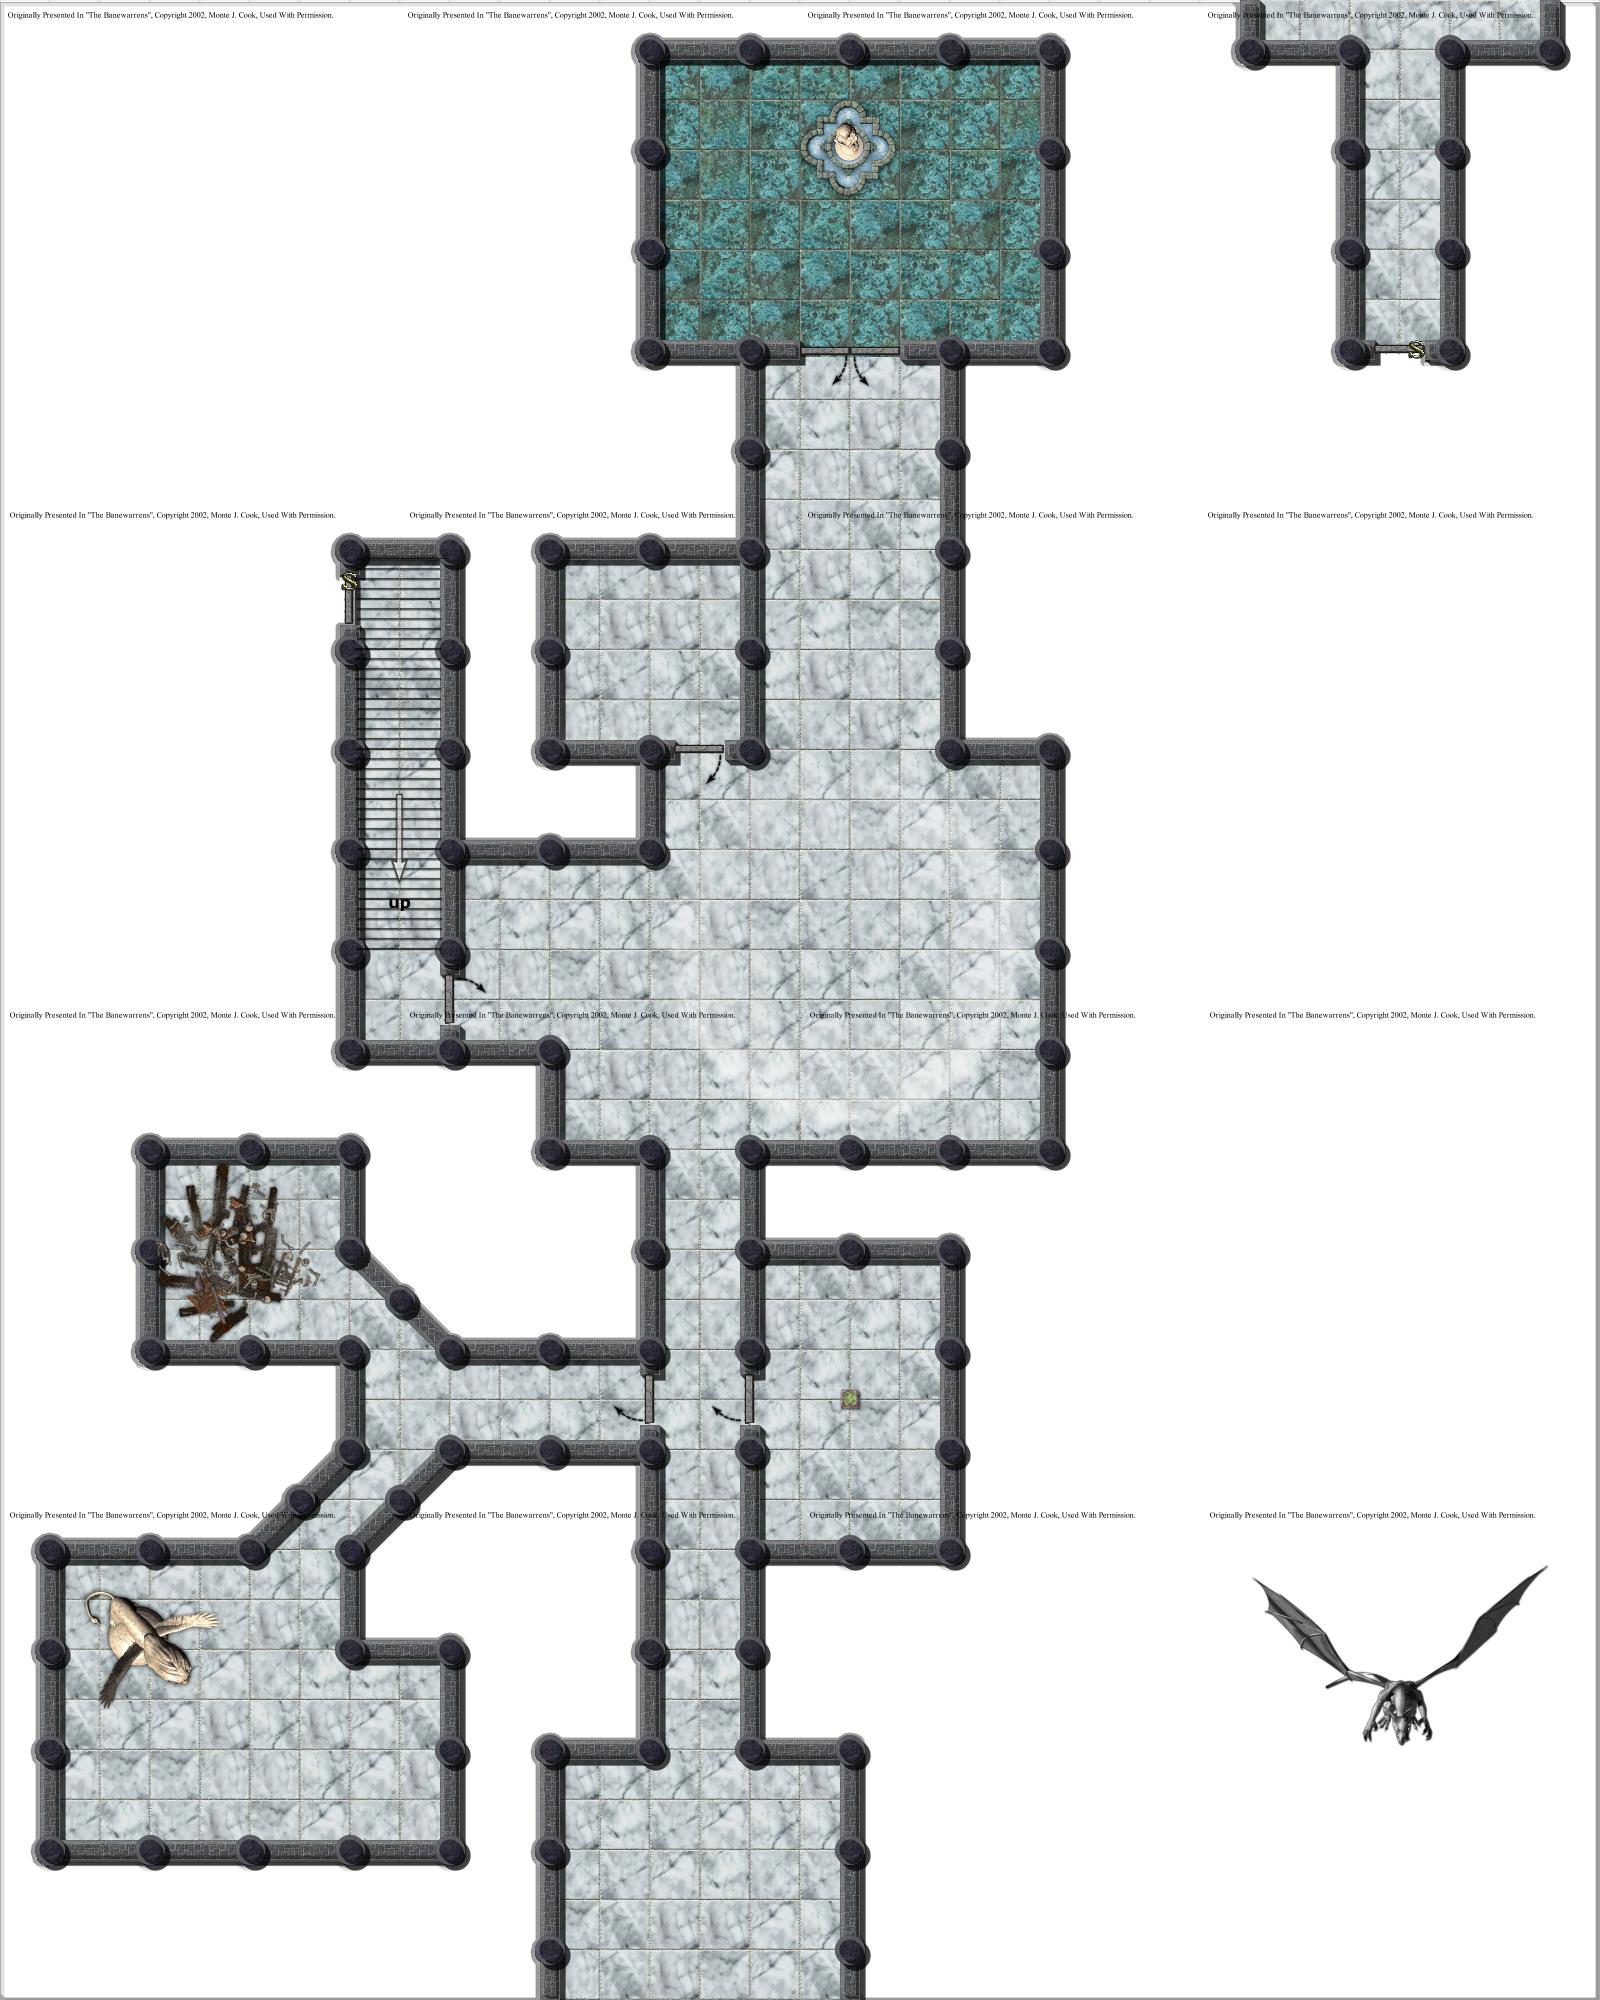
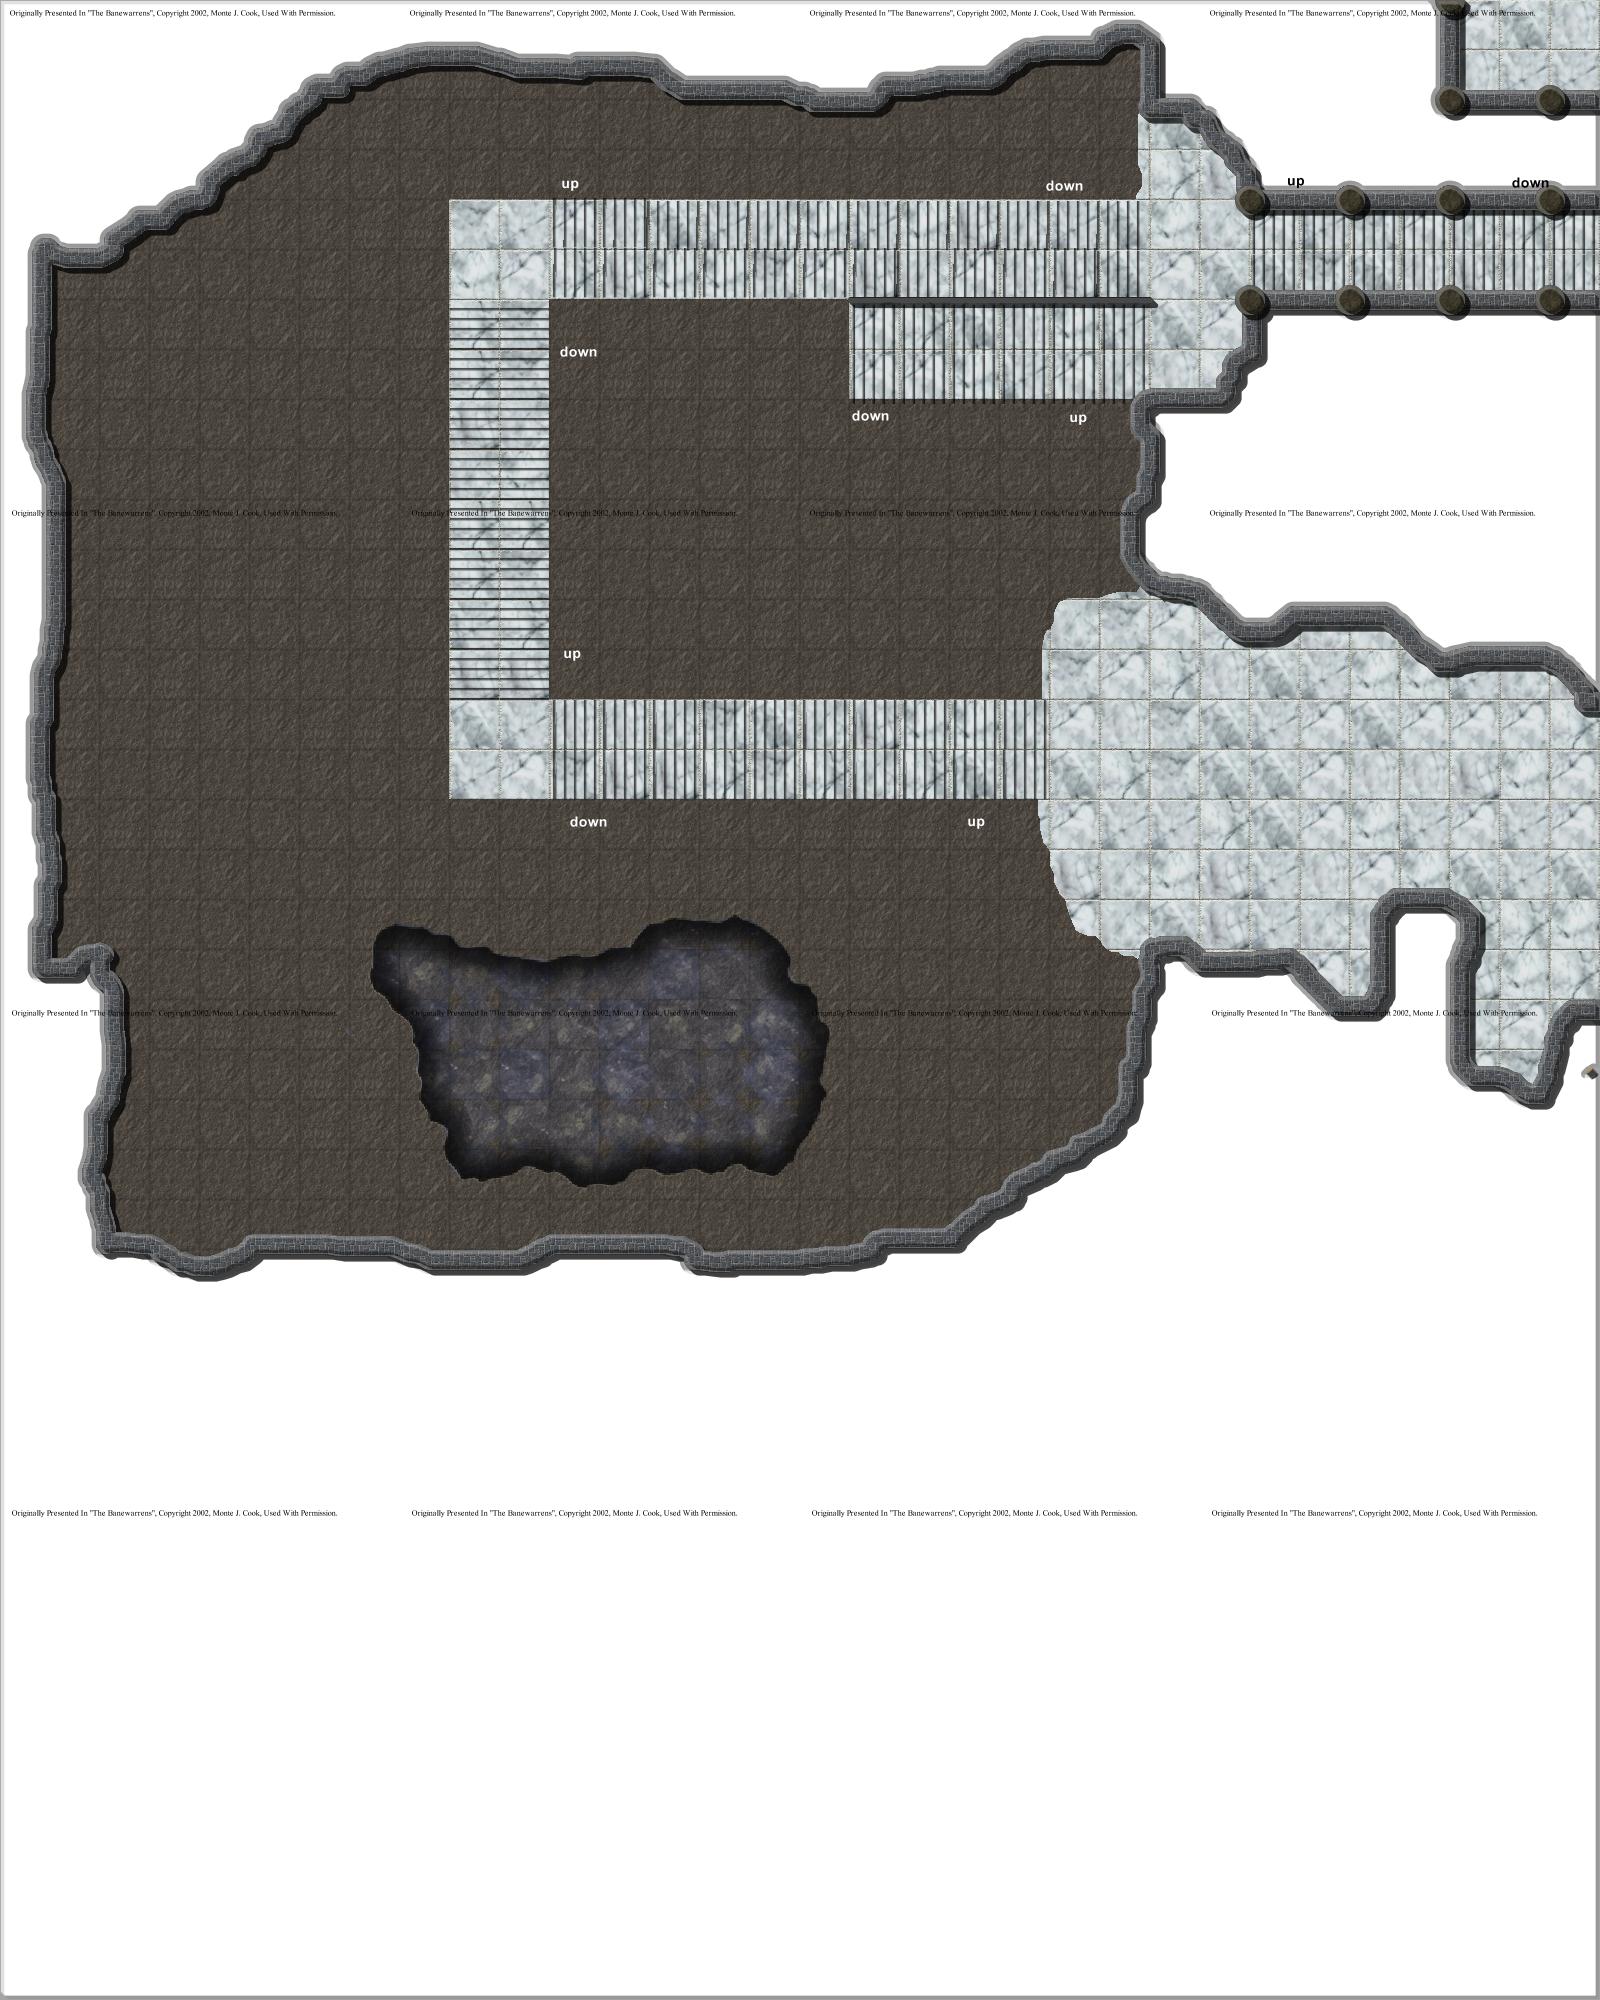
The Abandoned Manor, stripped of externals (PDF format)
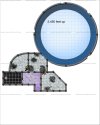
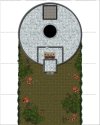
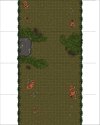
The Abandoned Manor (JPG format)
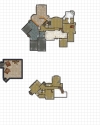
The Abandoned Manor, stripped of externals (JPG format)
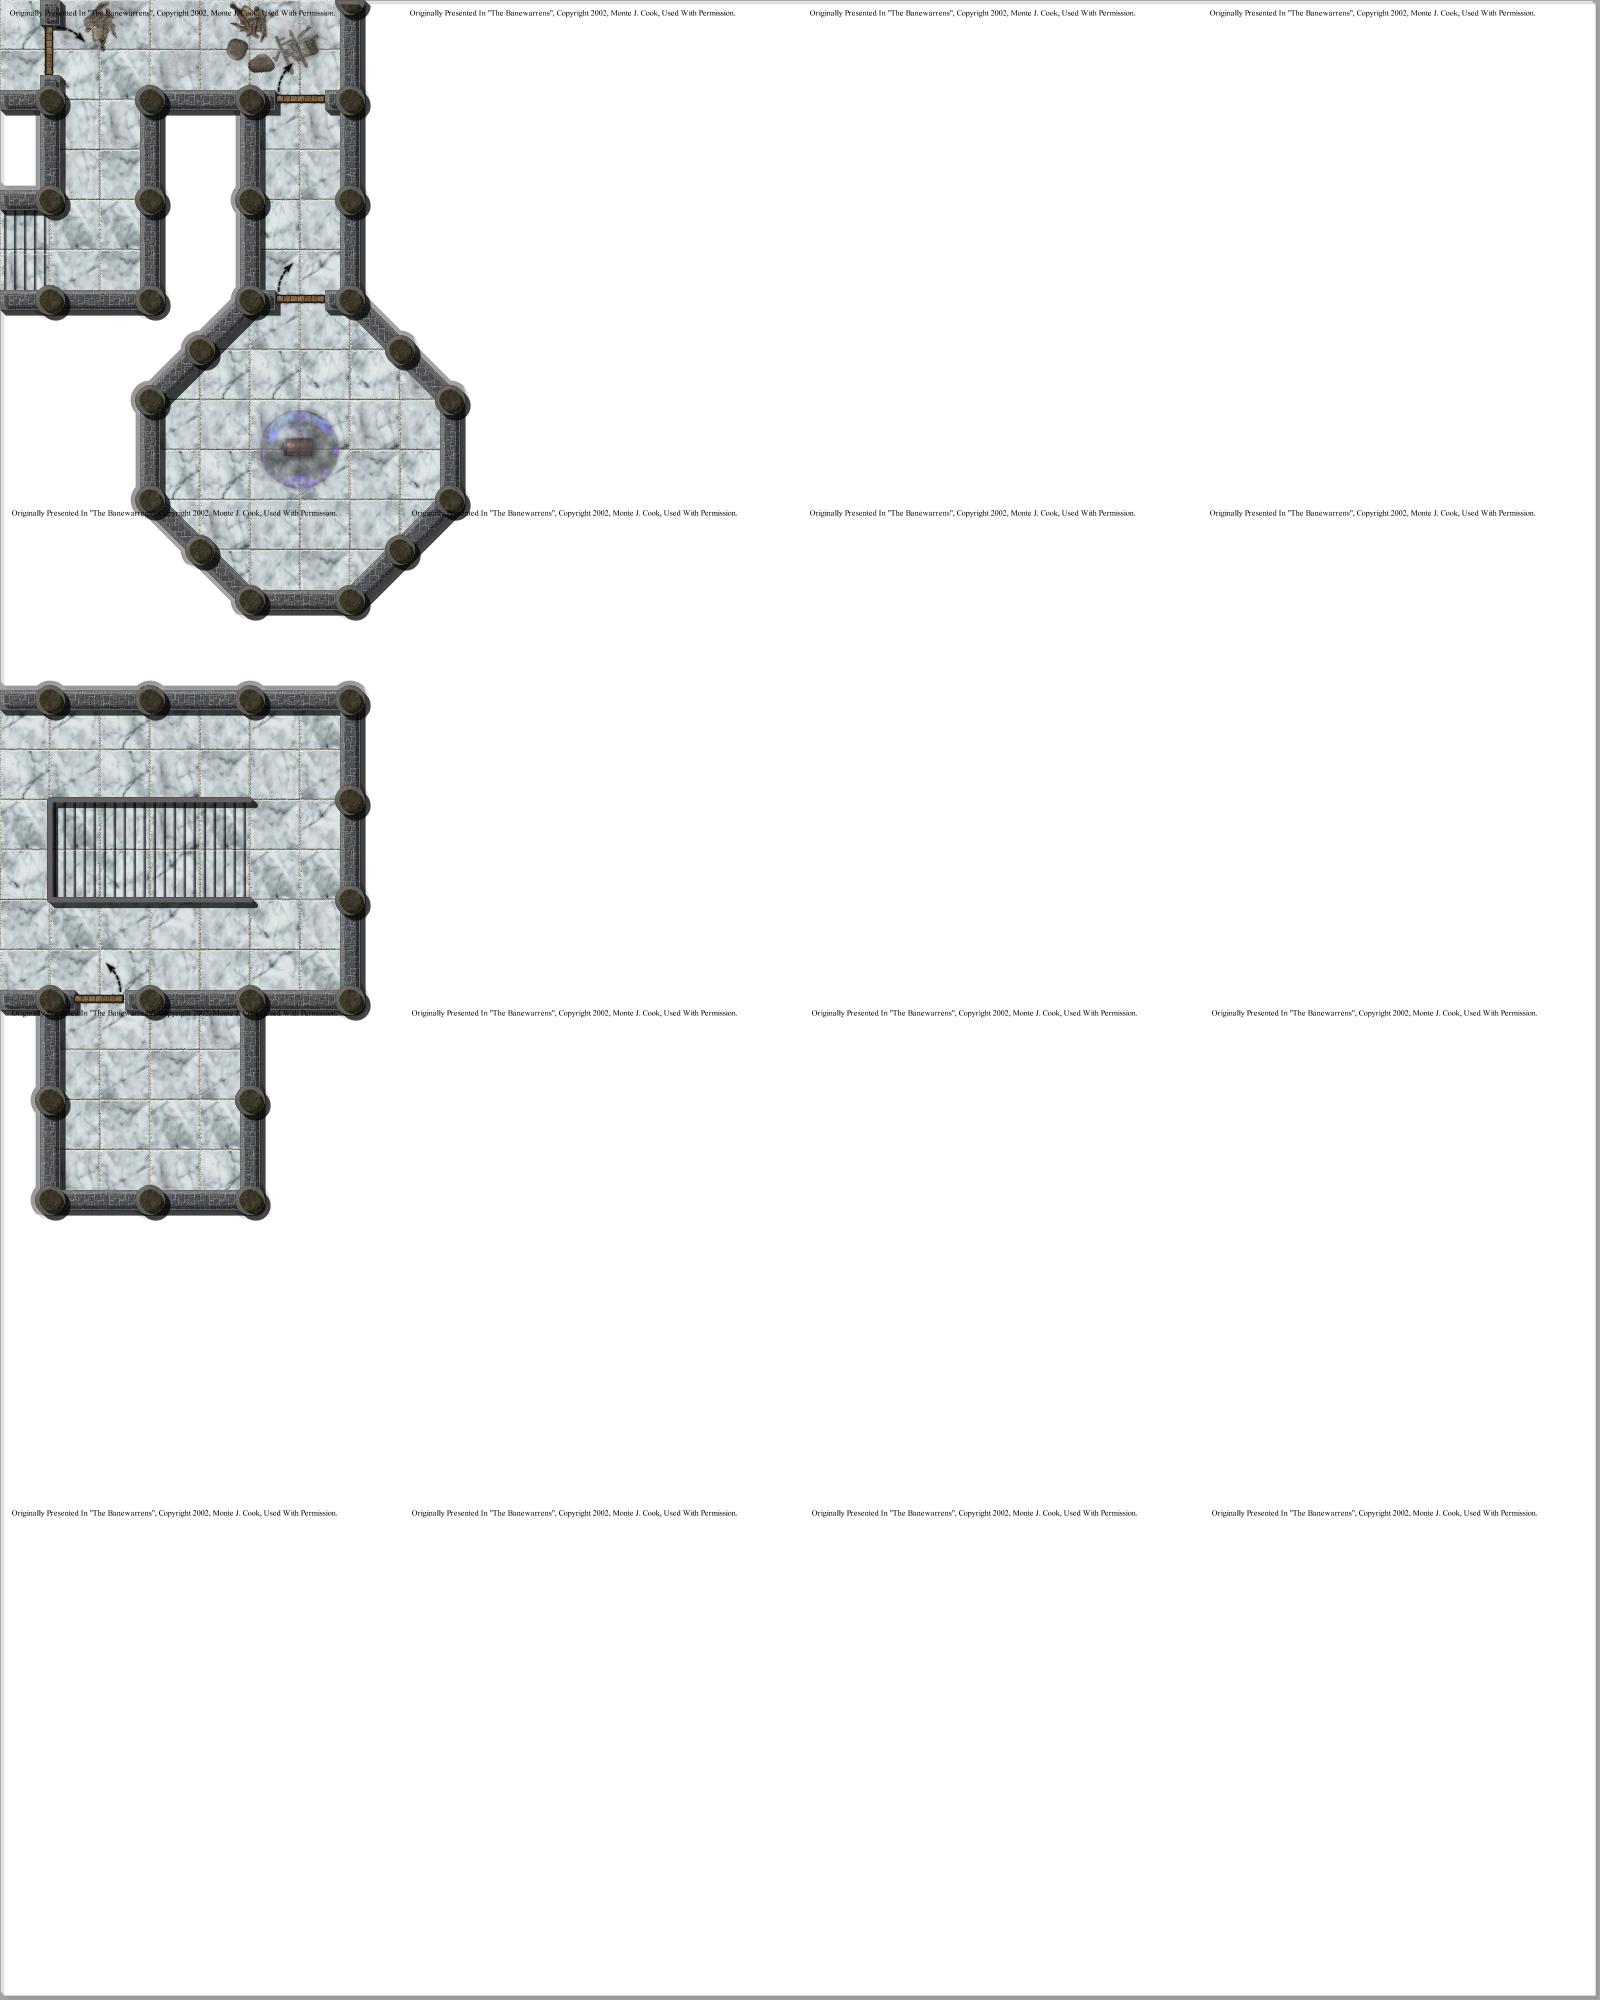
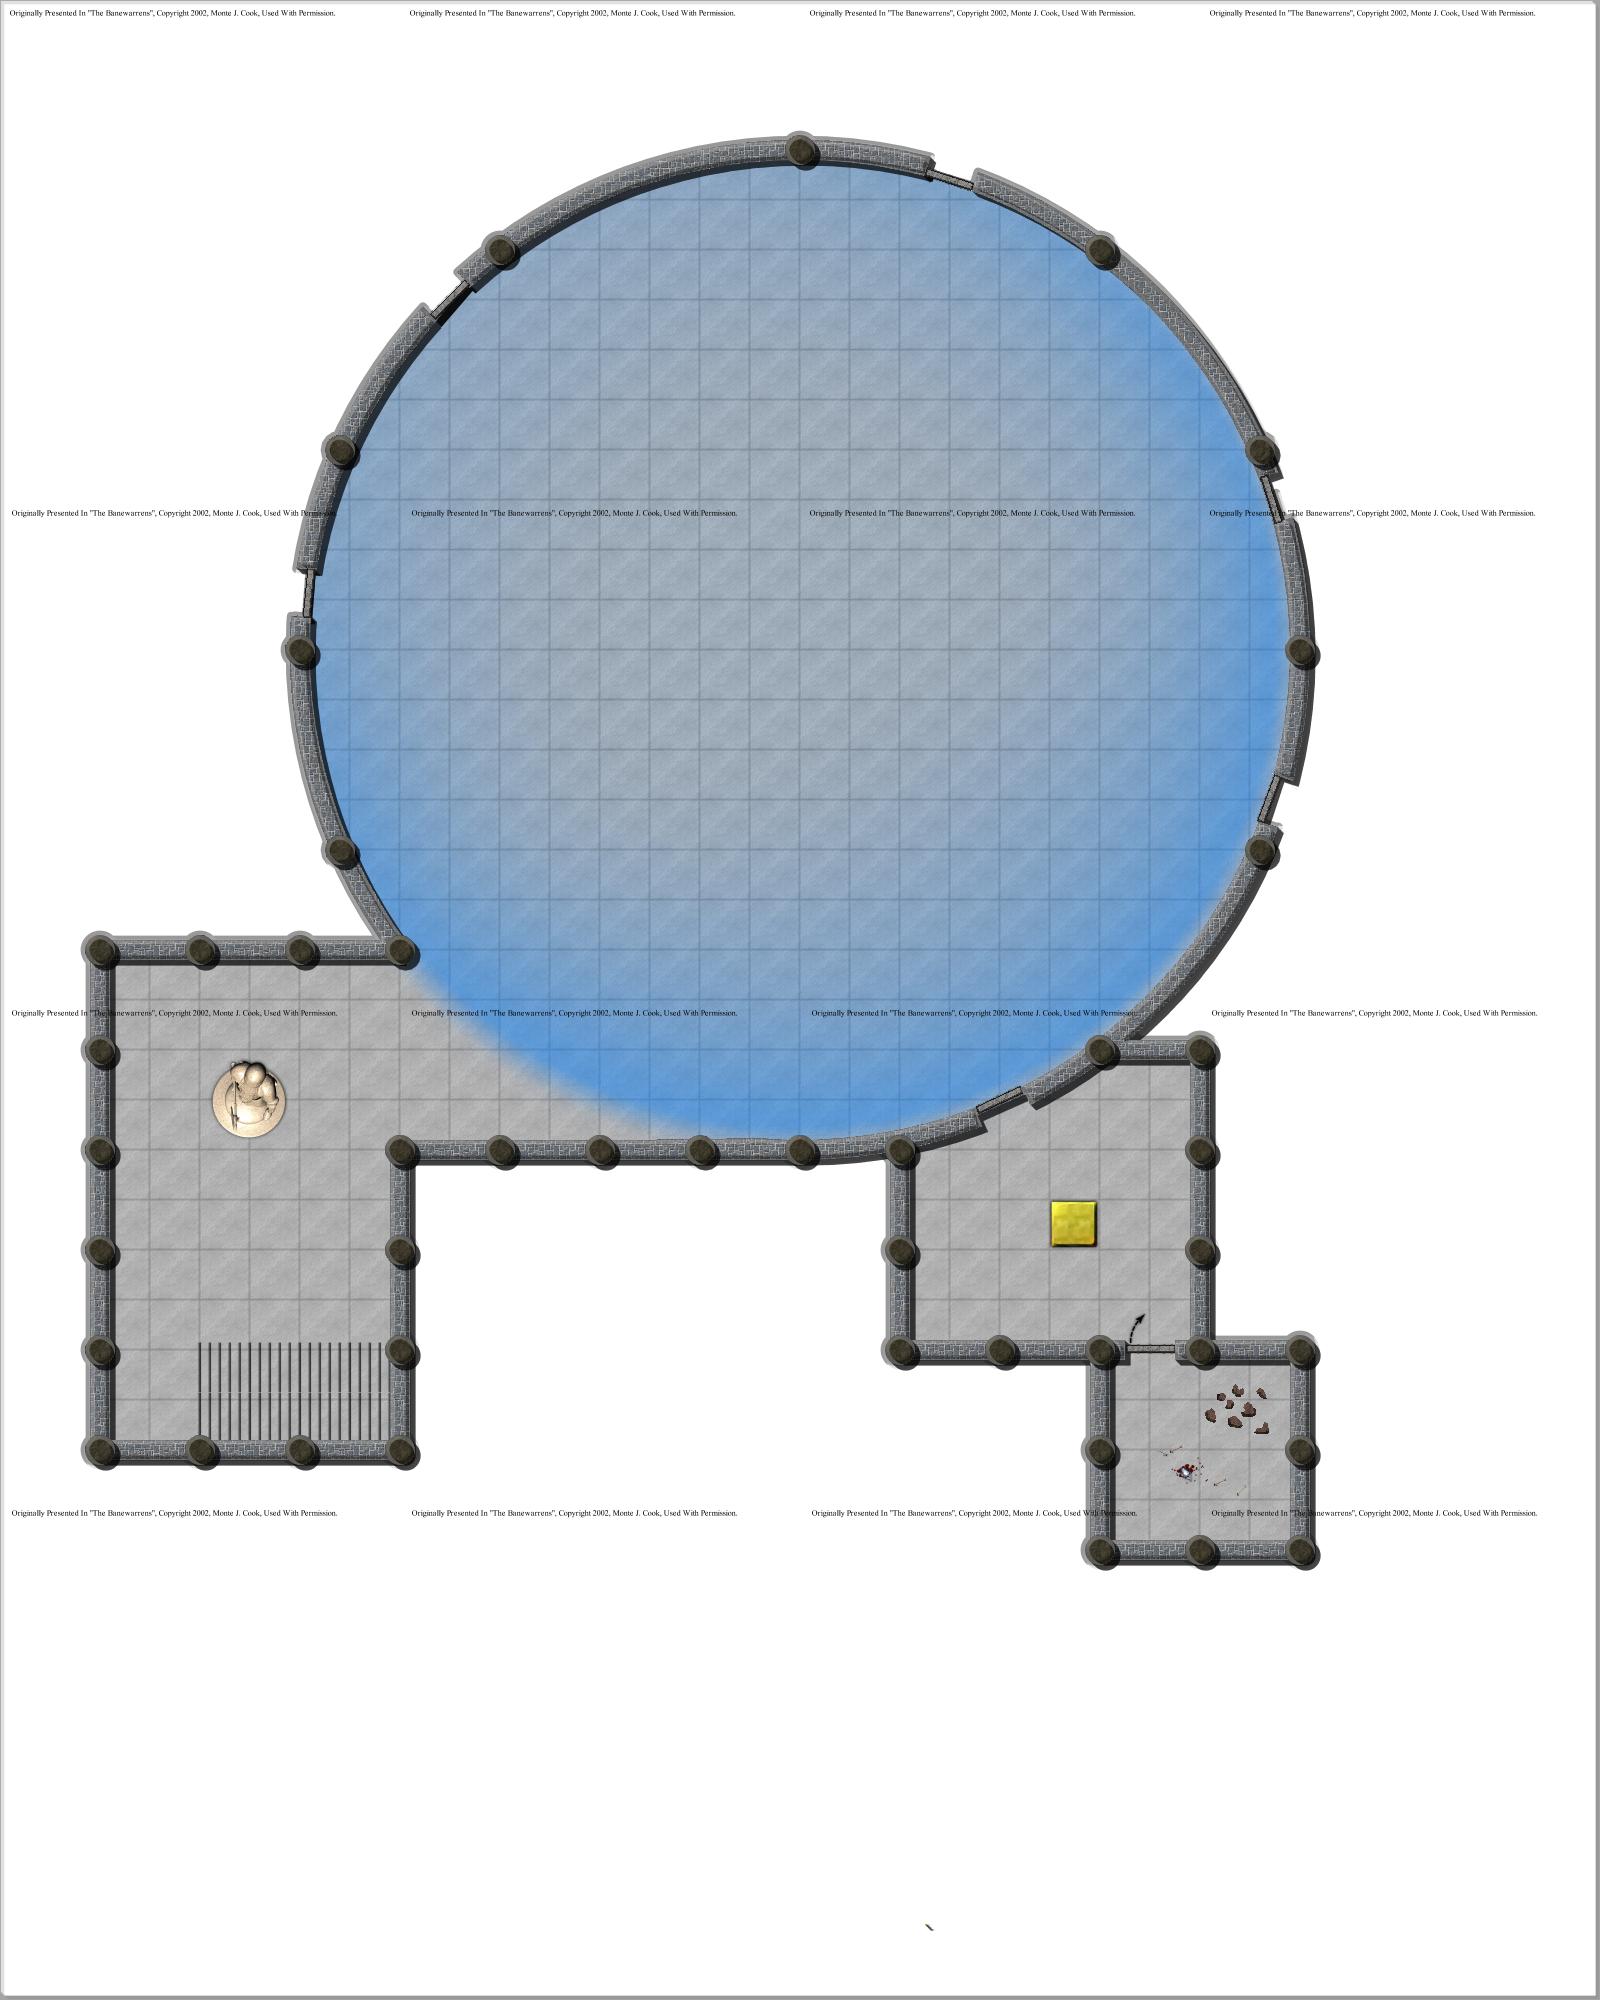
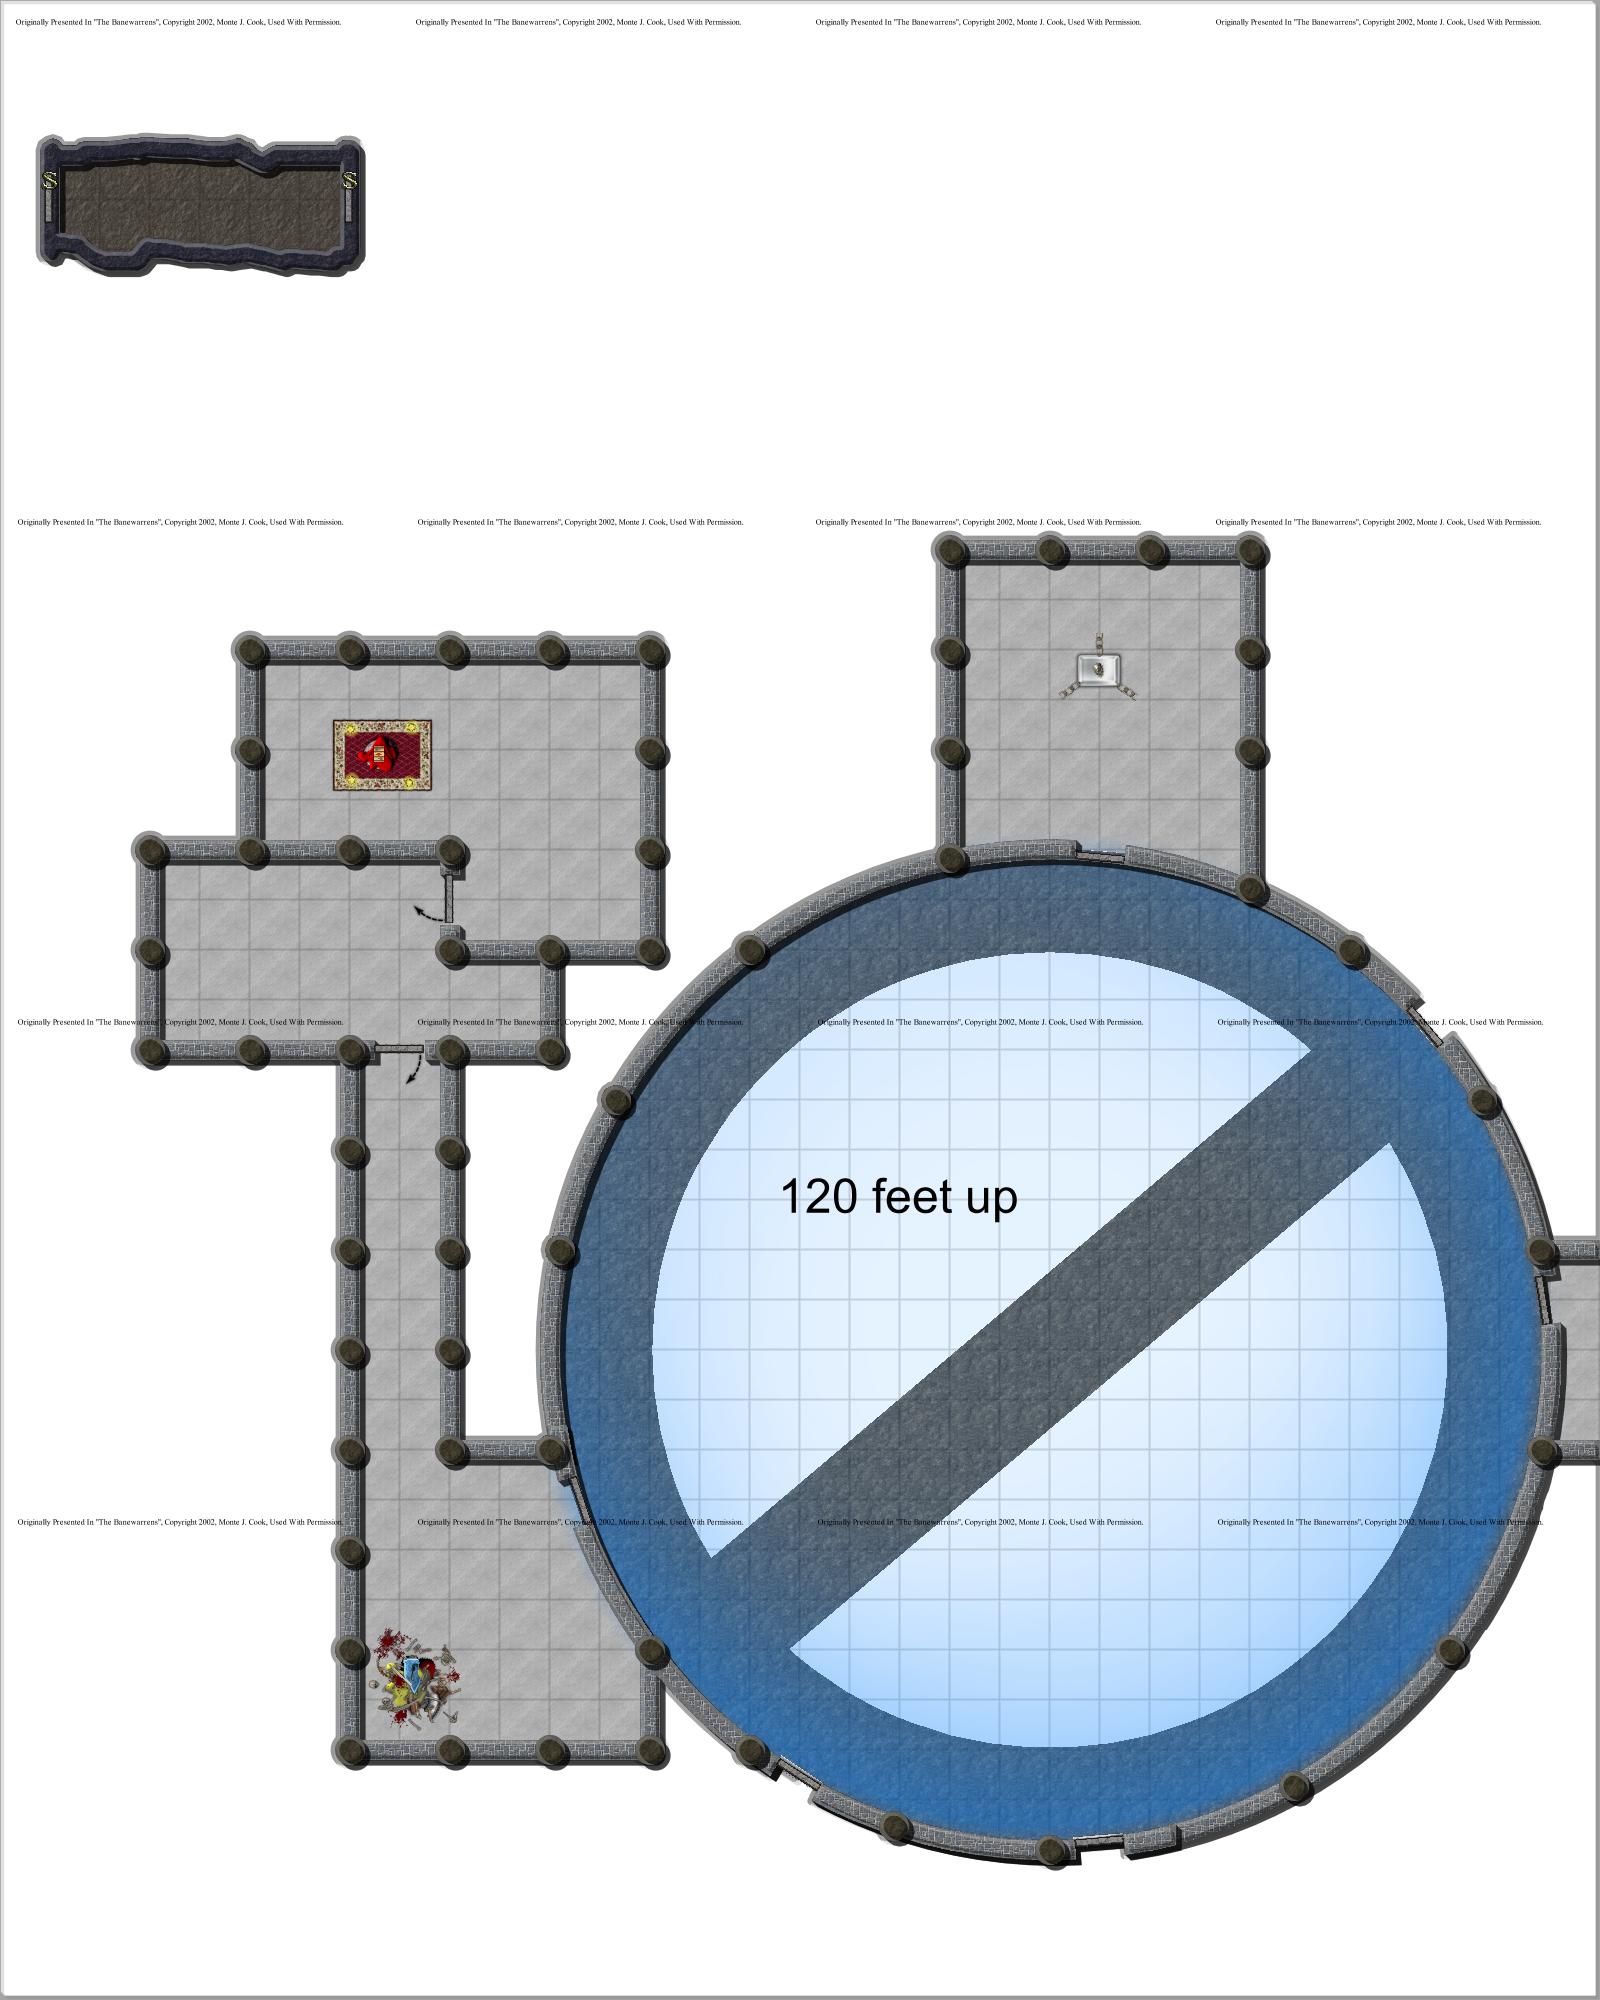
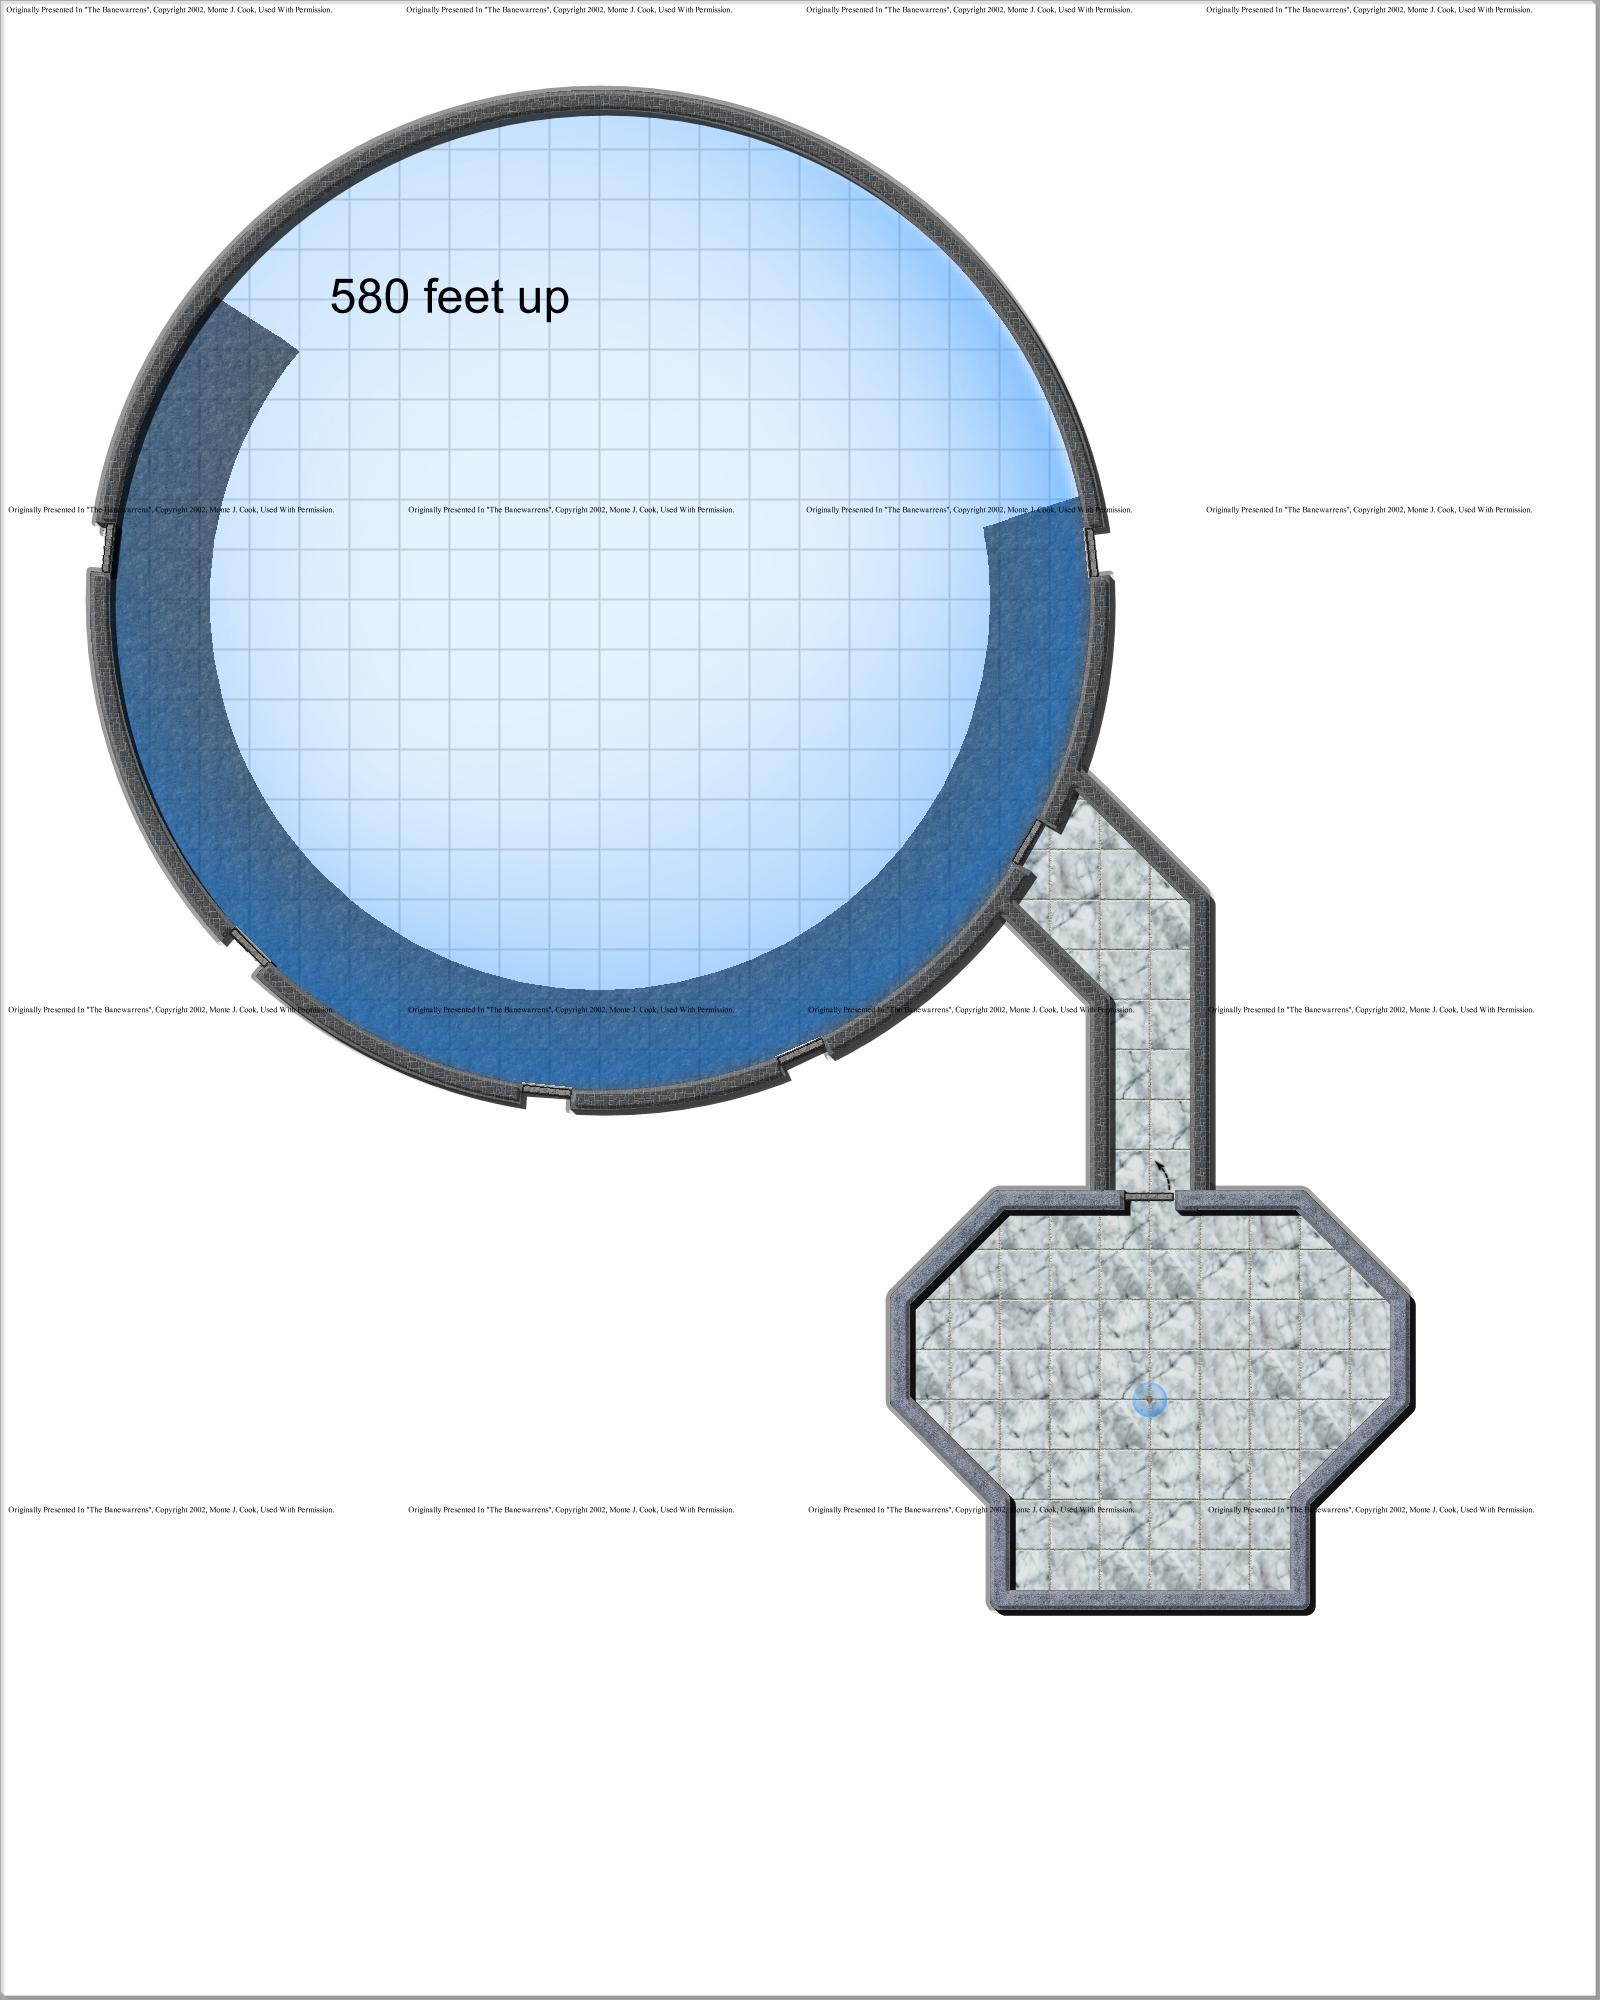
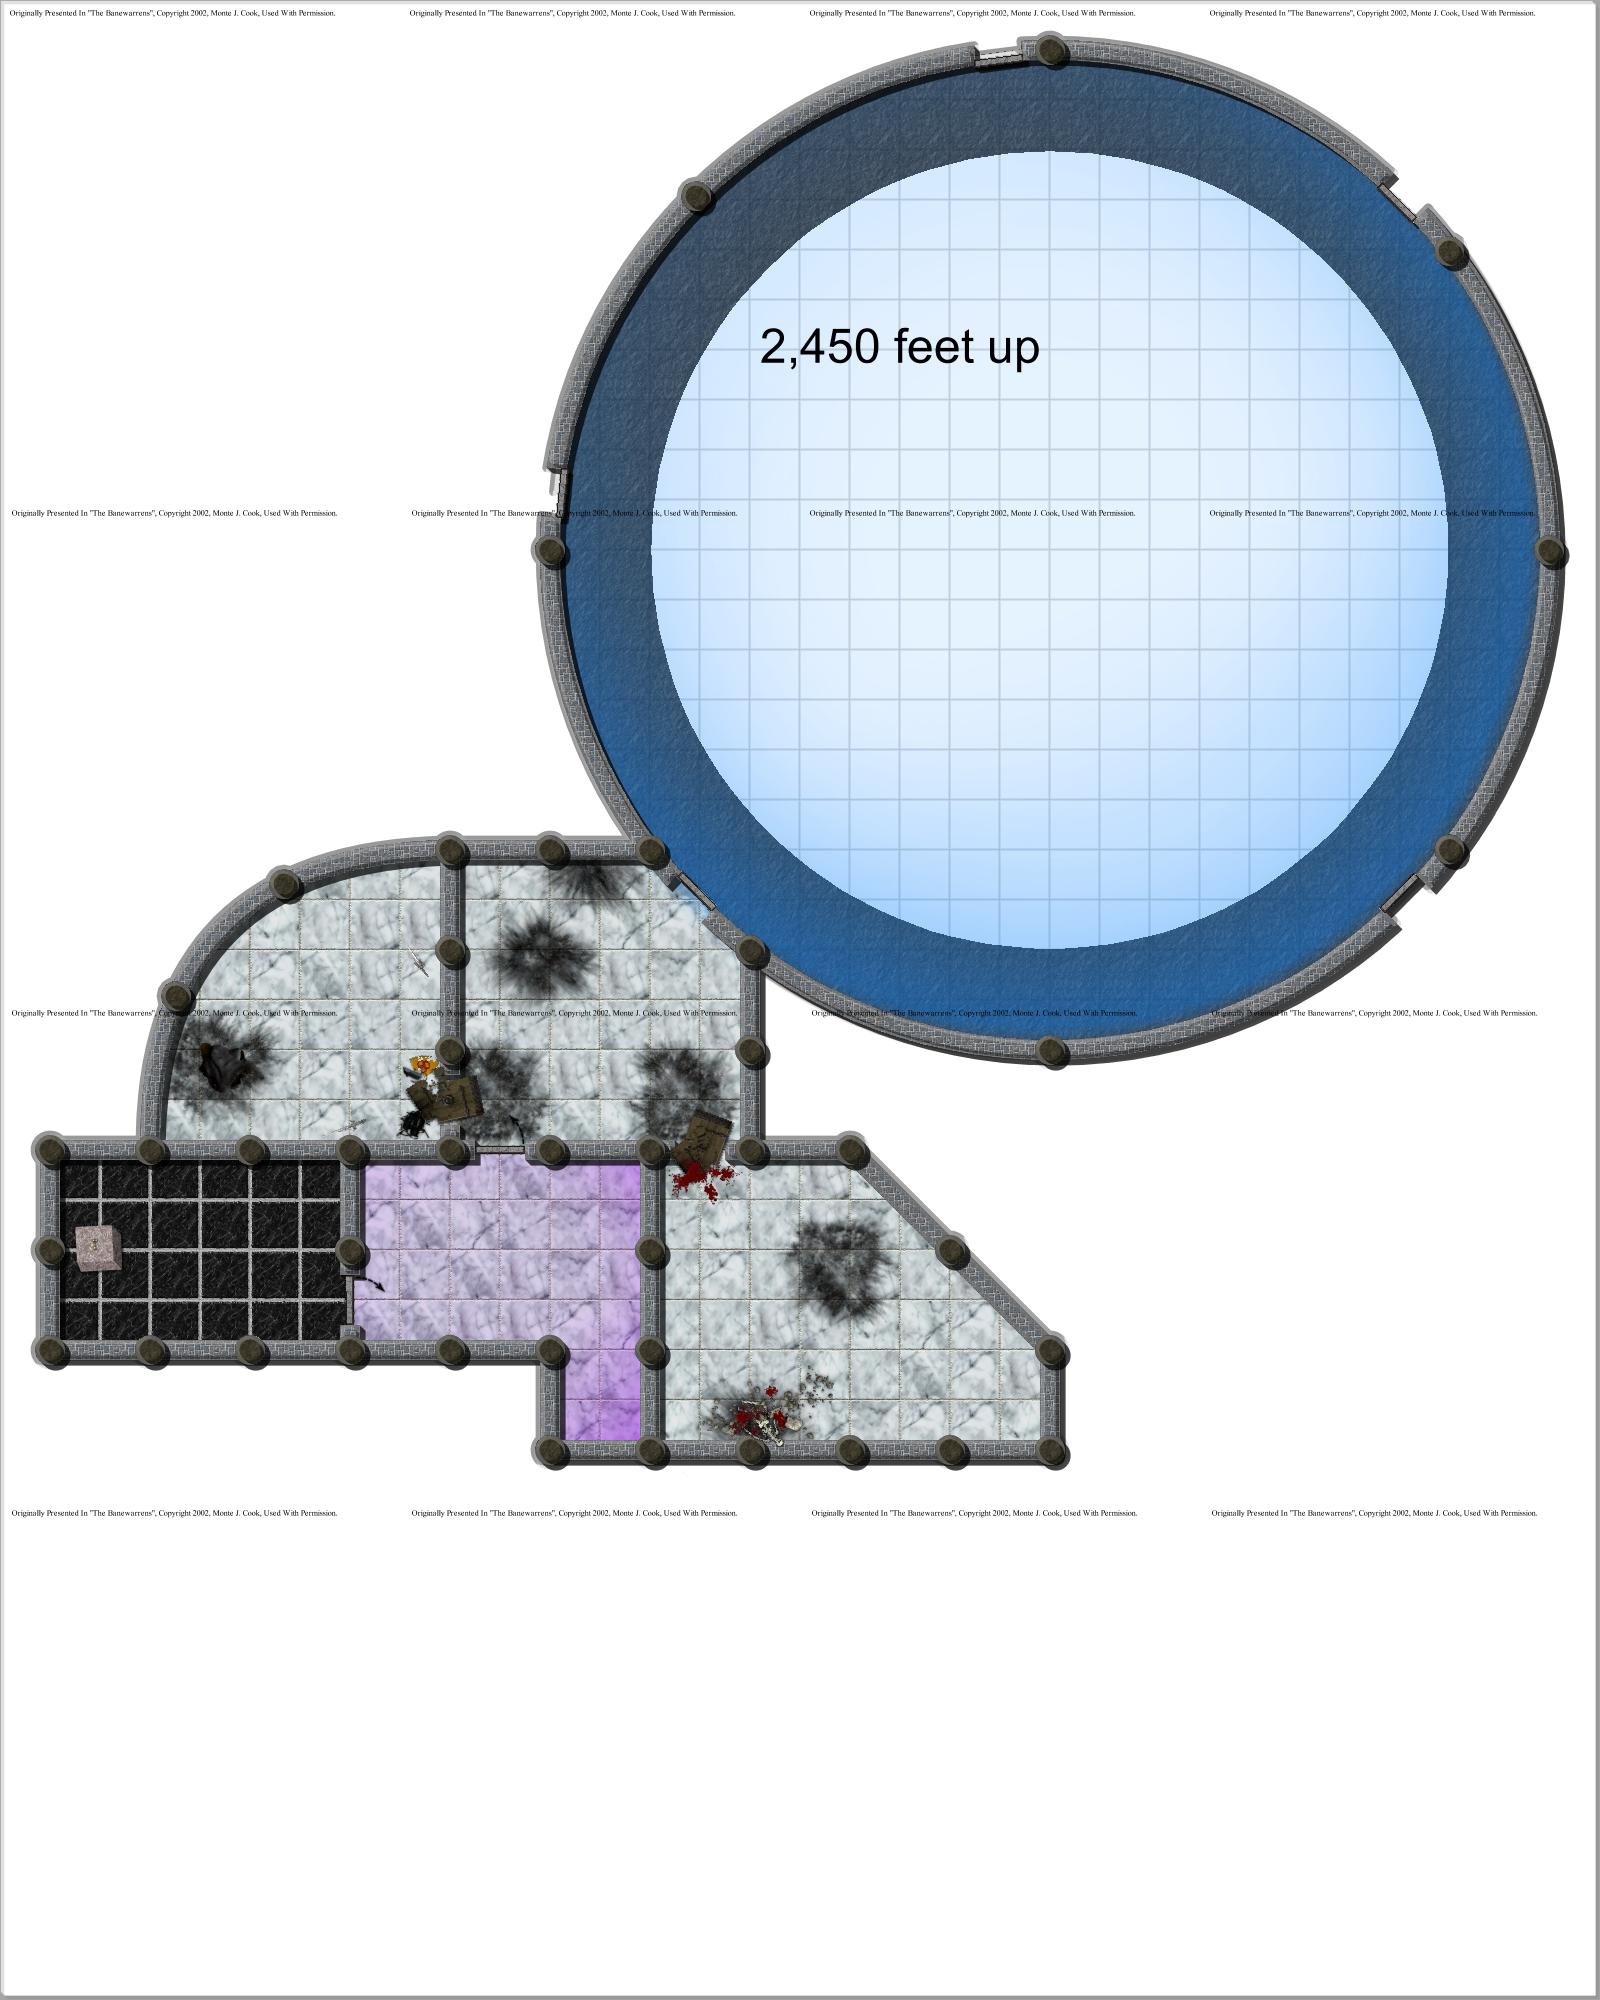
Note: I originally included scenery (snow on the ground, paths, the shingled roof visible
from second story windows). I am fairly certain my adventuring party will want to buy it and fix
it up. I created a second version with all the scenery removed - just the rooms, doors, stairs,
windows and fixtures remain.
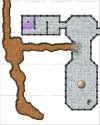
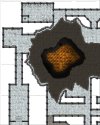
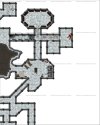
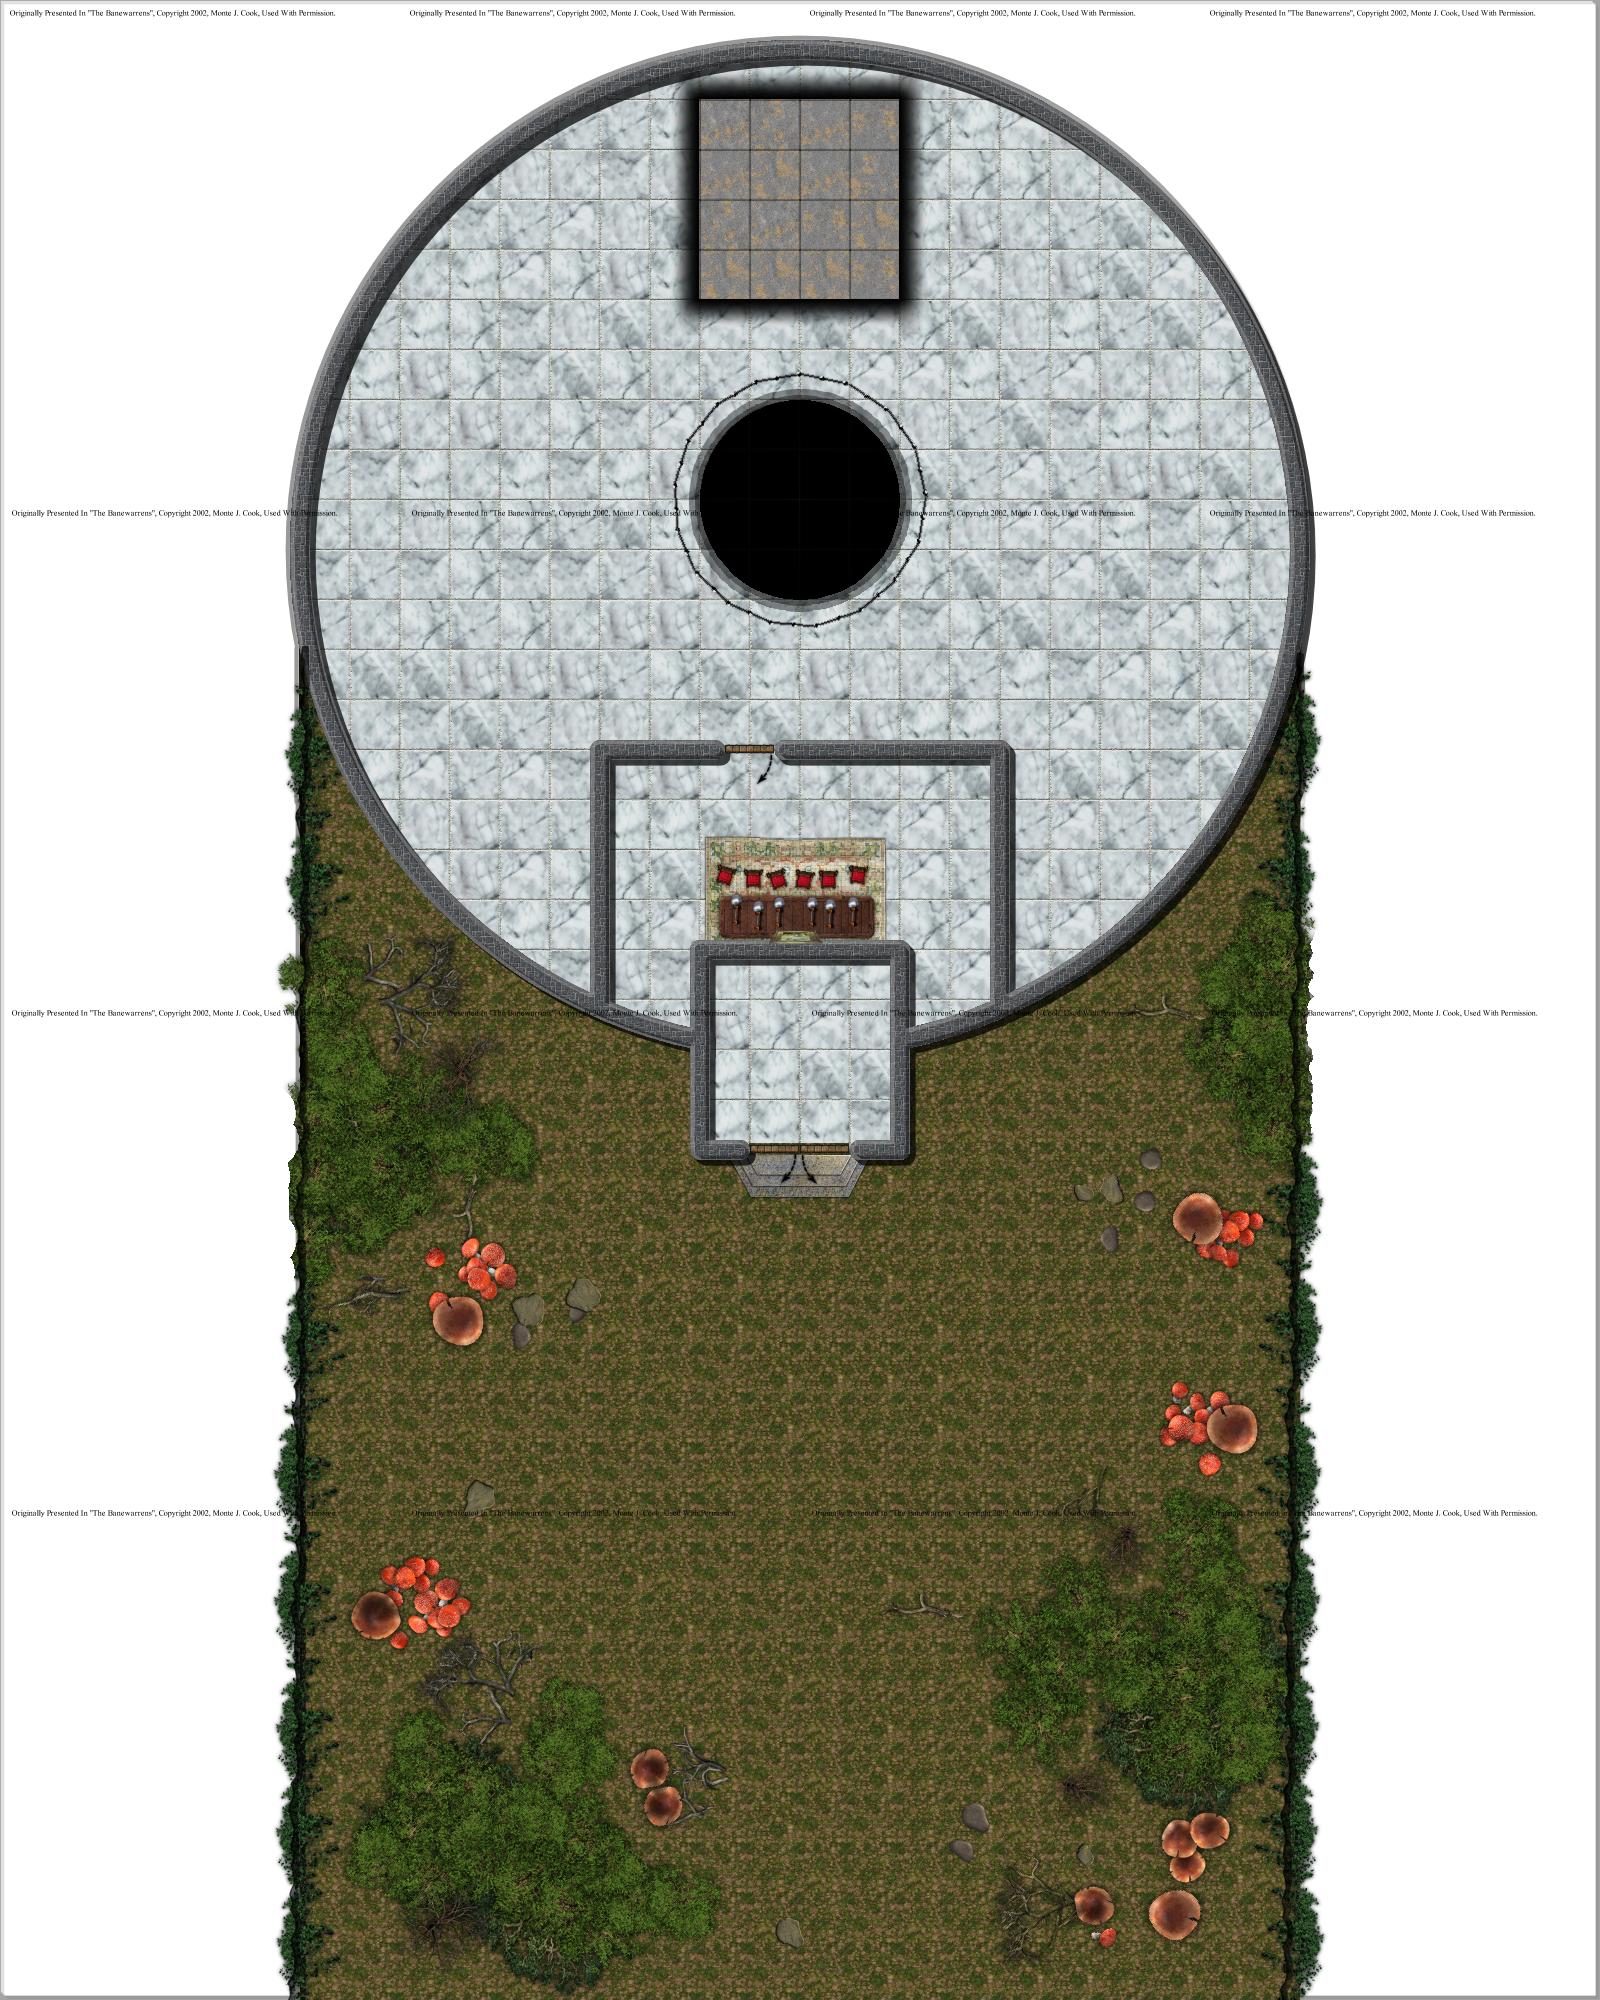
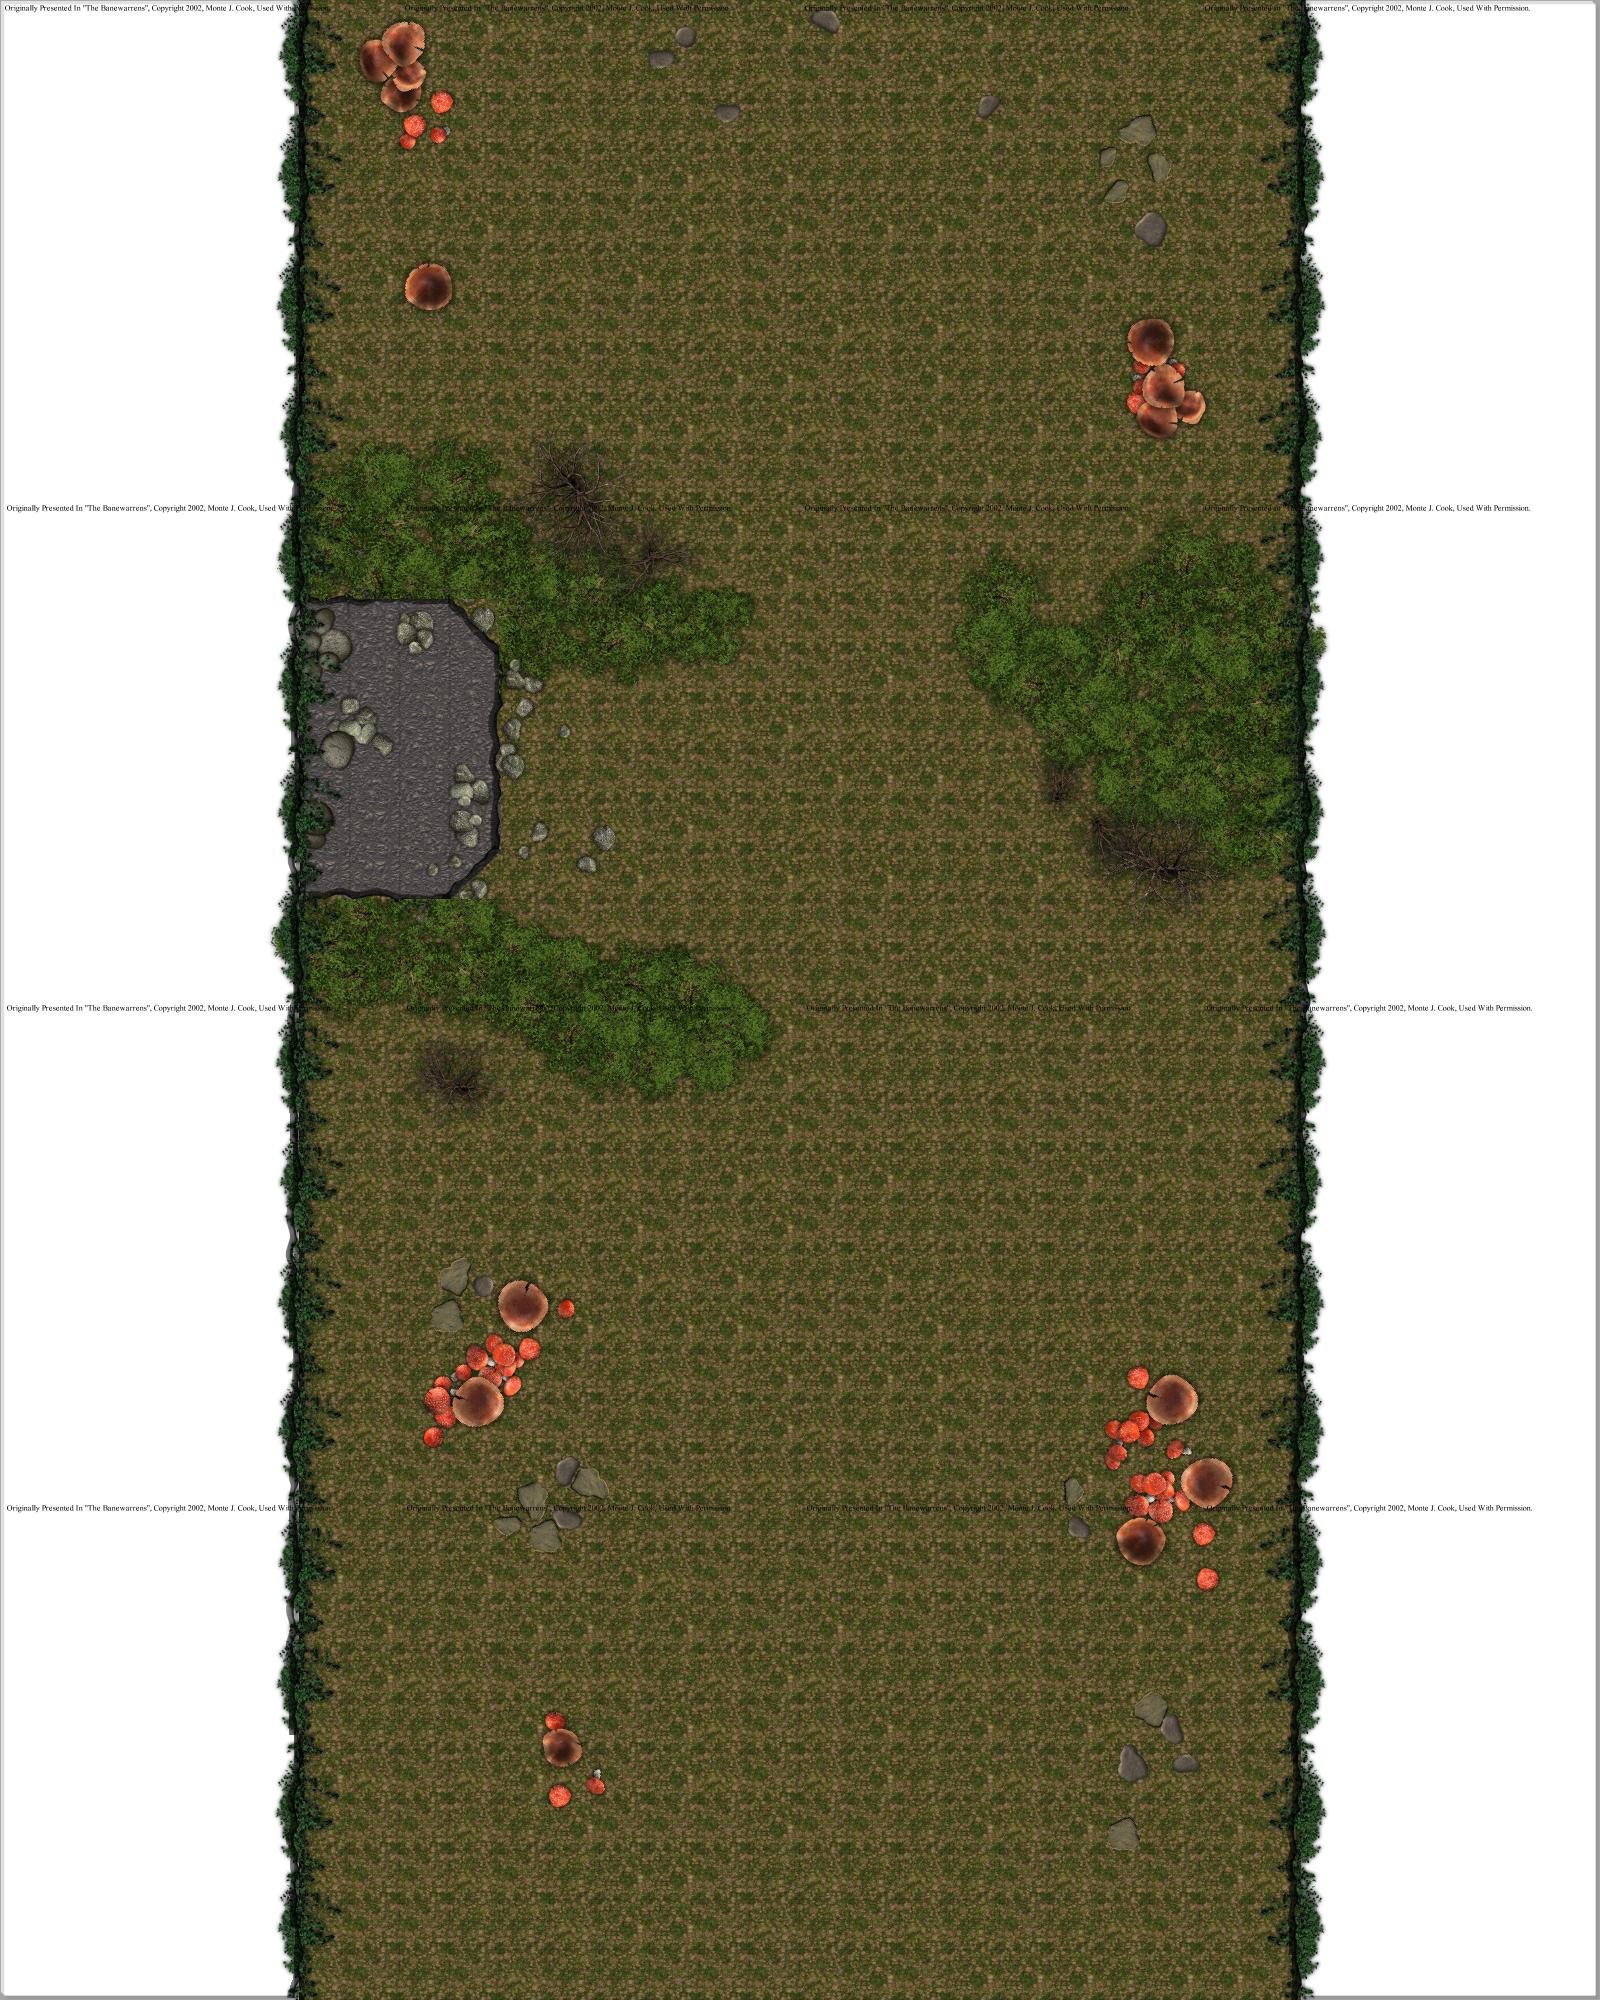
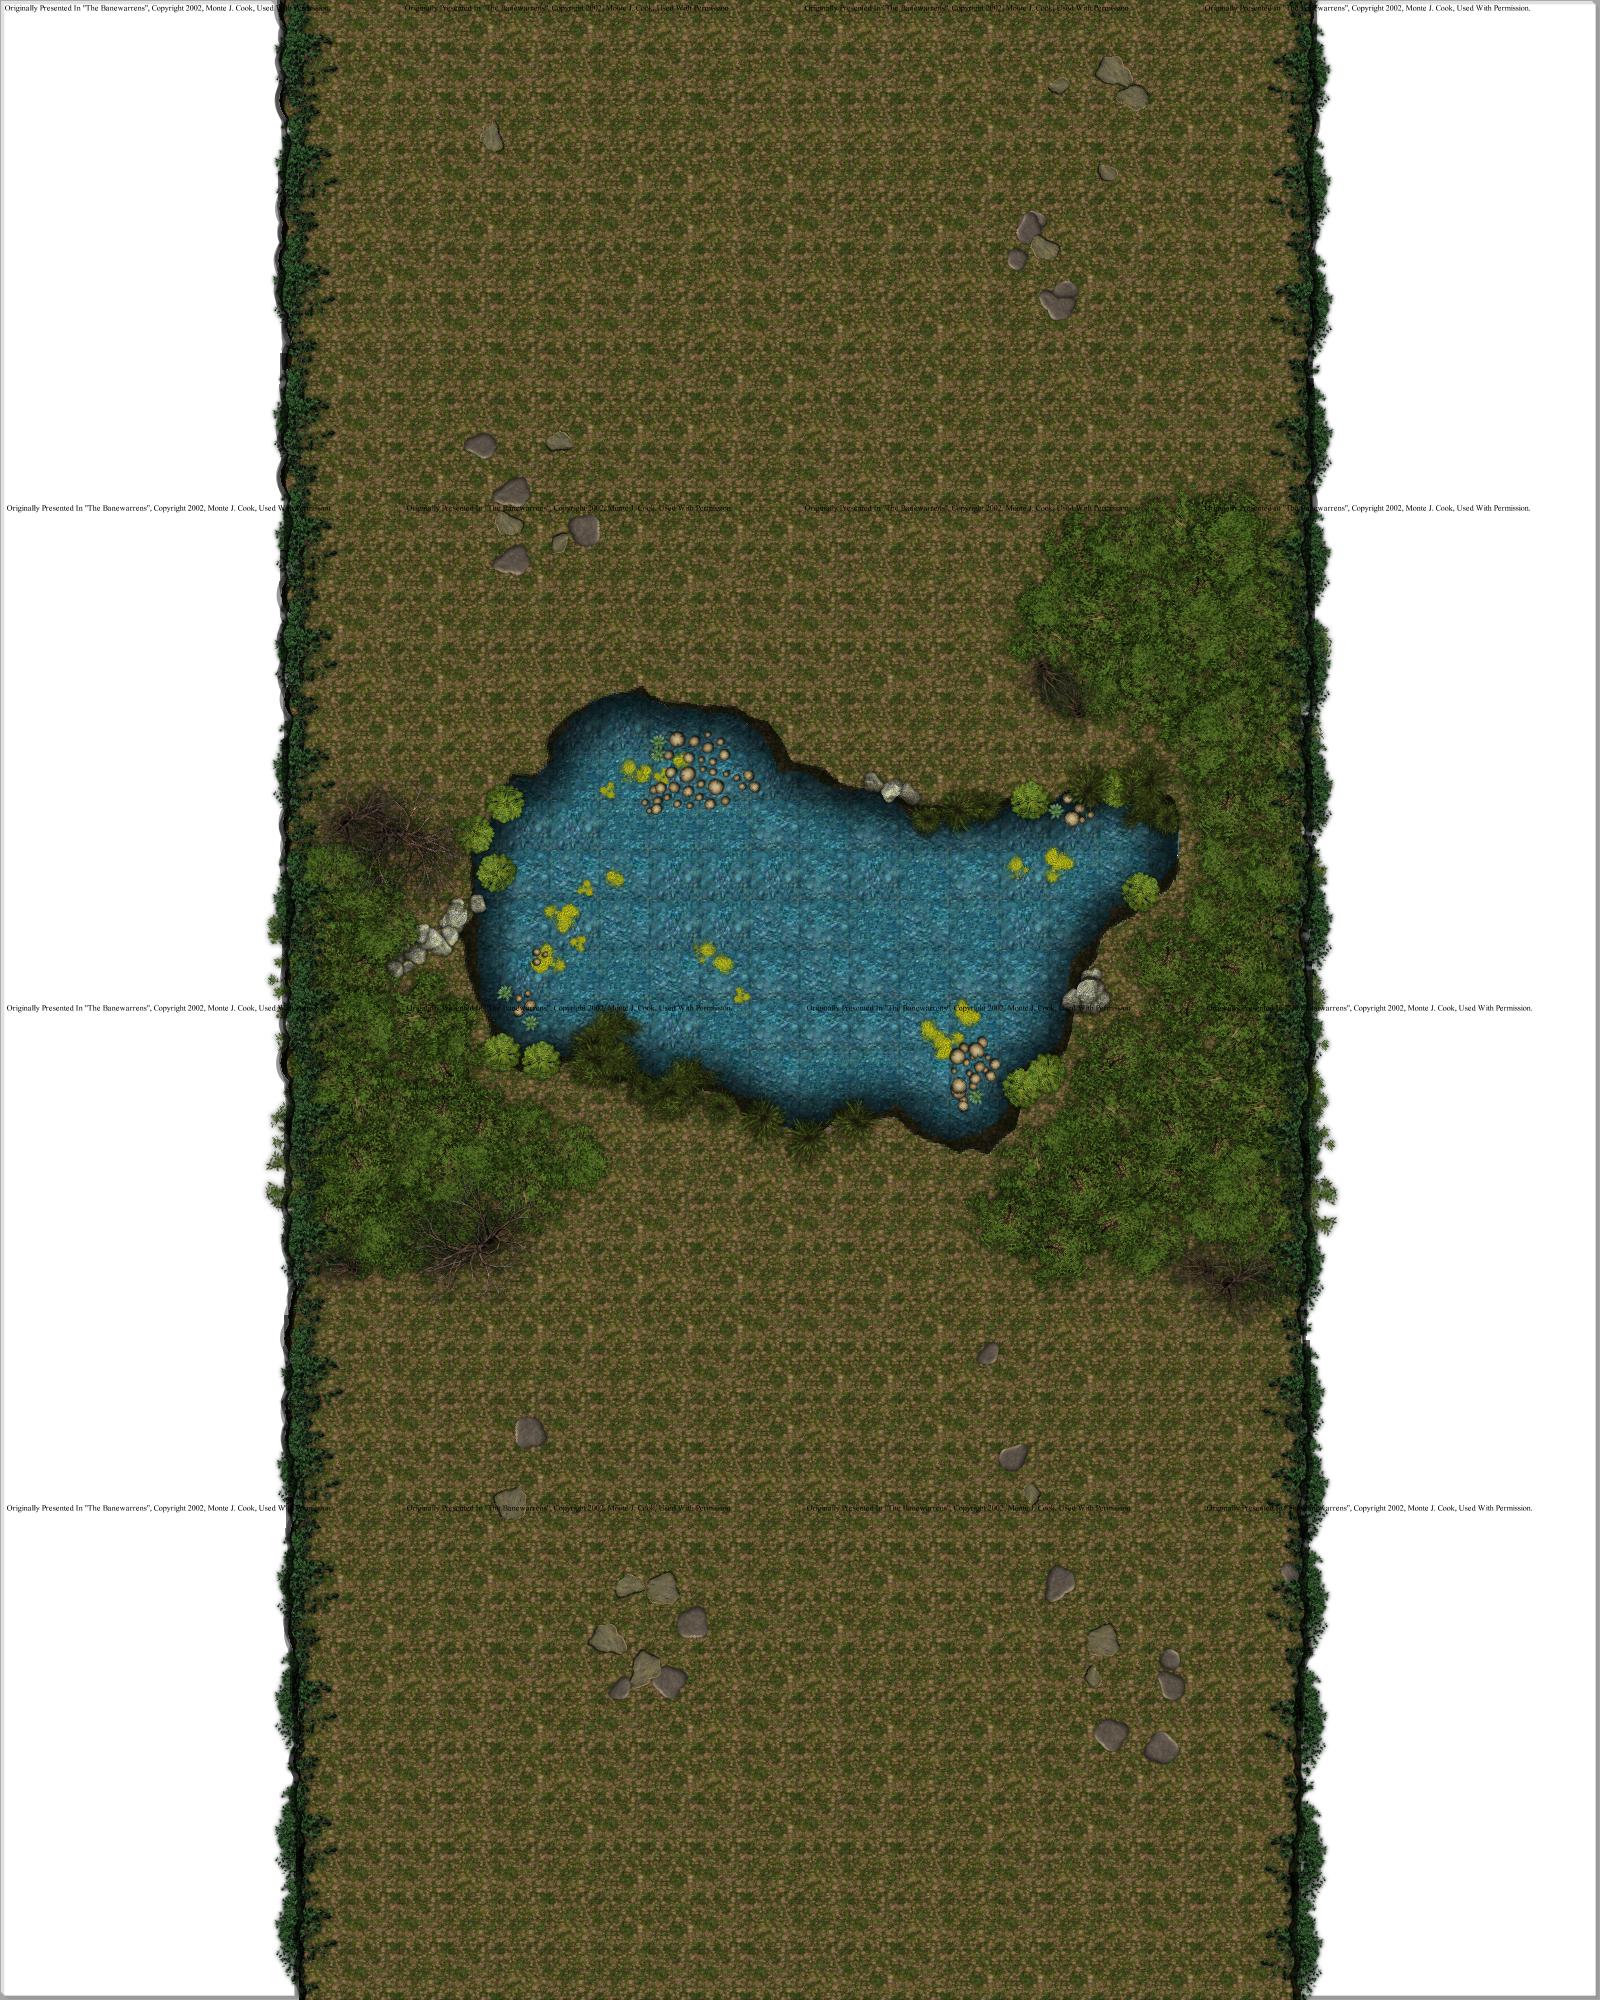
 All maps created with Dundjinni.
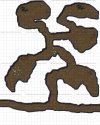


