 |
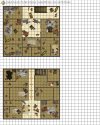
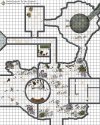
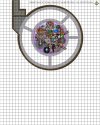
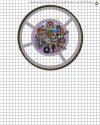
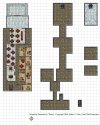
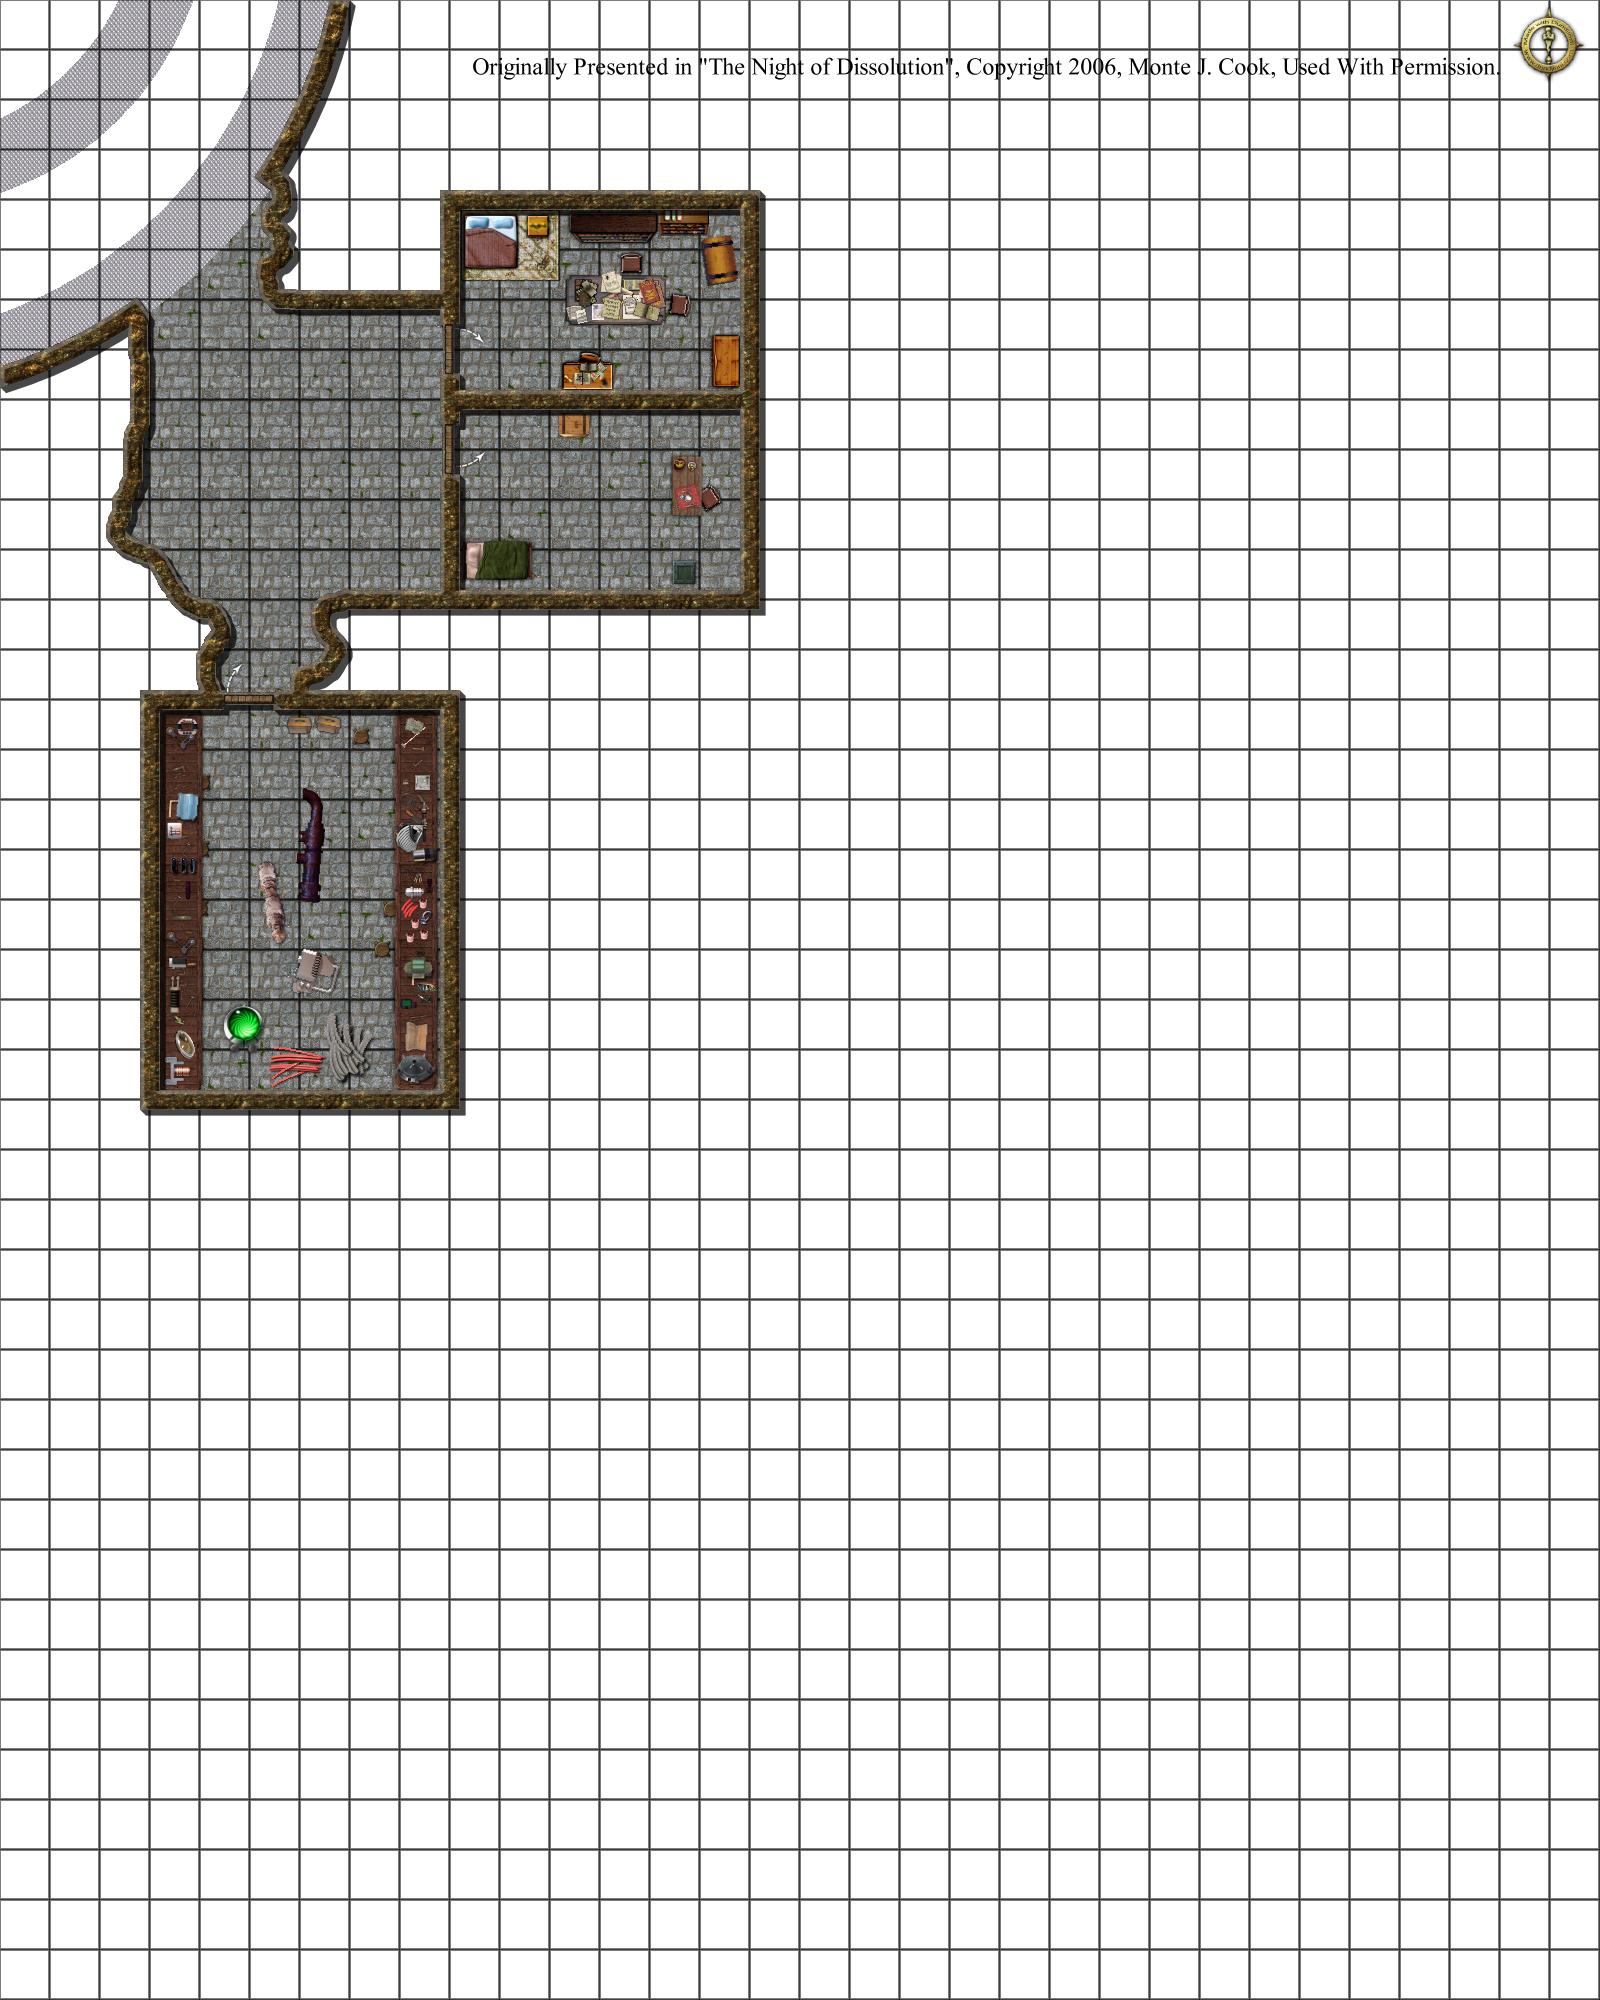
The Night of Dissolution, Page 44, Map 1 of 1 (JPG format)
 All maps created with Dundjinni.
Map was originally presented in The Night of Dissolution, © 2006, Monte J. Cook; Used with permission.
|
The Night of Dissolution, Page 44, Map 1 of 1 (PDF format) The Night of Dissolution, Page 44, Map 1 of 1 (JPG format) |
||
|
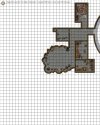
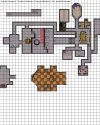
All maps created with Dundjinni. Map was originally presented in The Night of Dissolution, © 2006, Monte J. Cook; Used with permission. |
|||
|
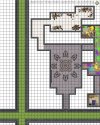
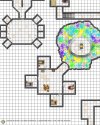
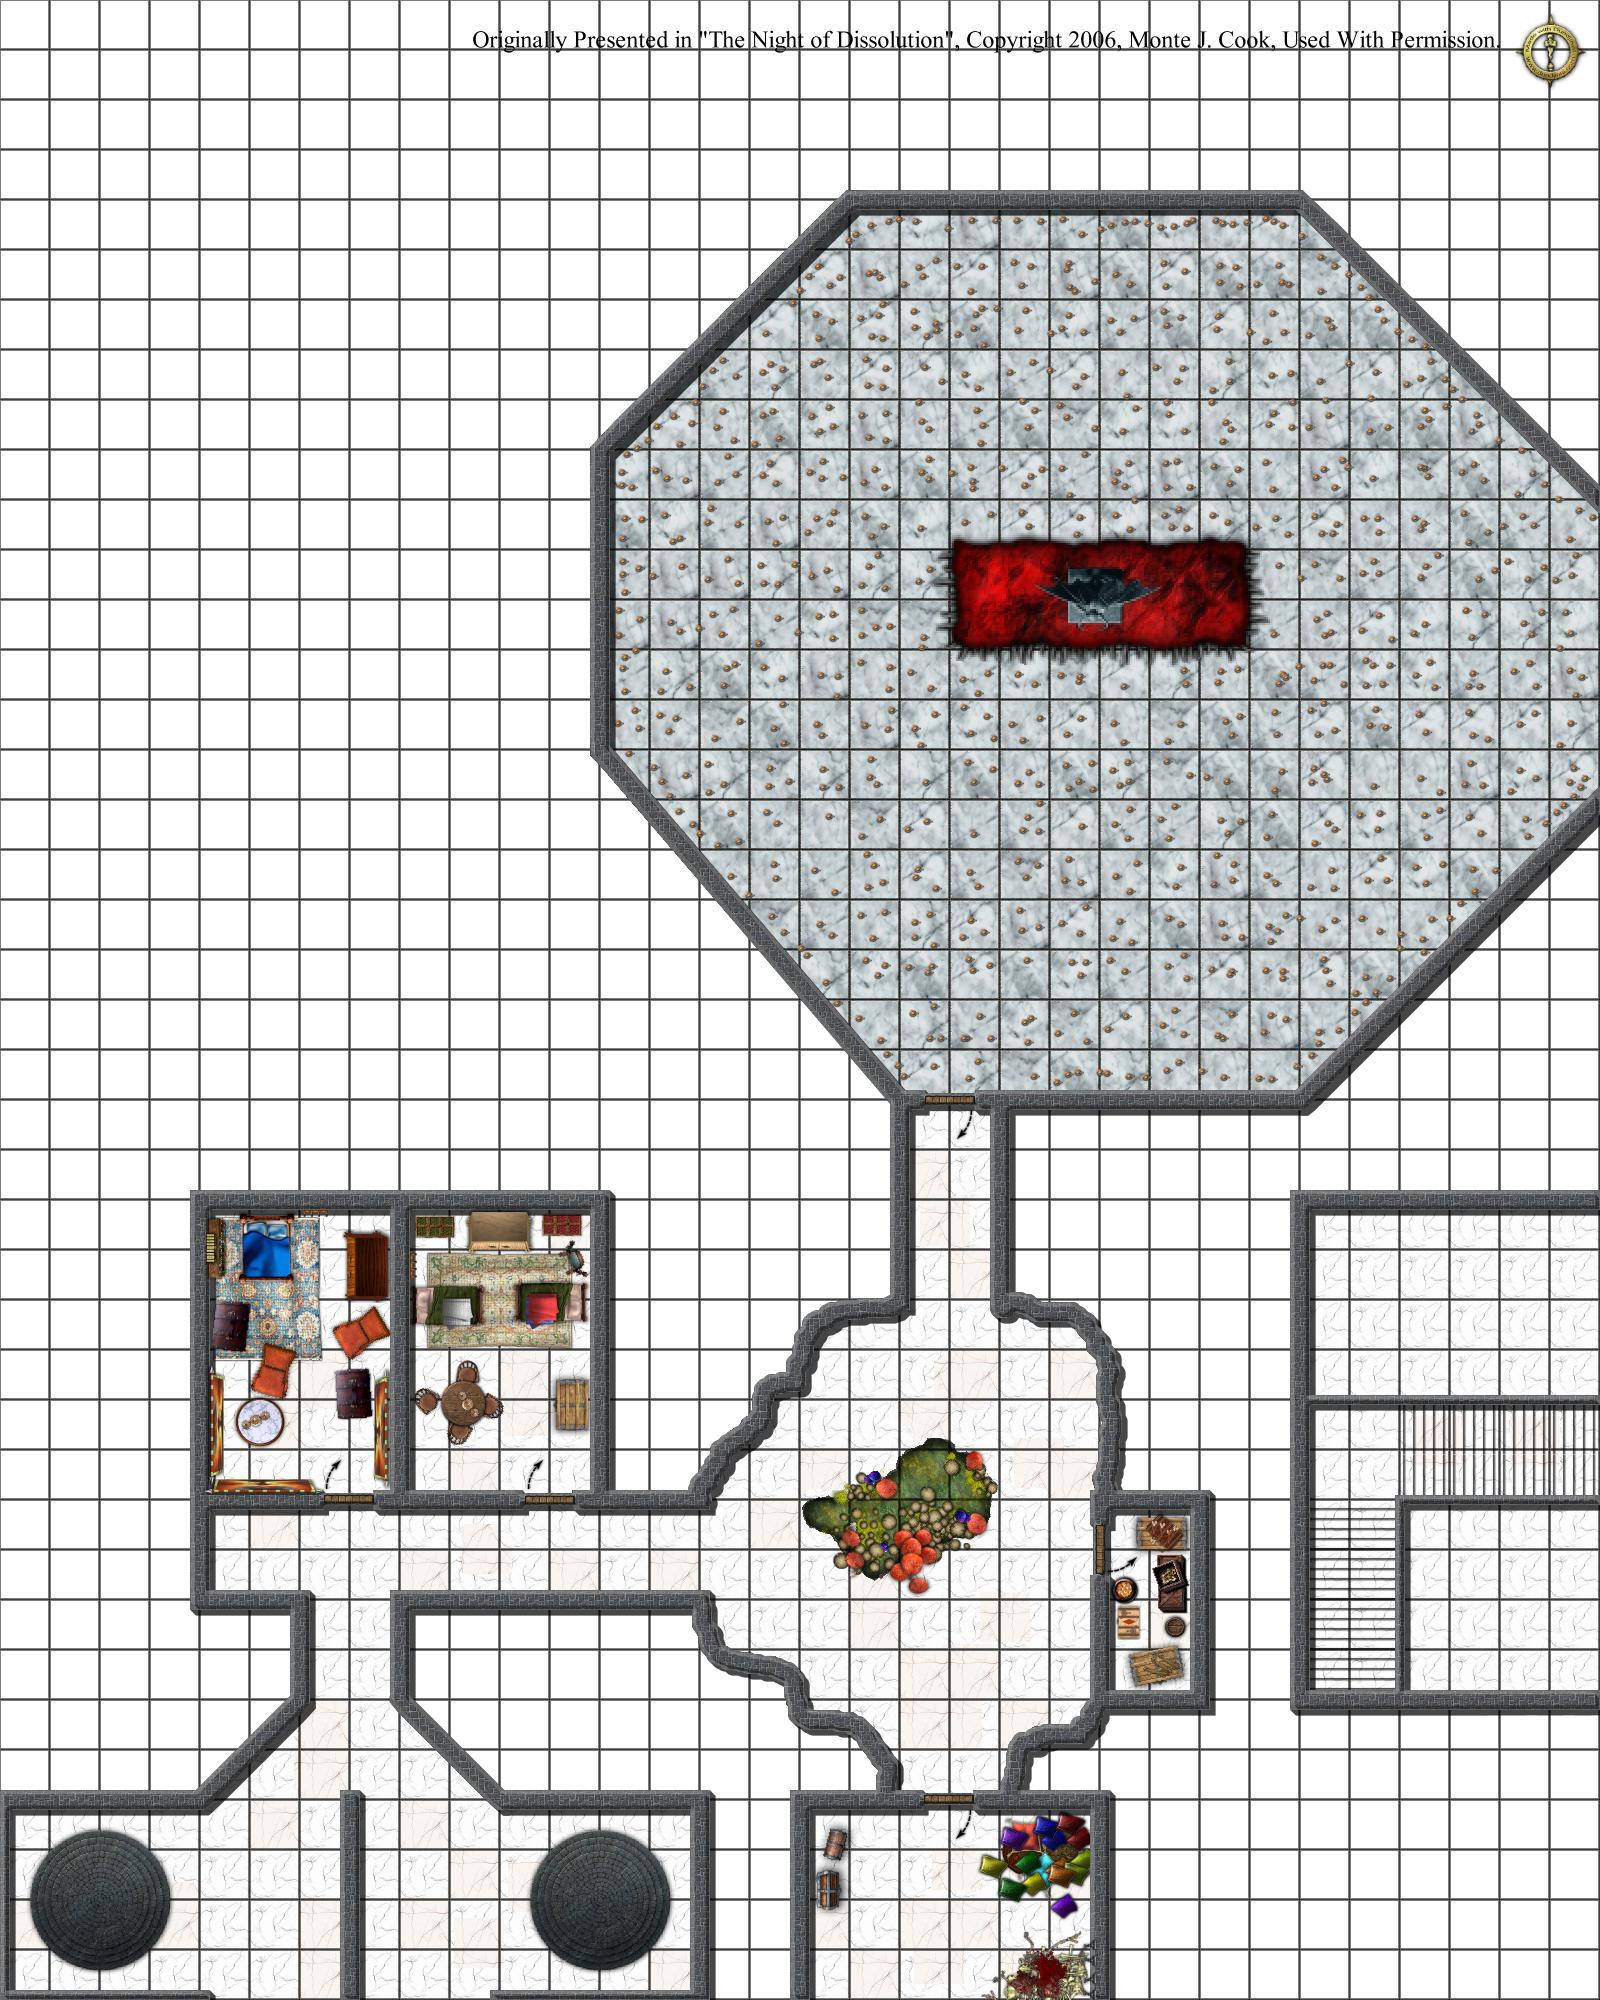
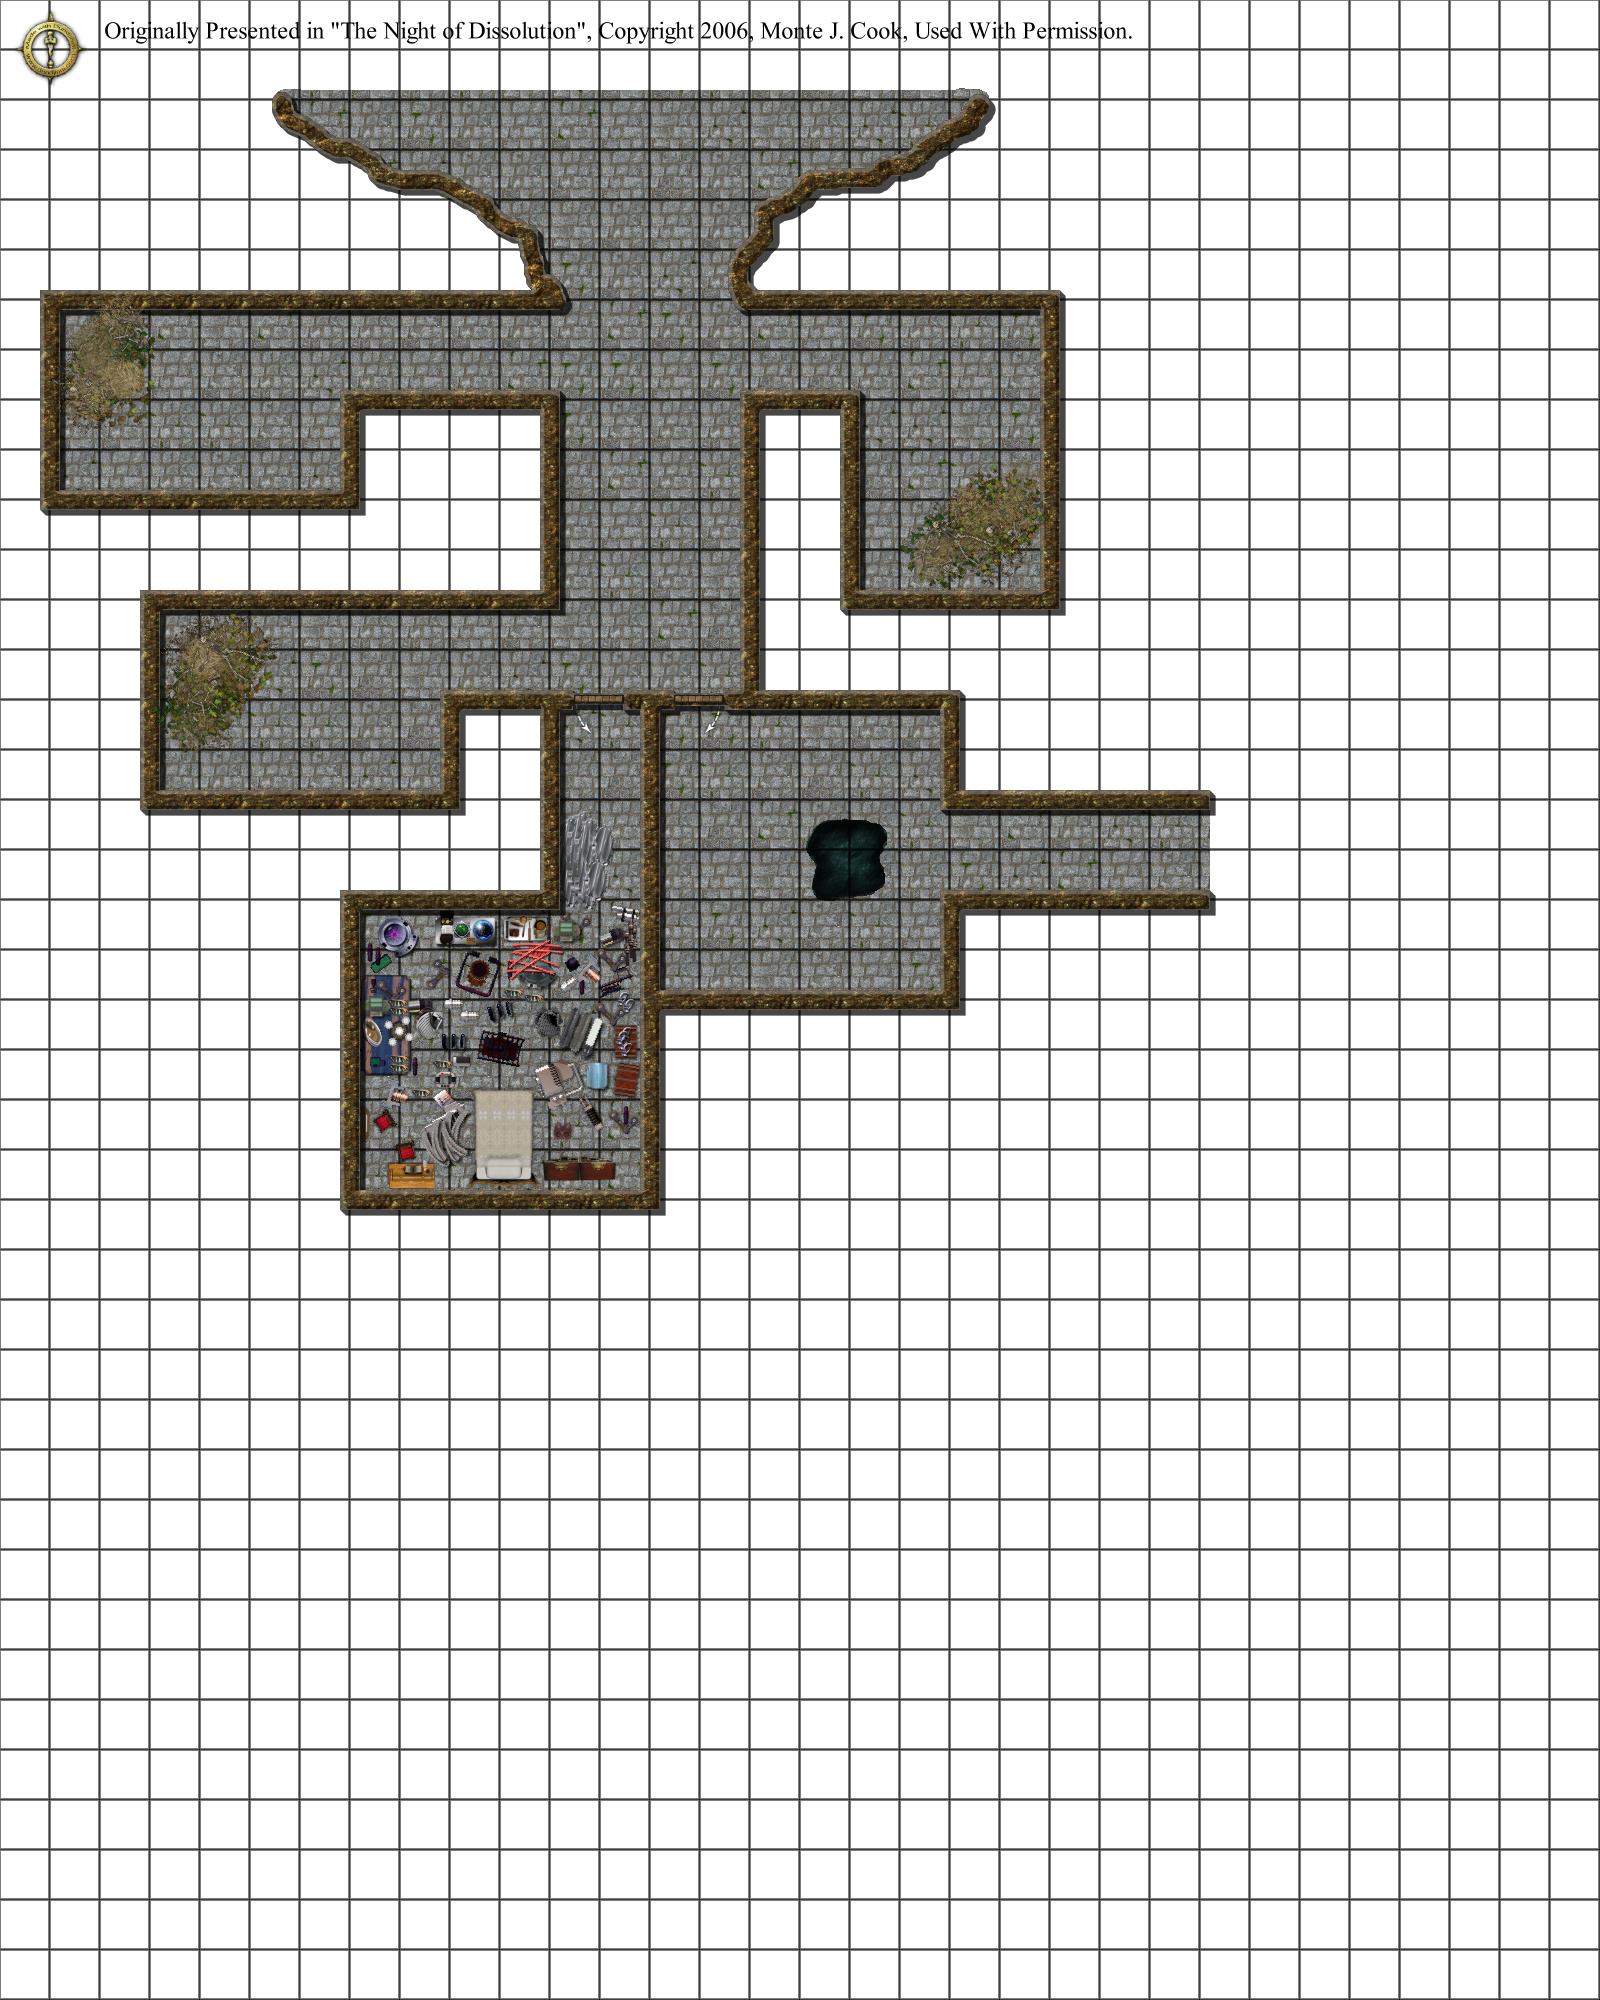
The Night of Dissolution, Page 47, Map 1 of 2 (PDF format) The Night of Dissolution, Page 47, Map 2 of 2 (PDF format) The Night of Dissolution, Page 47, Map 1 of 2 (JPG format) The Night of Dissolution, Page 47, Map 2 of 2 (JPG format) |
|||
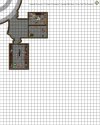
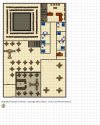
The following alternate views don't contain giveaway deadend passages with secret doors, peepholes, etc.The Night of Dissolution, Page 47-A, sheet 8 (PDF format)Doesn't have the "giveaway" passage from Room 8 to Room 6 that ends in an Illusory Wall. Drop this page in place of sheet 8 of NightofDissolution_pg47_A if the party reaches Room 6 prior to Room 8. COMPARE, SIDE-BY-SIDE The Night of Dissolution, Page 47-A, sheet 12 (PDF format) Directly below sheet 8 (above), this sheet doesn't contain the passage from Room 8 that abuts Room 6, in a dead-end wall containing a peephole into Room 6. se this sheet under the same circumstances as sheet 8 (above) COMPARE, SIDE-BY-SIDE. The Night of Dissolution, Page 47-B, sheet 9 (PDF format) Sheet 9 eliminates the last ten feet of passage that ends in a secret door leading into the southeast corner of Room 8. Use it if the party is exploring Room 8 and environs prior to the passage leading through Rooms (Areas) 2 and 3. COMPARE, SIDE-BY-SIDE The Night of Dissolution, Page 47-B, sheet 11 (PDF format) Depicts the sewer leading north from Room (Area) 1 as turning east with no secret door leading into Room (Area) 2. COMPARE, SIDE-BY-SIDE All maps created with Dundjinni.Map was originally presented in The Night of Dissolution, © 2006, Monte J. Cook; Used with permission. |
||||
|
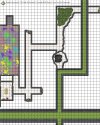
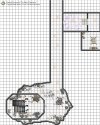
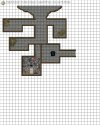
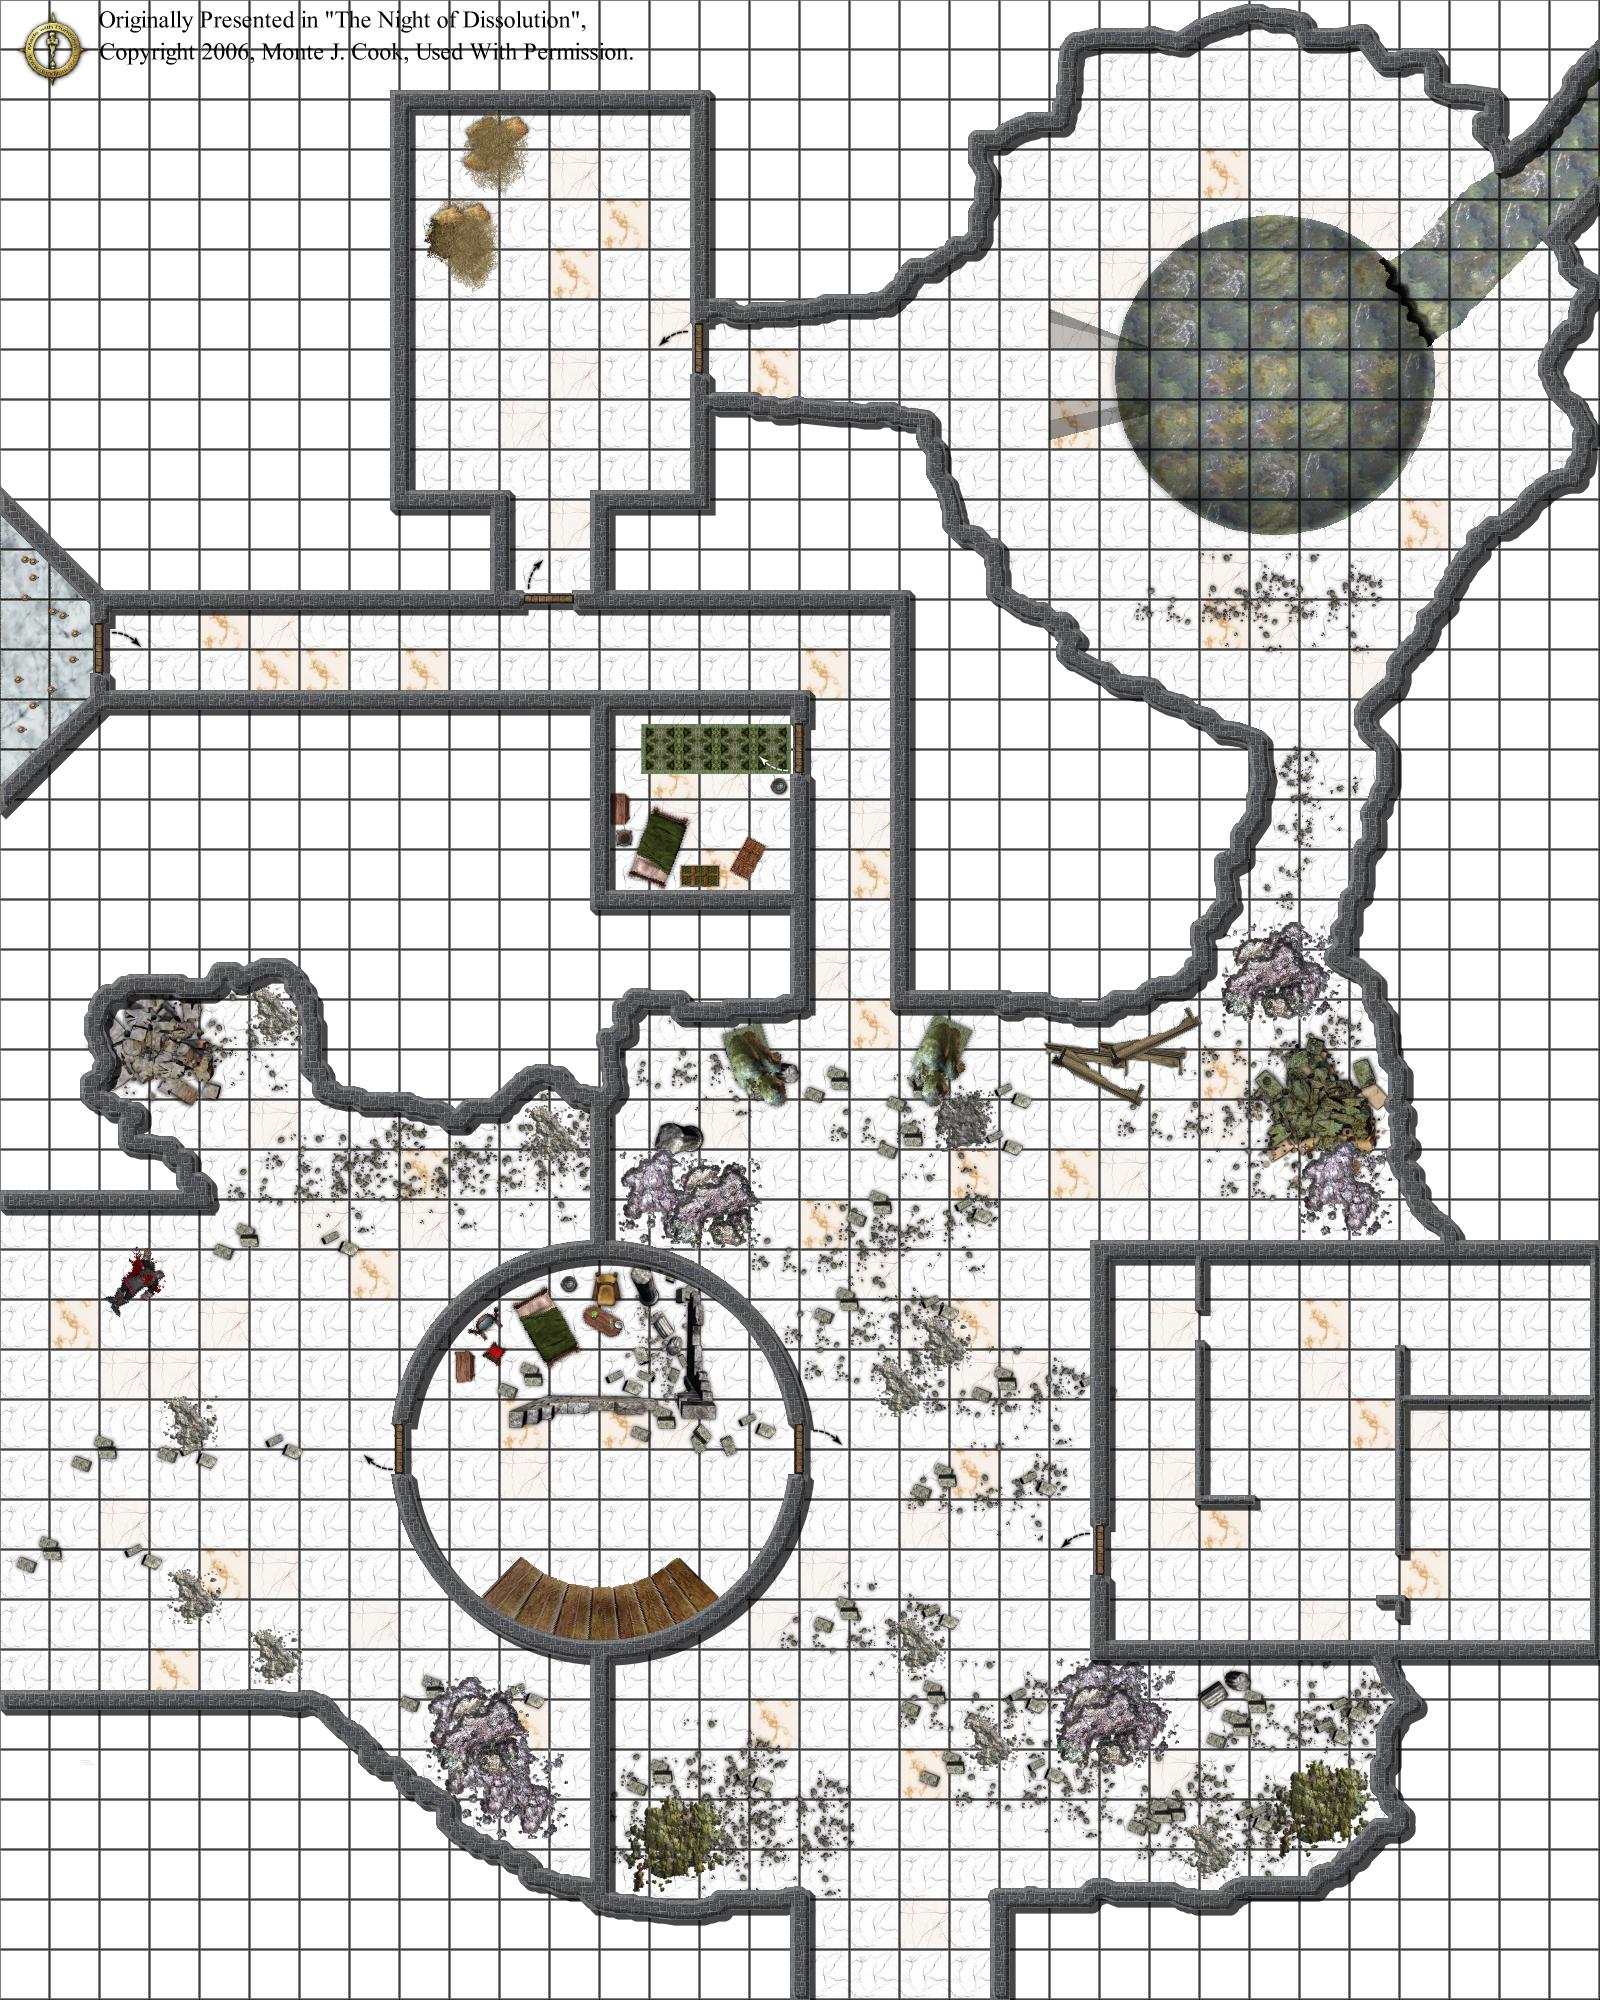
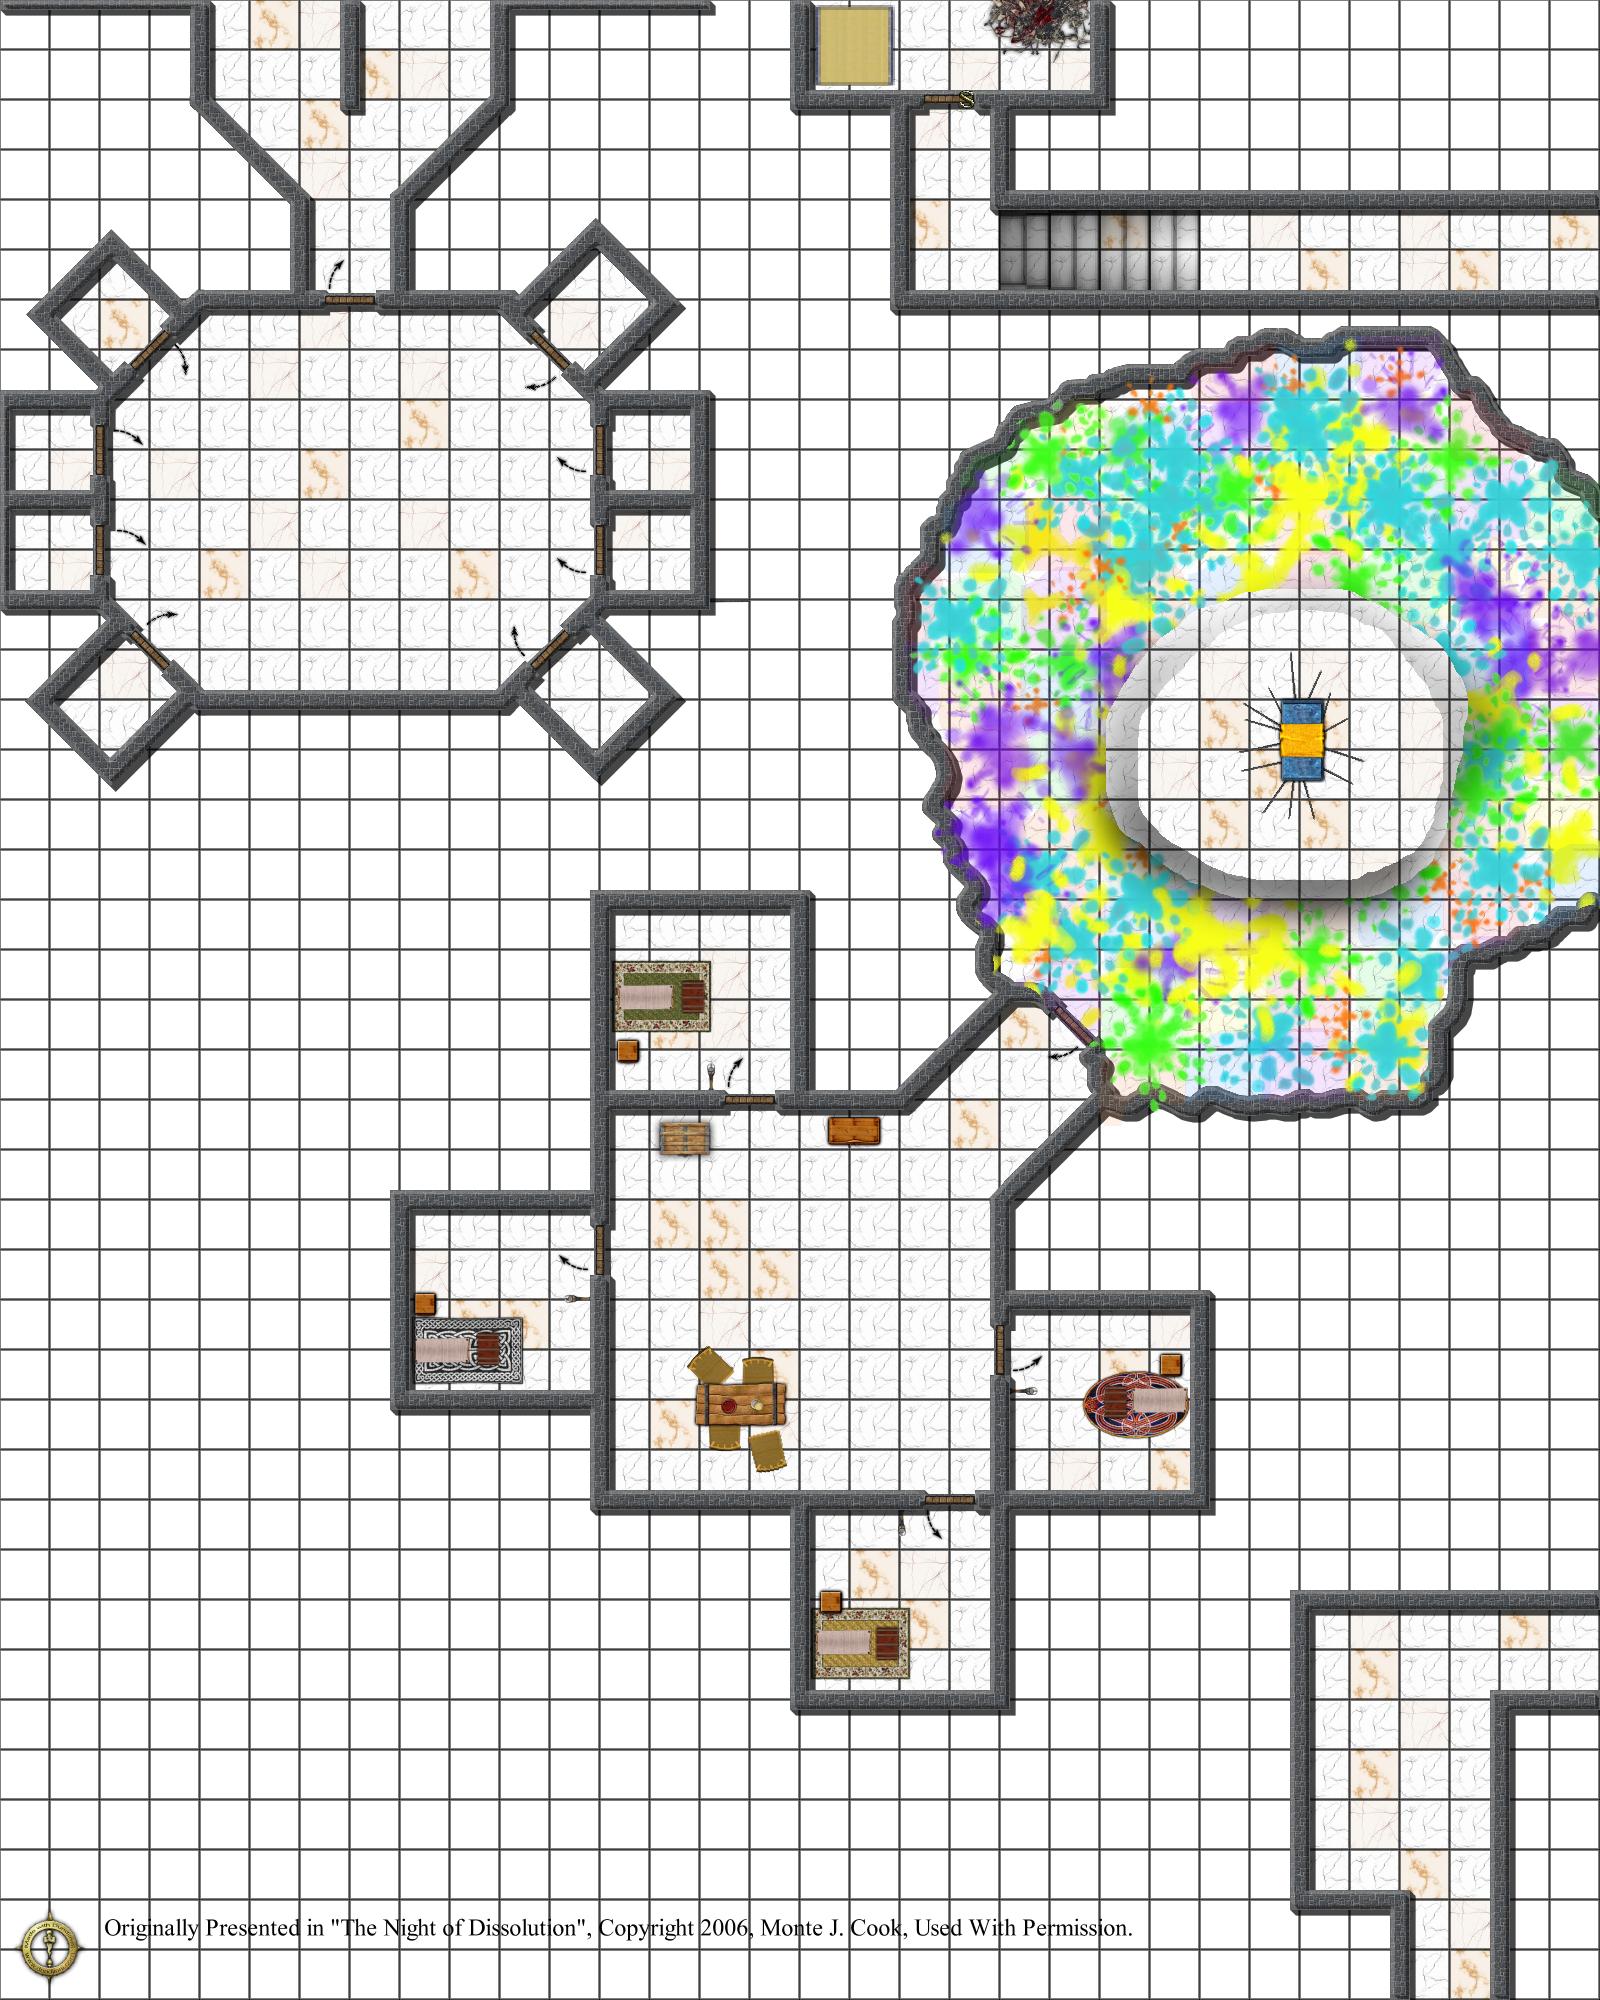
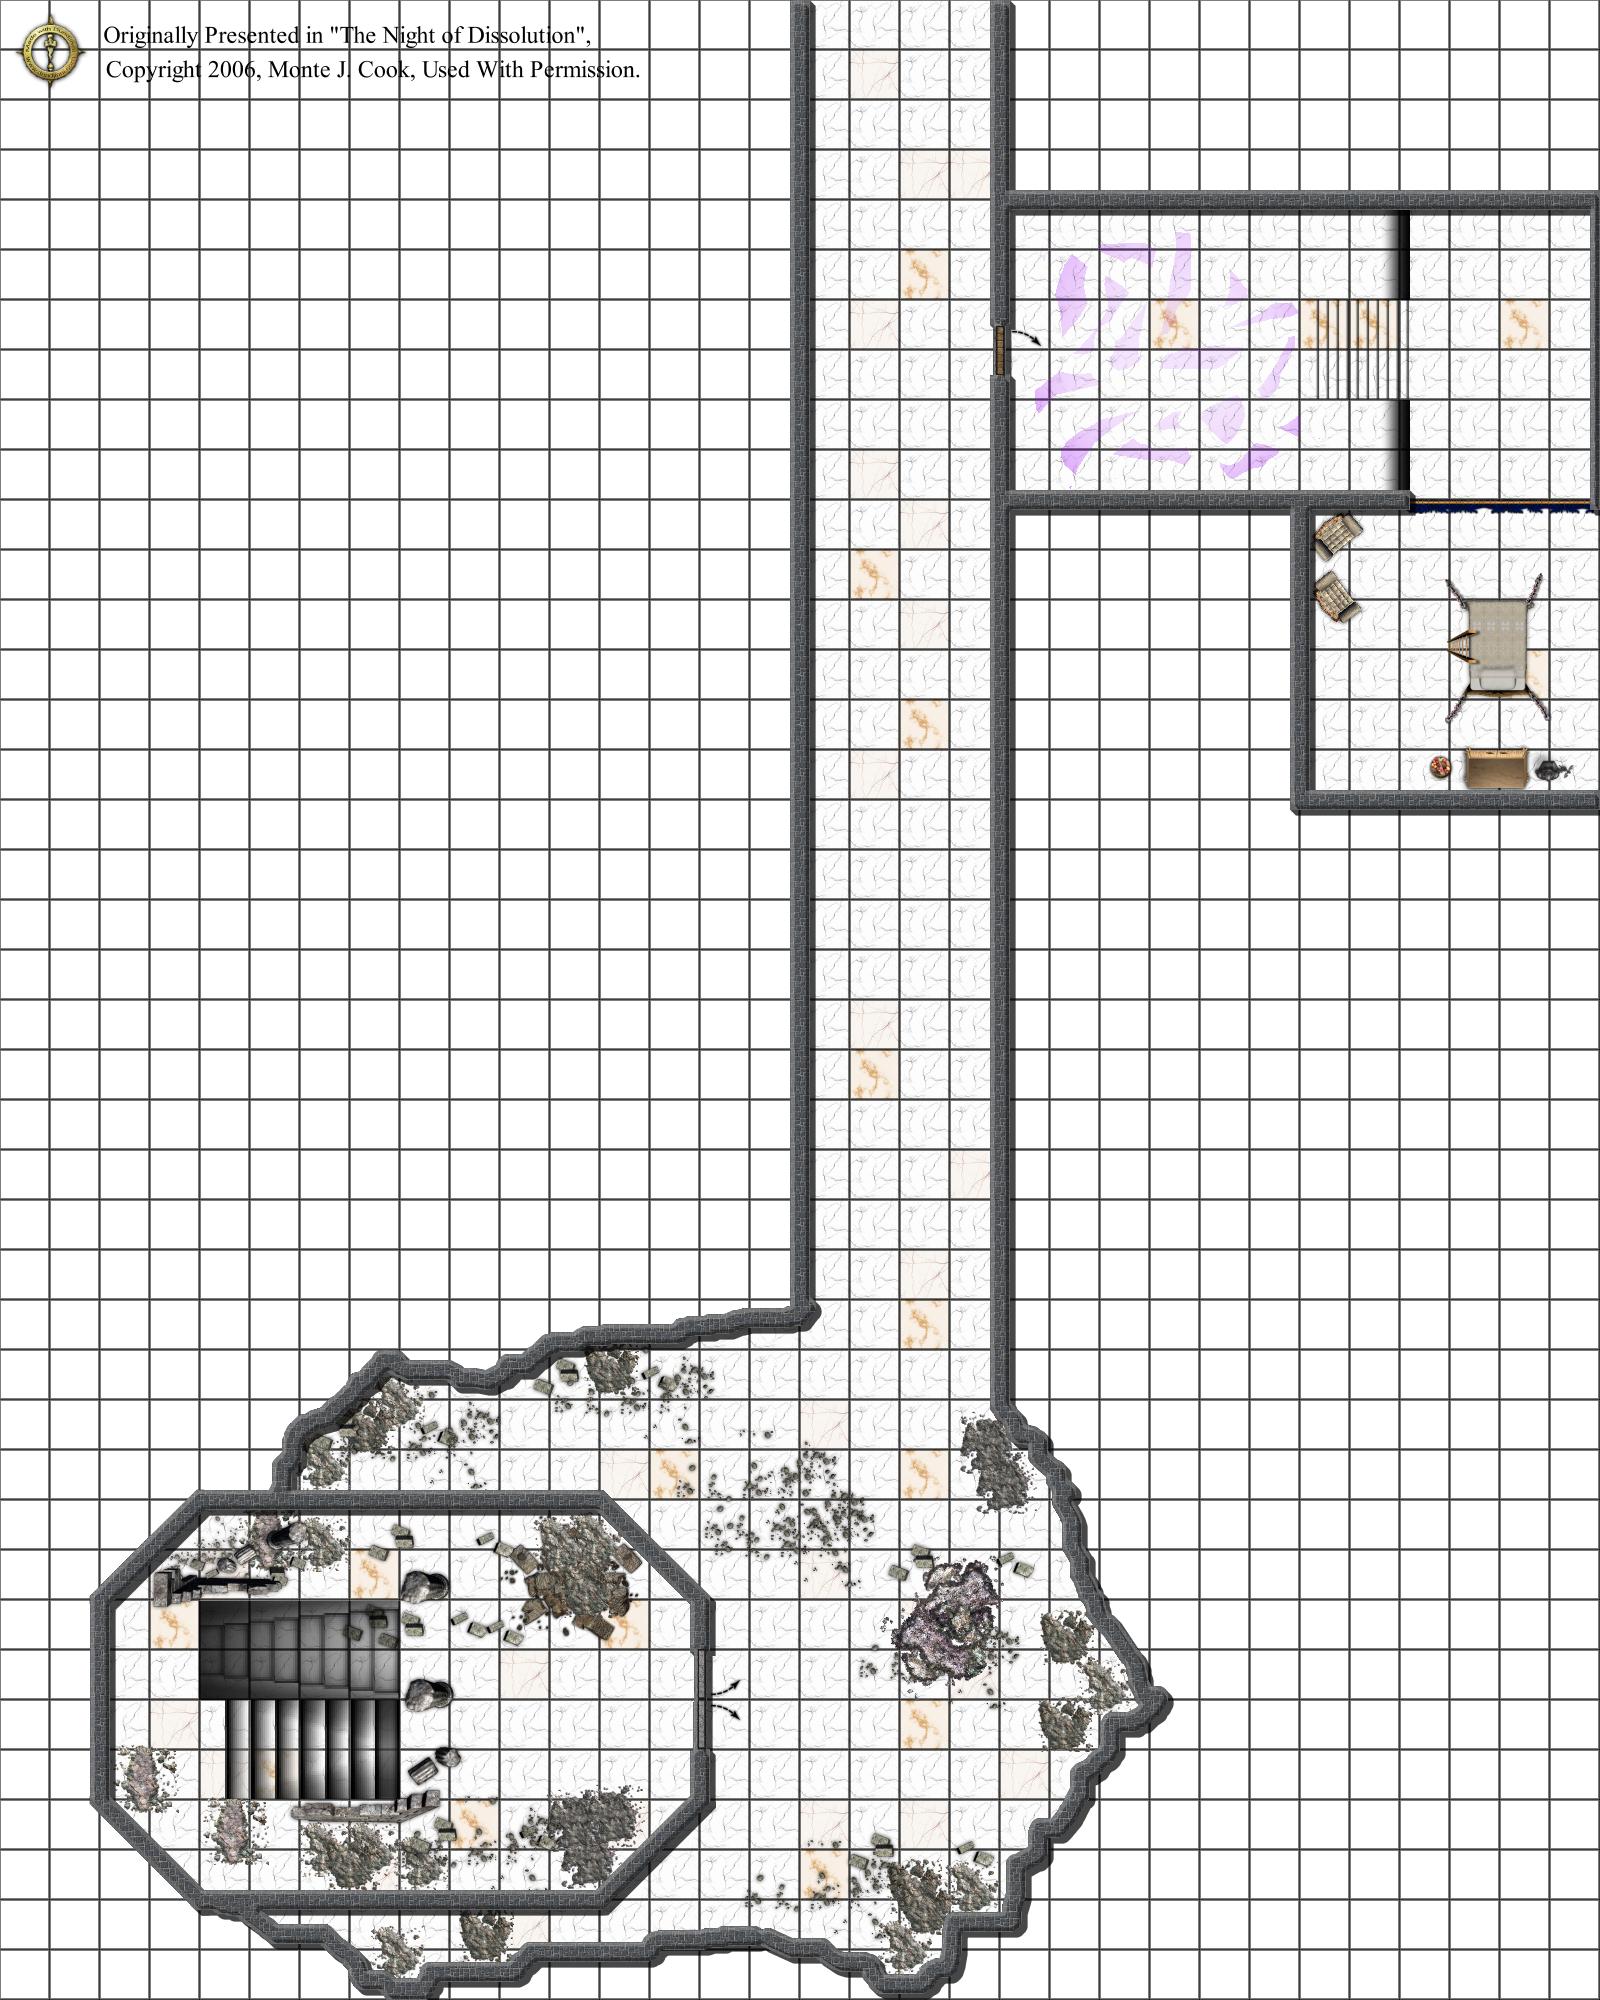
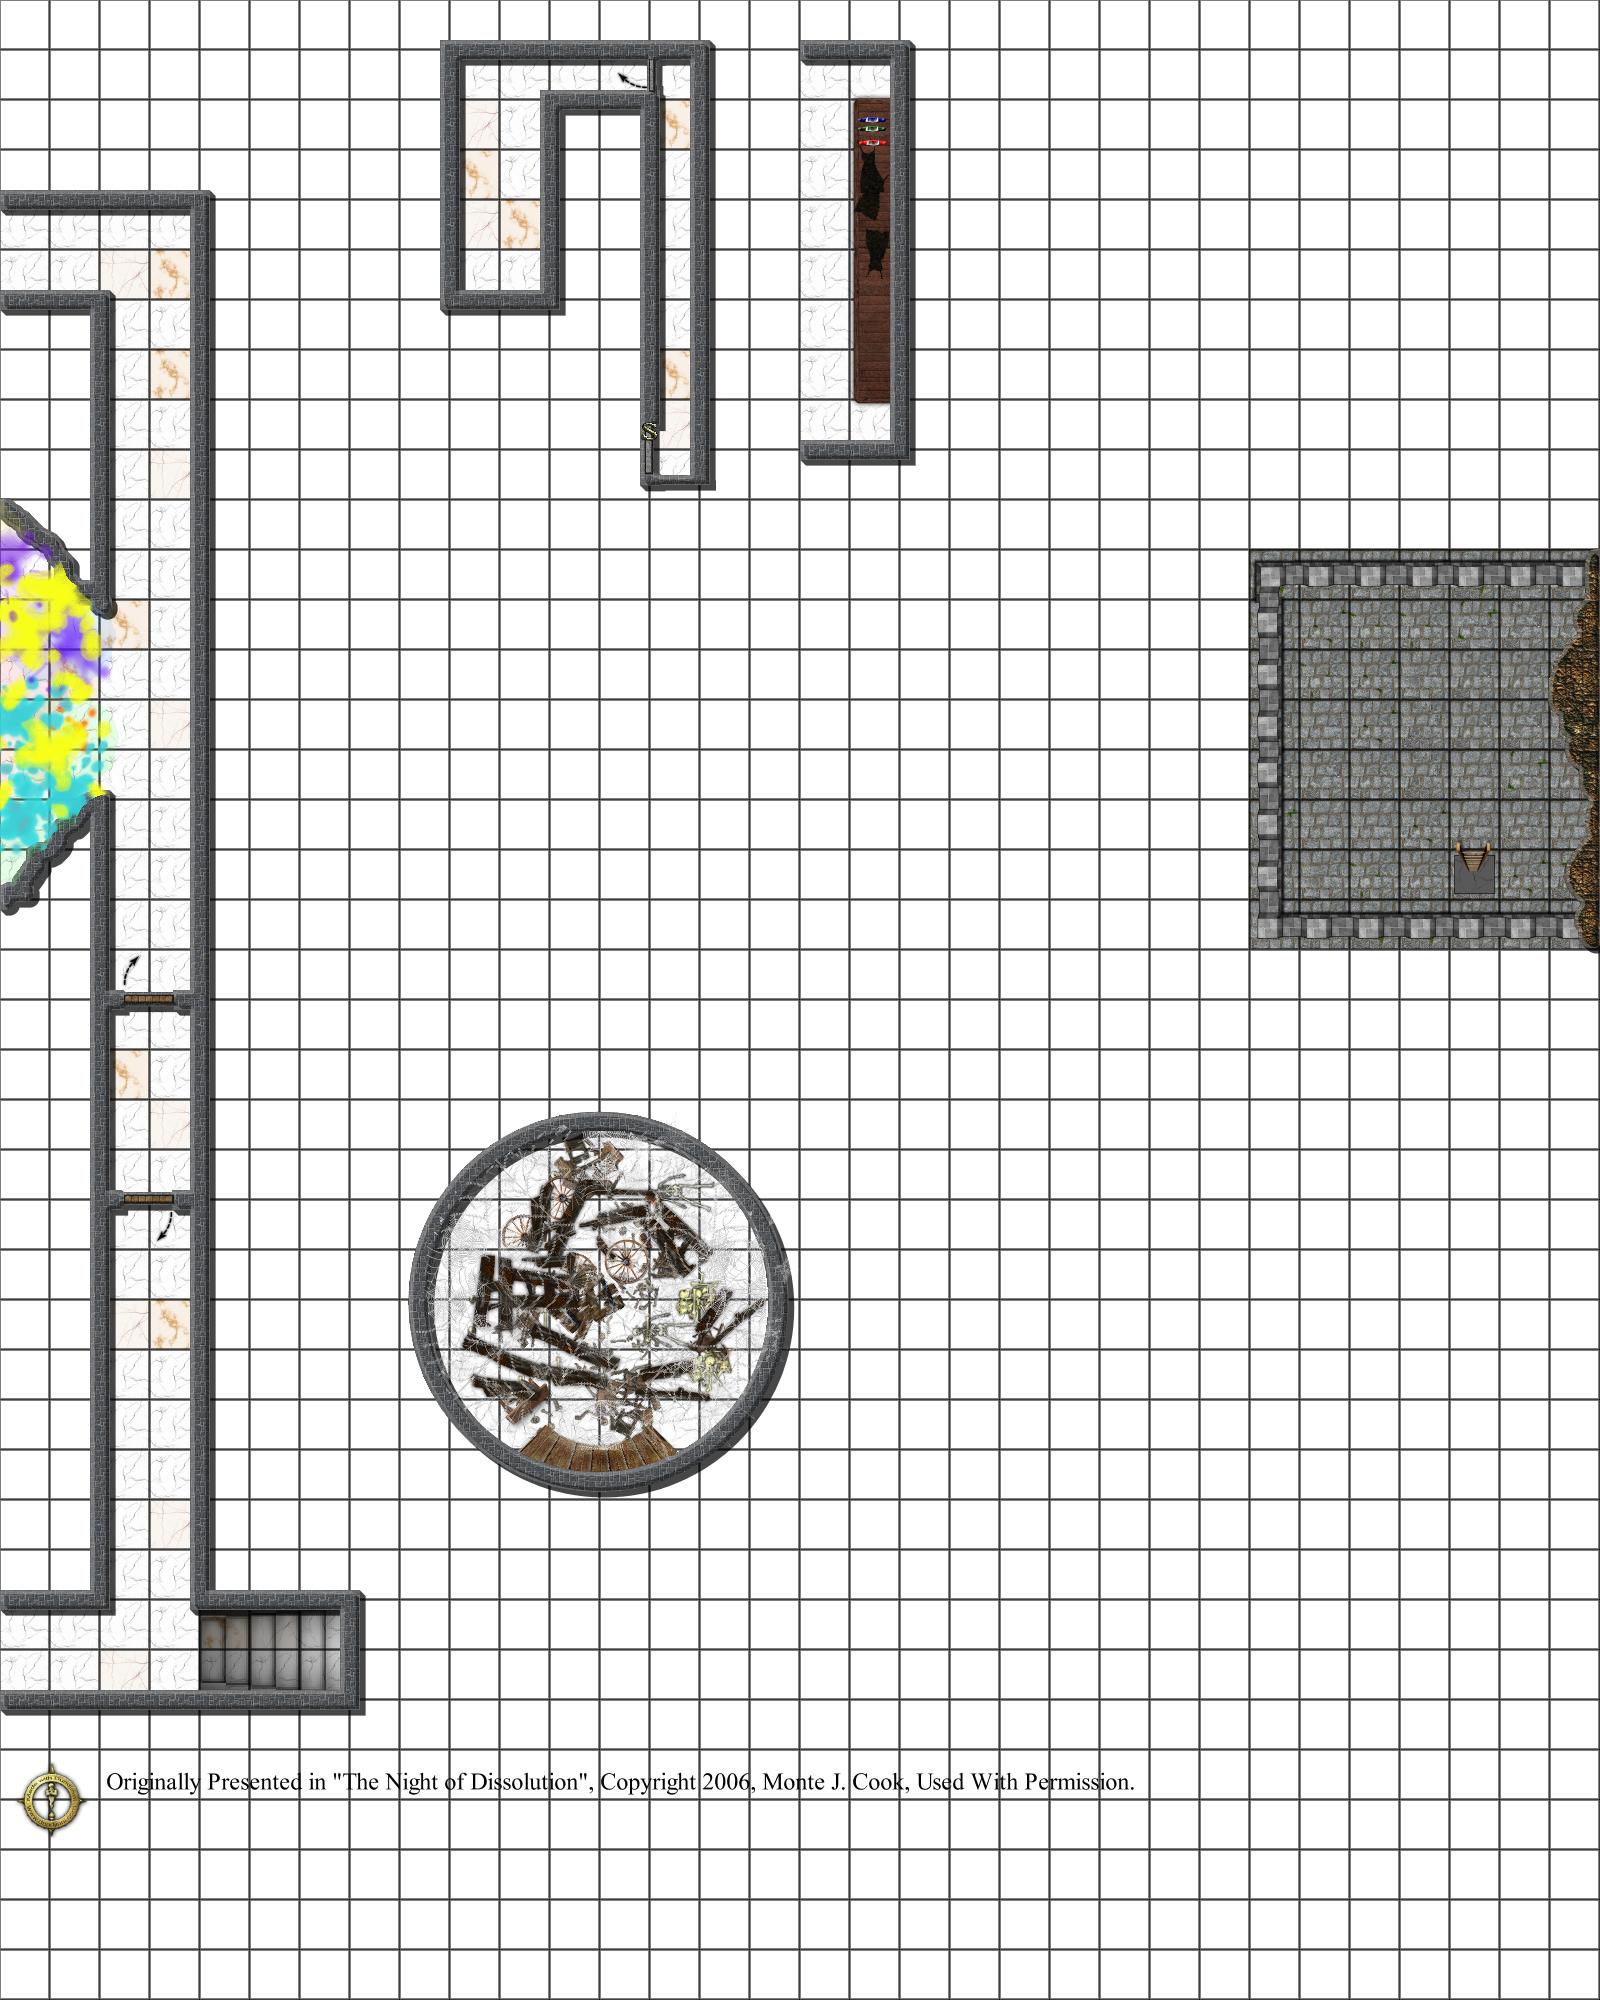
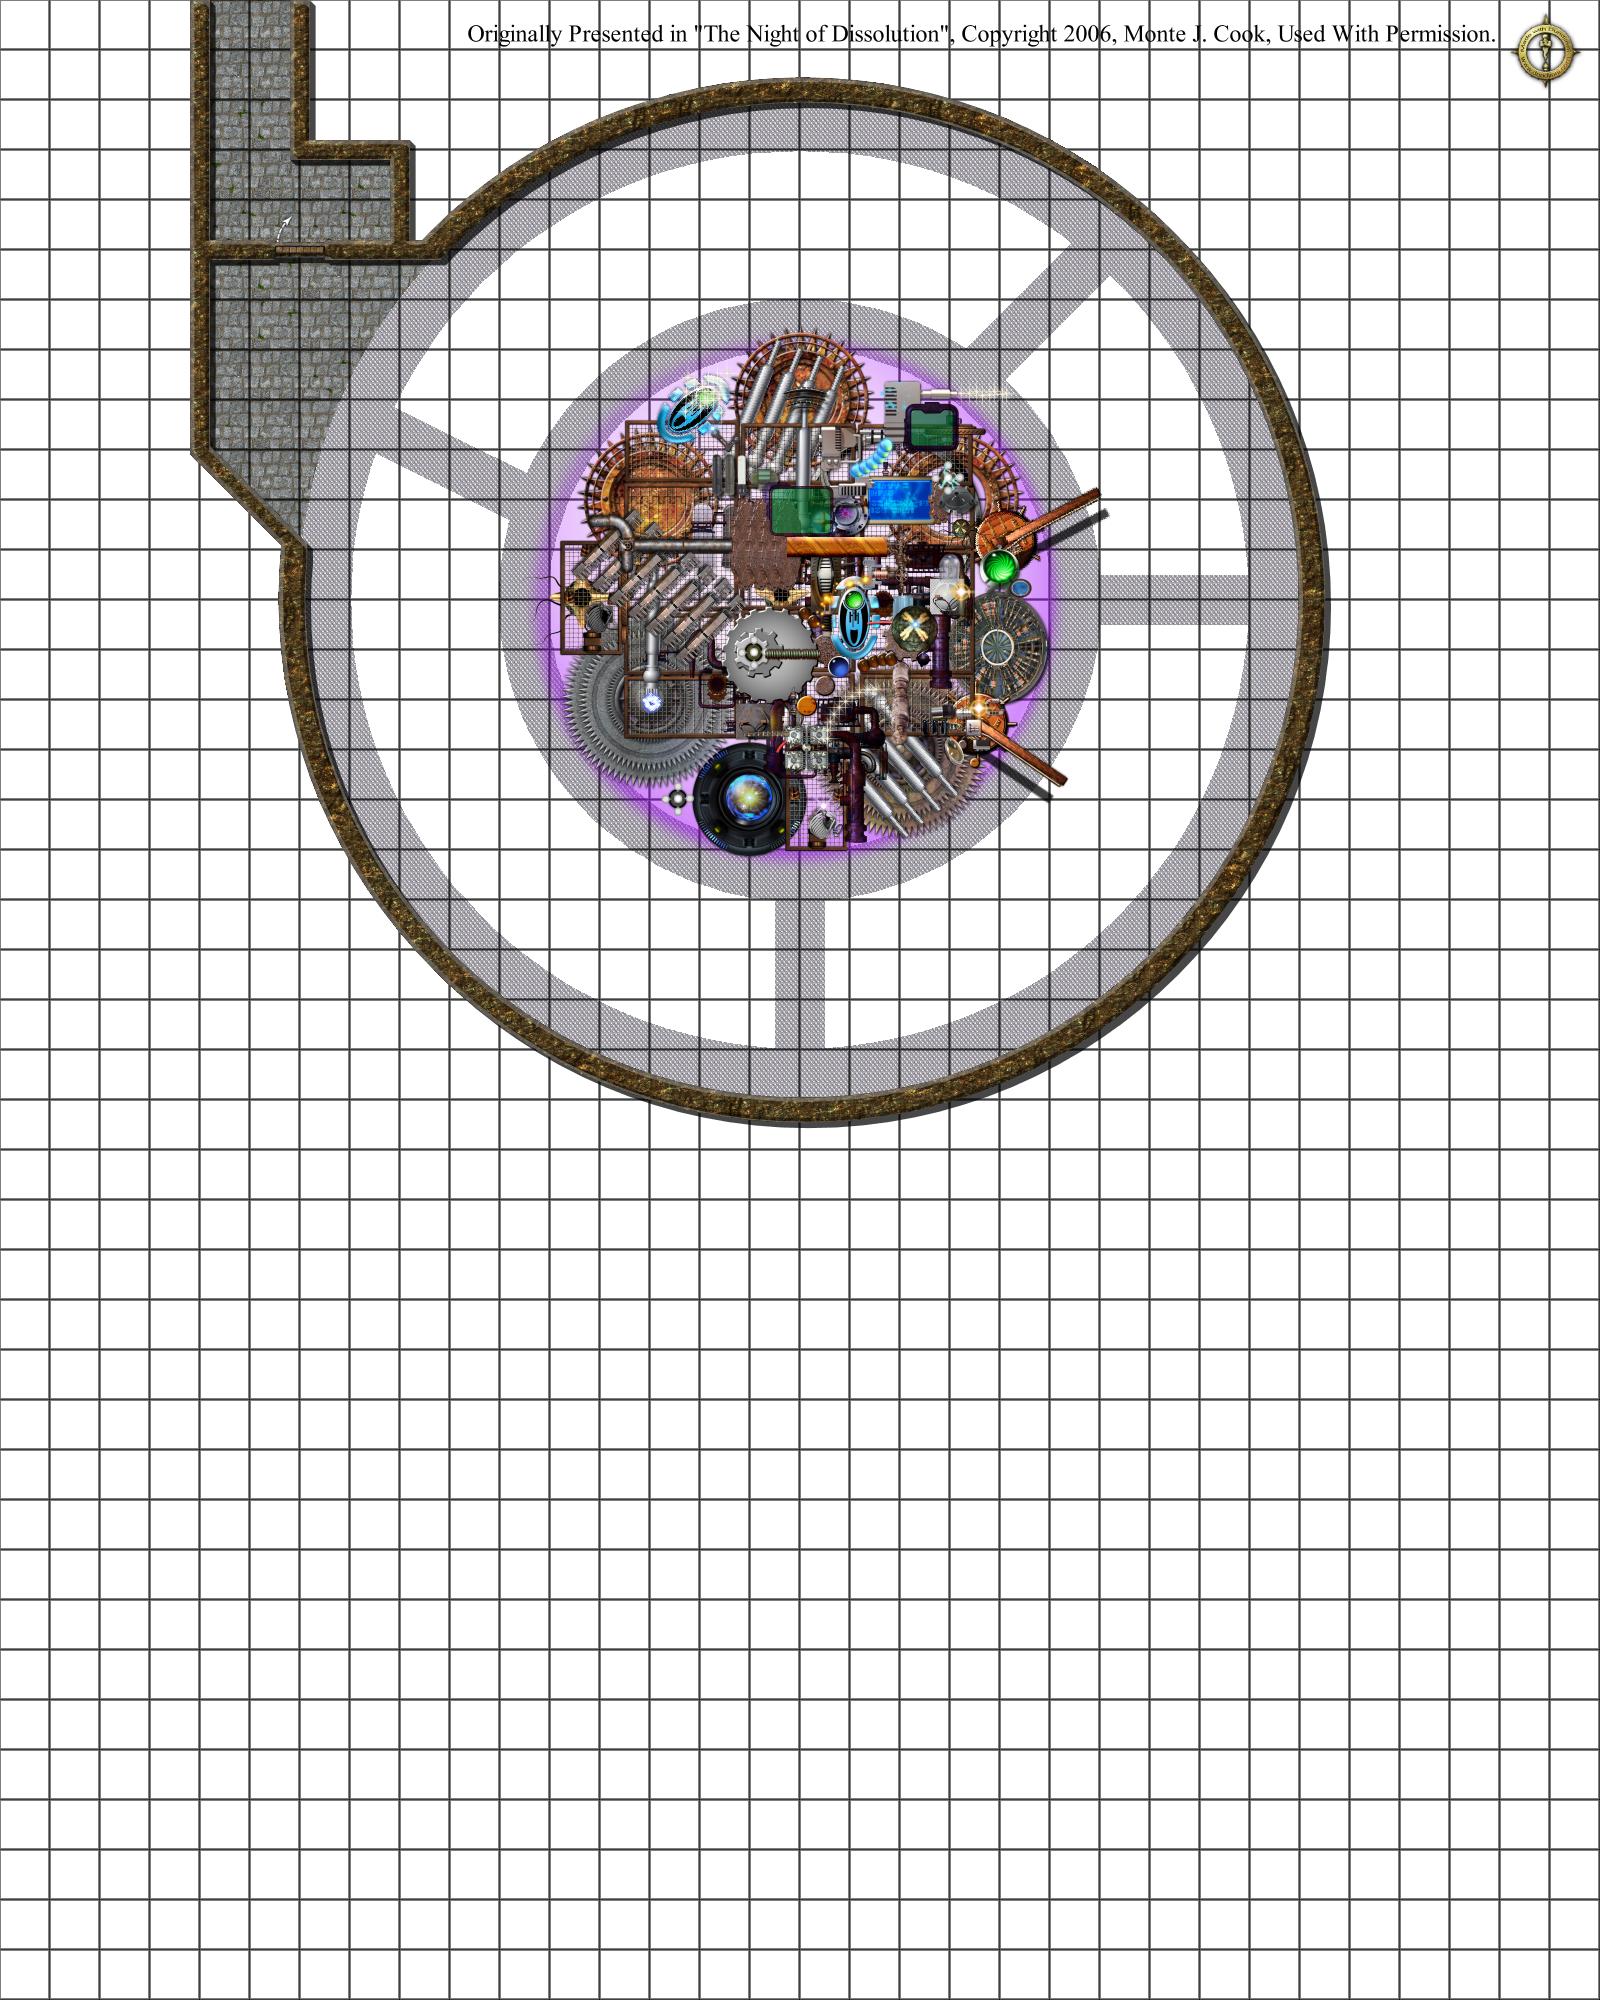
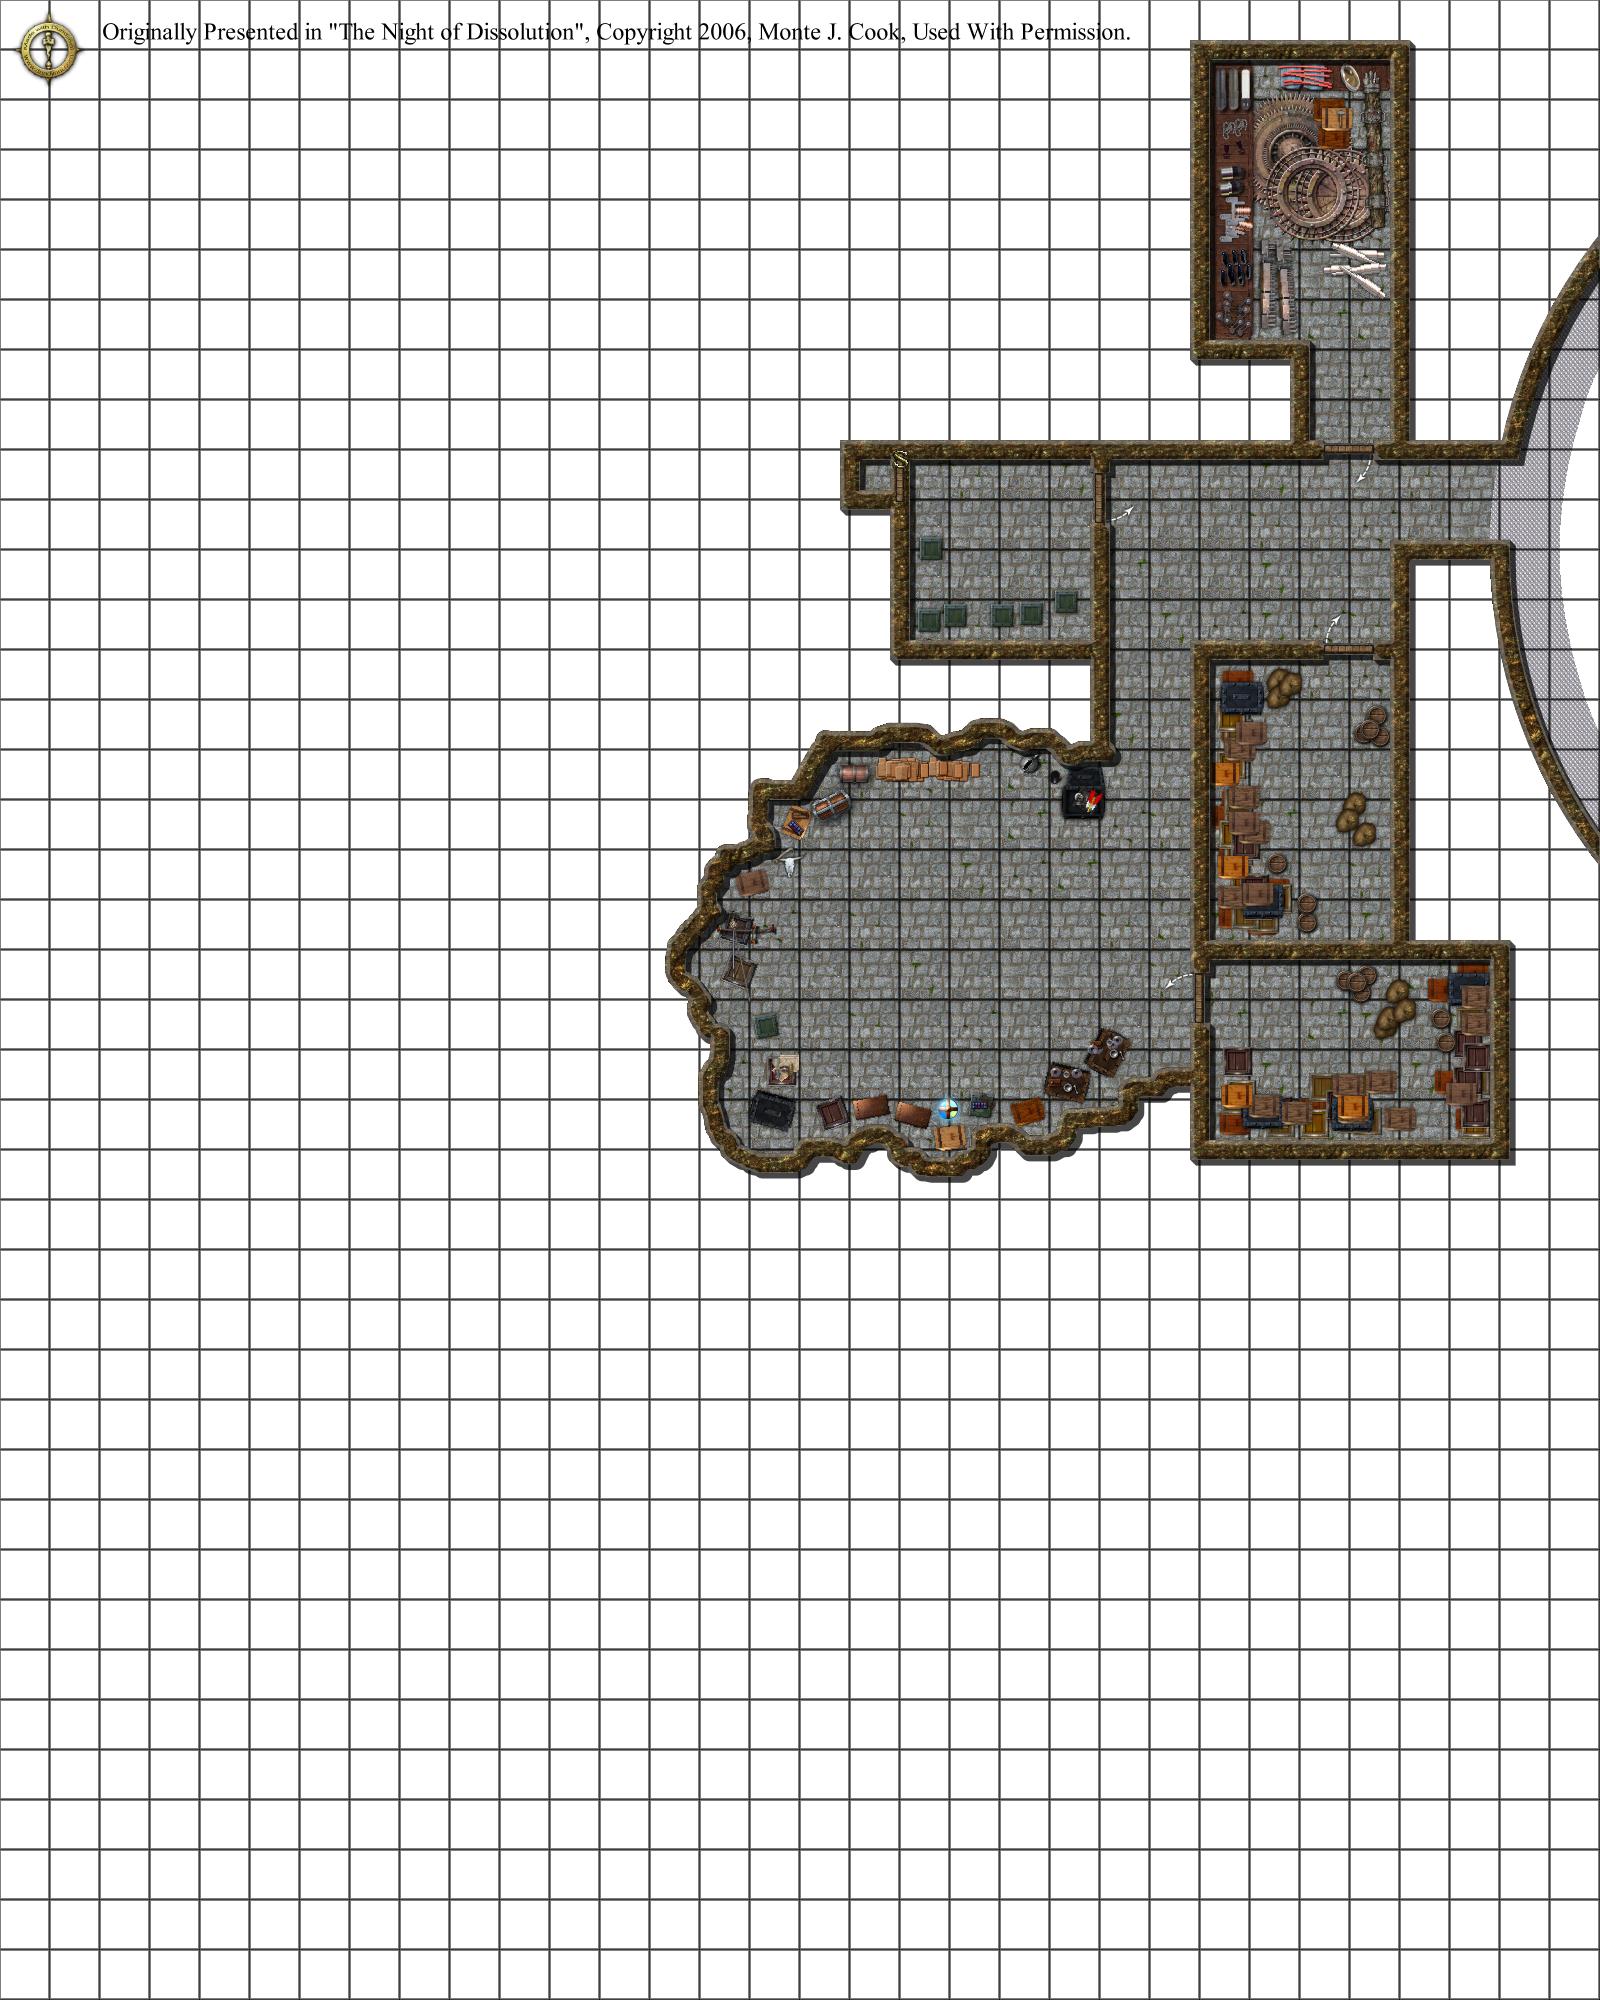
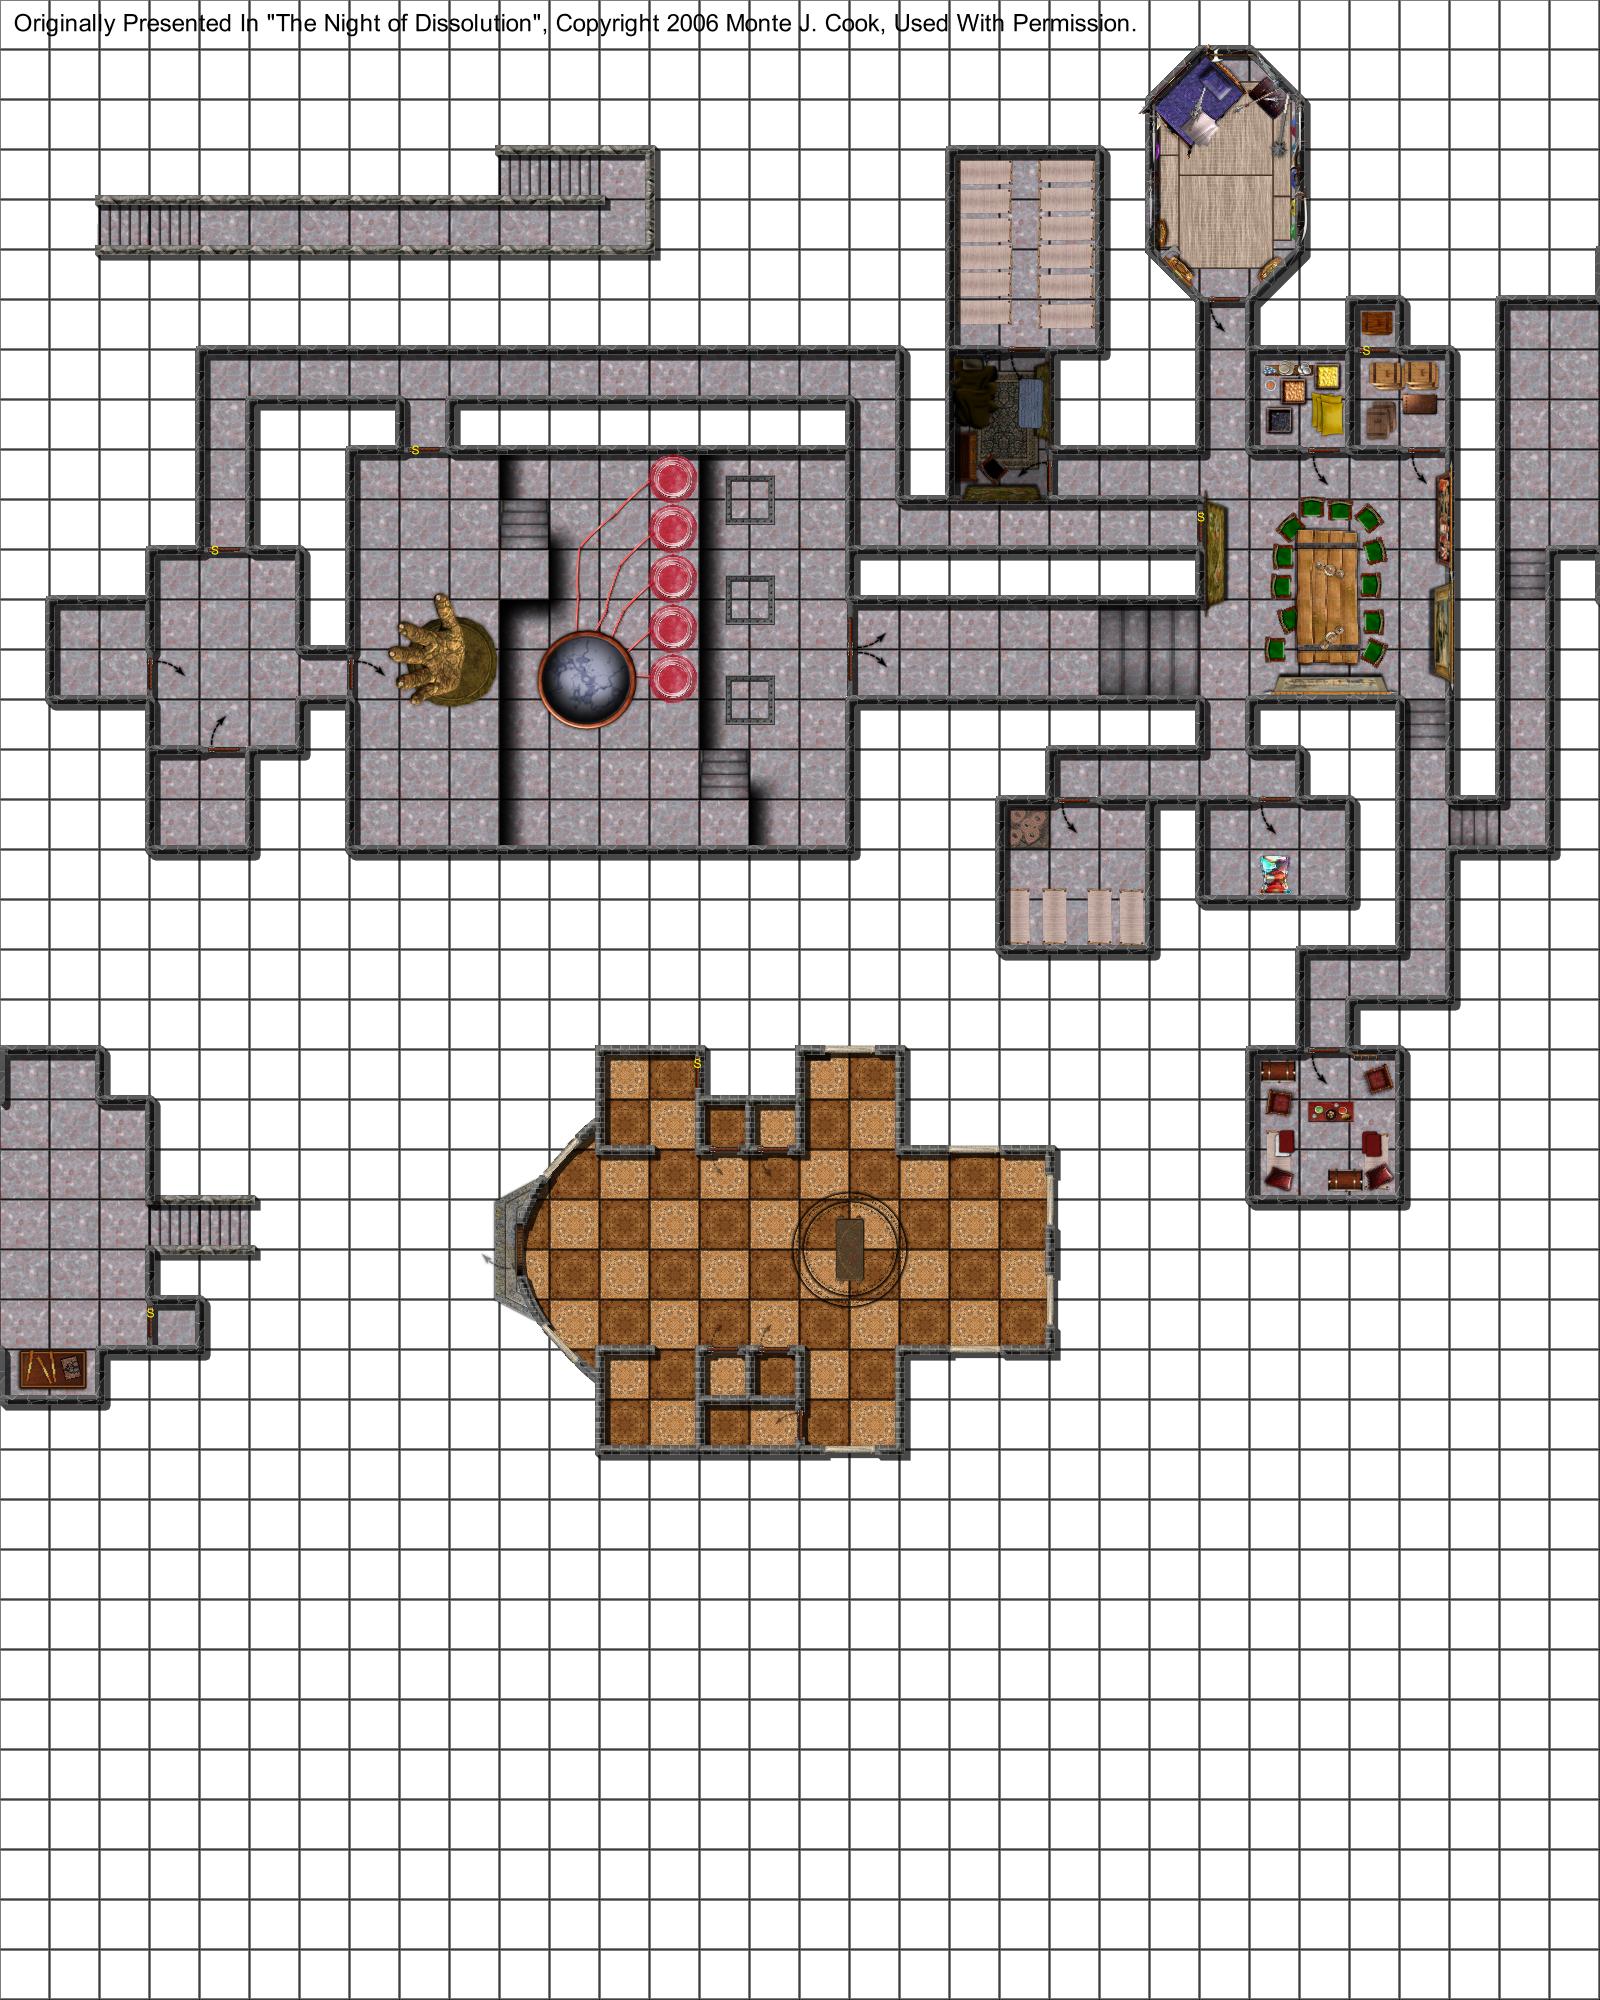
The Night of Dissolution, Page 72, Map 1 of 6 (PDF format) The Night of Dissolution, Page 72, Map 2 of 6 (PDF format) The Night of Dissolution, Page 72, Map 3 of 6 (PDF format) The Night of Dissolution, Page 72, Map 4 of 6 (PDF format) The Night of Dissolution, Page 72, Map 5 of 6 (PDF format) The Night of Dissolution, Page 72, Map 6 of 6 (PDF format) The Night of Dissolution, Page 72, Map 1 of 6 (JPG format) The Night of Dissolution, Page 72, Map 2 of 6 (JPG format) The Night of Dissolution, Page 72, Map 3 of 6 (JPG format) The Night of Dissolution, Page 72, Map 4 of 6 (JPG format) The Night of Dissolution, Page 72, Map 5 of 6 (JPG format) The Night of Dissolution, Page 72, Map 6 of 6 (JPG format) |
|||||||
|
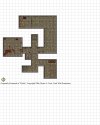
All maps created with Dundjinni. Map was originally presented in The Night of Dissolution, © 2006, Monte J. Cook; Used with permission. |
||||||||
|
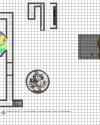
The Night of Dissolution, Page 81, Map 1 of 1 (PDF format) The Night of Dissolution, Page 81, Alternate (PDF format) (No Secret Doors Shown) The Night of Dissolution, Page 81, Map 1 of 1 (JPG format) The Night of Dissolution, Page 81, Alternate (JPG format) (No Secret Doors Shown) |
|||
|
All maps created with Dundjinni. Map was originally presented in The Night of Dissolution, © 2006, Monte J. Cook; Used with permission. |
||||
|
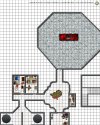
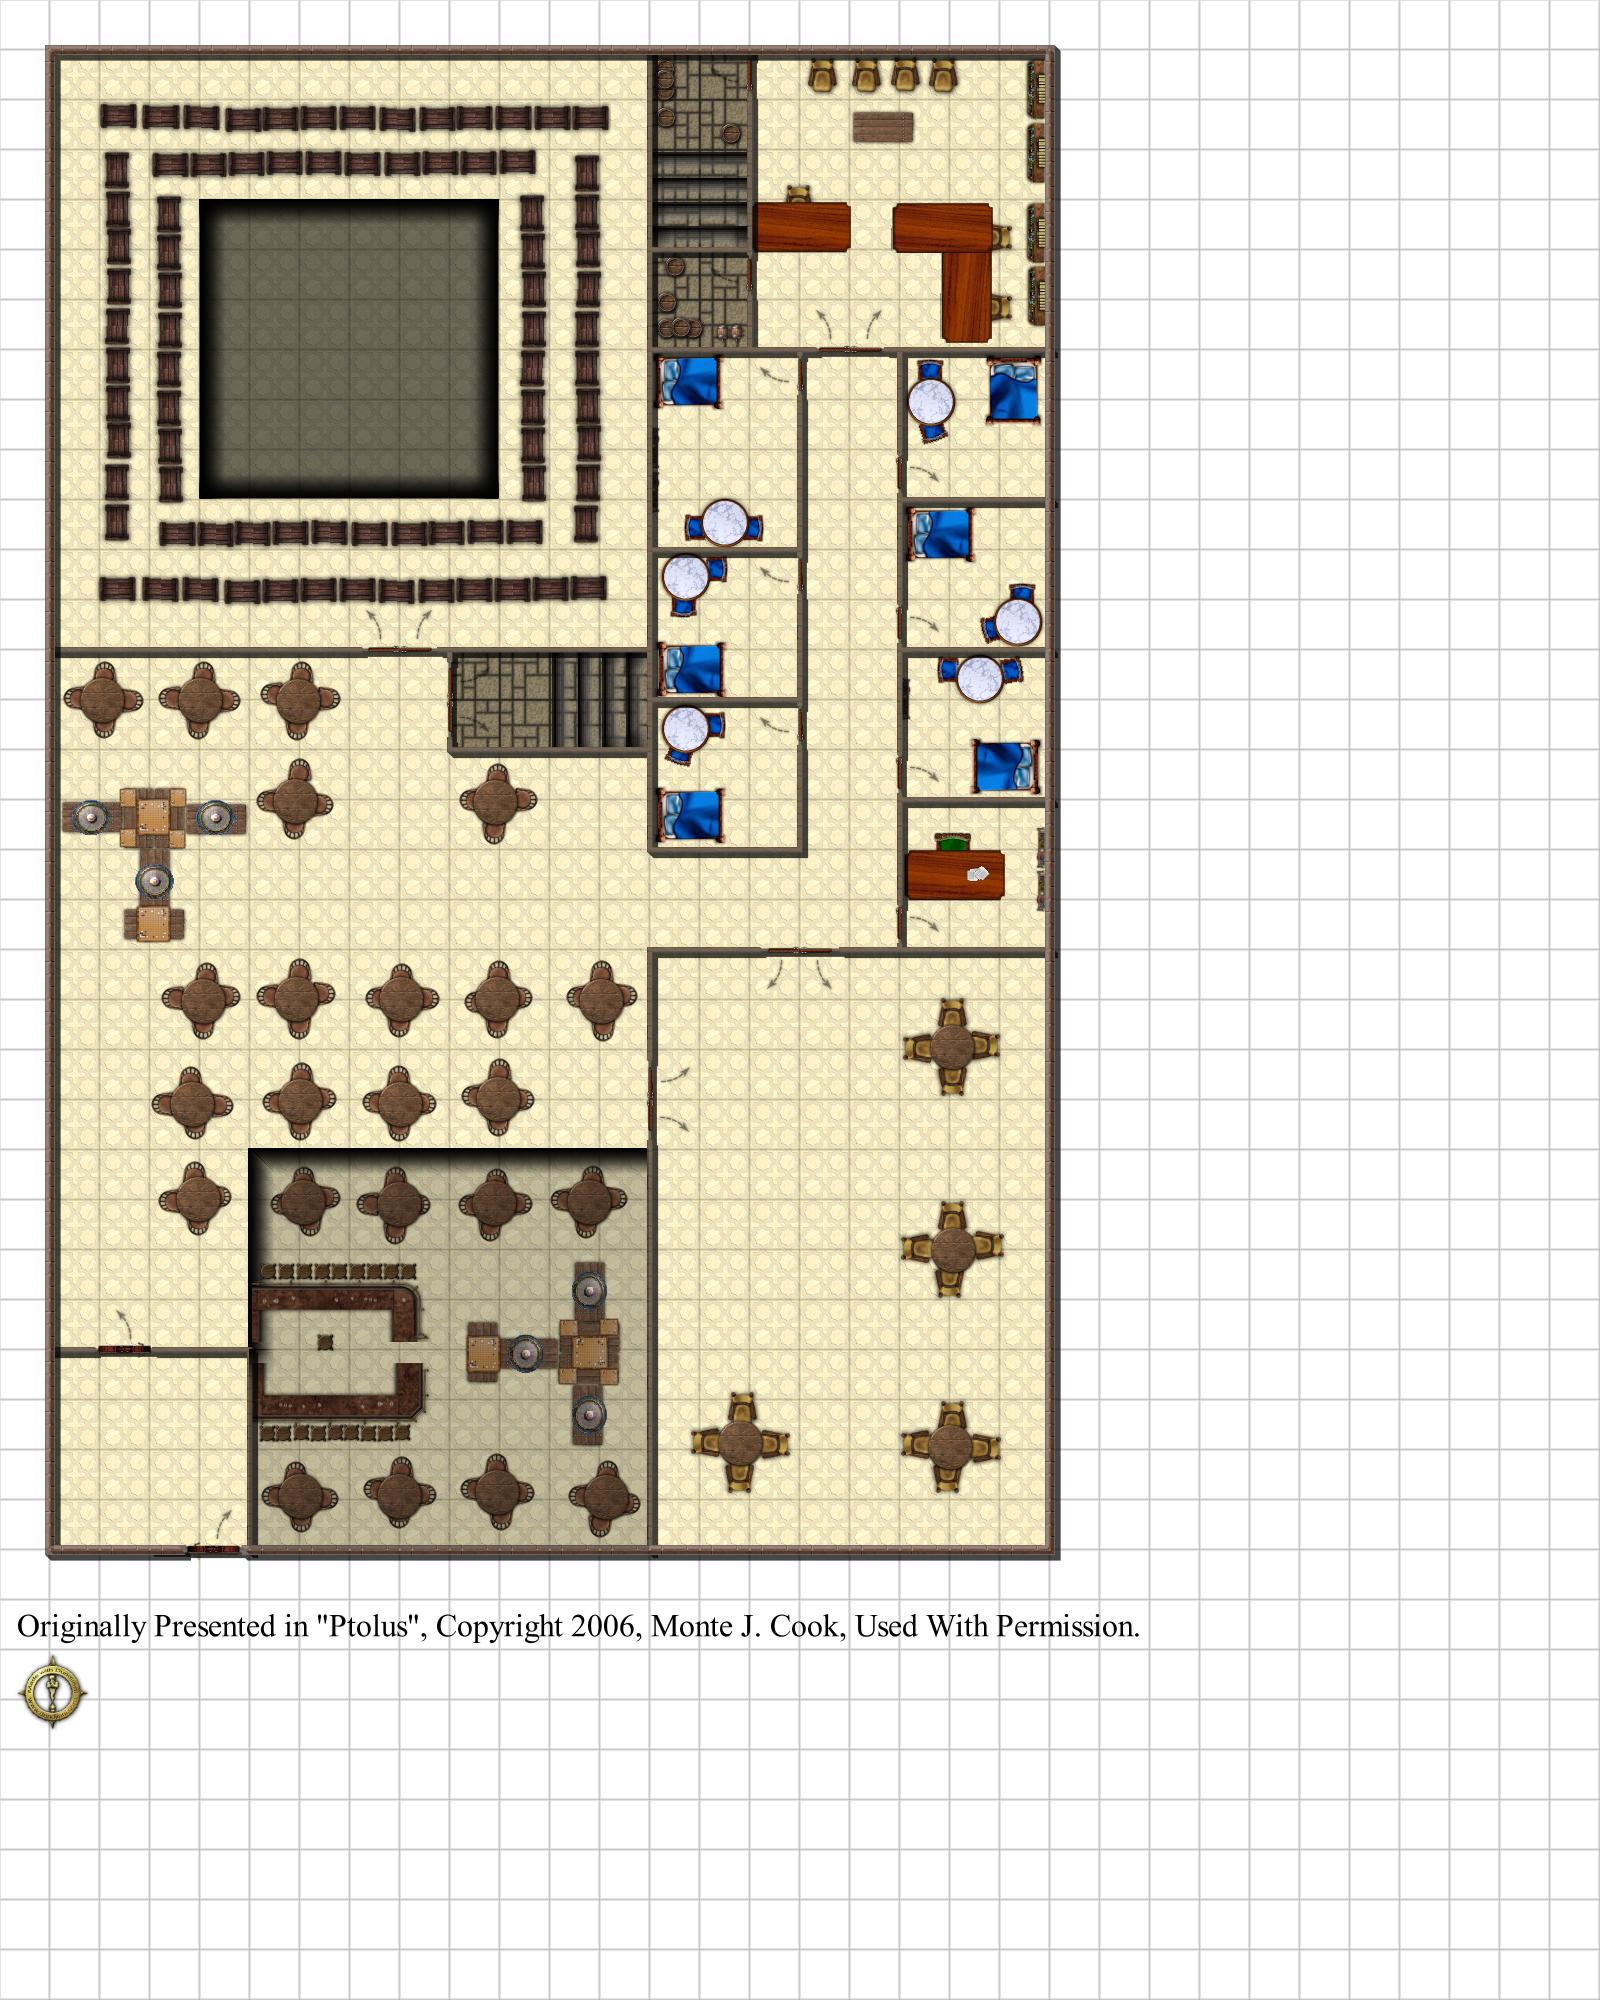
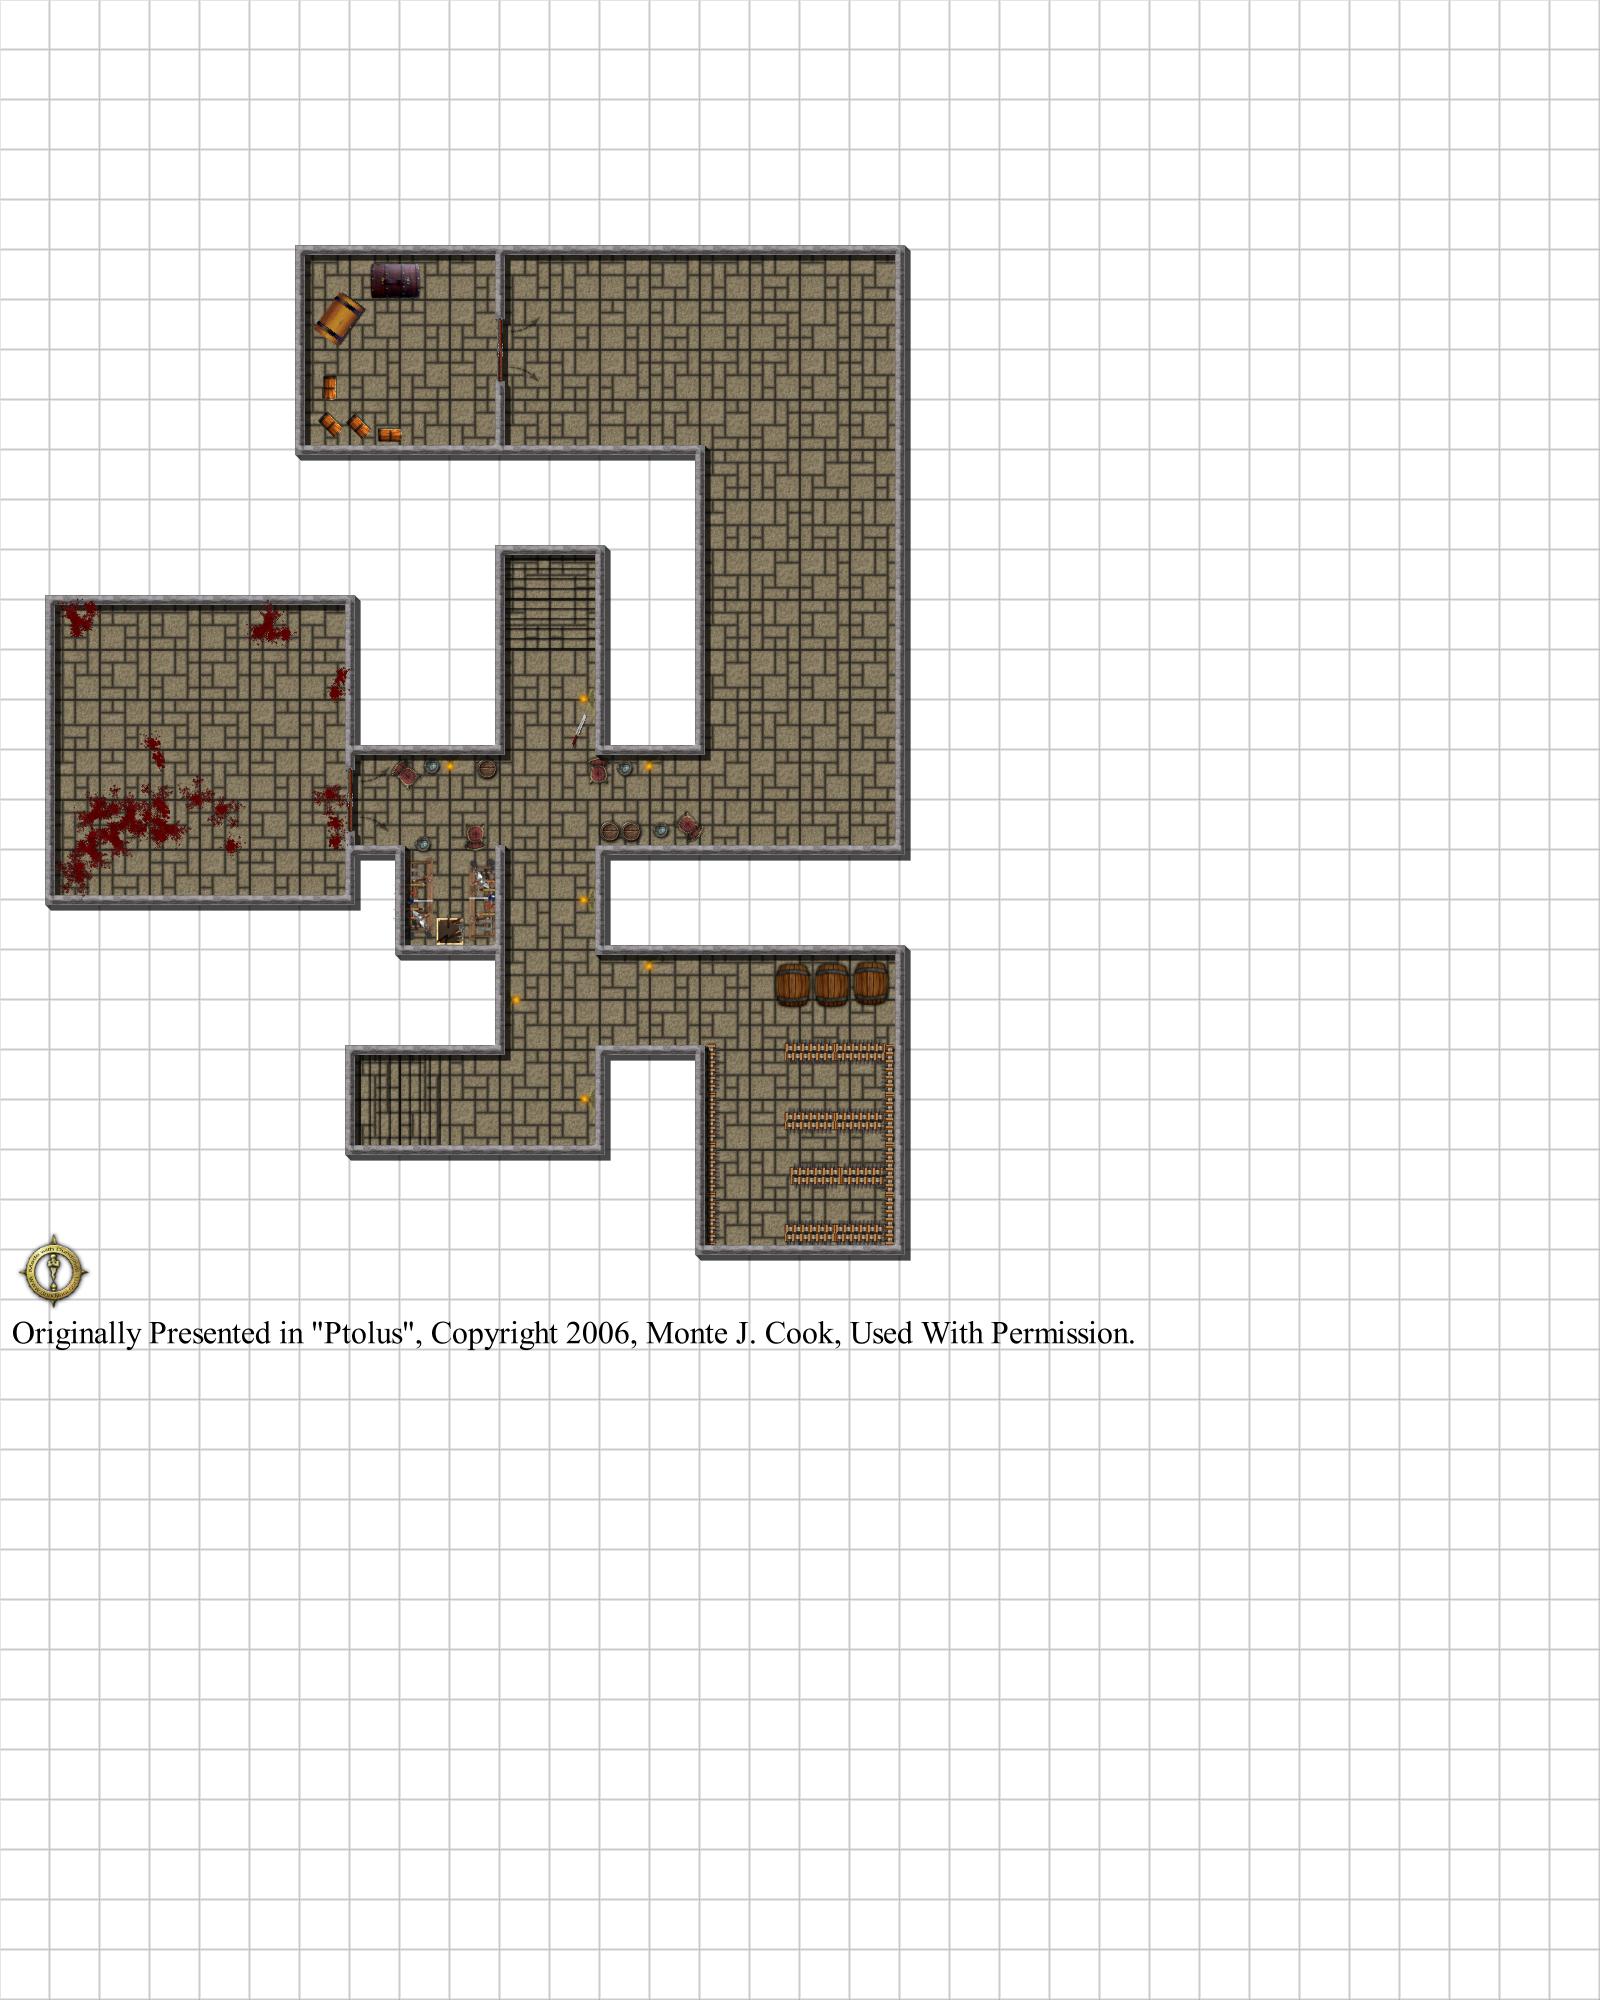
The Cock Pit (PDF format) The Cock Pit (Arena Level) (PDF format) The White House (PDF format) The Cock Pit (JPG format) The Cock Pit (Arena Level) (JPG format) The White House (JPG Format) |
||||
|
All maps created with Dundjinni. Map was originally presented in Ptolus, © 2006, Monte J. Cook; Used with permission. |
|||||

